Crochet Bat Applique
Crochet Bat Appliques are a spook-tacular way to add a whimsical touch to your projects! These cute and versatile embellishments can be used to decorate anything from blankets to hats, transforming them into Halloween-ready masterpieces. Whether you're a seasoned crocheter or just starting out, creating these little critters is a fun and rewarding experience. With just a few simple stitches and some black yarn, you can bring these charming bats to life. So grab your crochet hook and let your creativity soar with these adorable Crochet Bat Appliques!
What You Will Need
Yarn
- #3 Light (light worsted, DK, 8-ply), 100% acrylic yarn, in any color.
- You will need about 9.3 yards (8.5 meters) of yarn.
Hook
- 3.5 mm crochet hook or a smaller size than recommended for the yarn you are using.
Notions
- Scissors
- Yarn Needle
- Googly eyes, or white and black felt circles, or white yarn for eyes.
- Glue
Gauge
- Not important for this pattern
Finished Size
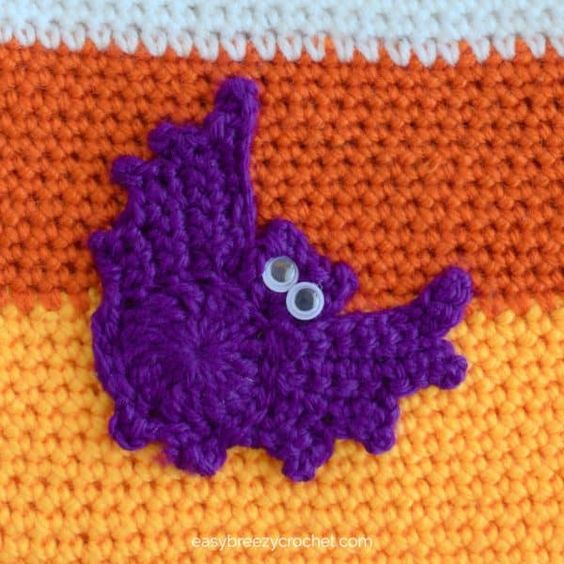
- About 3.74 inches (9.5 cm) wide at the widest part of the wings, and about 2.75 inches (7 cm) tall.
Stitches and Abbreviations Used (US Terms)
- MR — magic ring
- ch — chain
- sc — single crochet
- dc- double crochet
- tr — treble crochet
- hk -= hook
- Picot — picot (see special stitches below)
- sl st — slip stitch
- sk — skip
- st/sts — stitch/stitches
- YO — yarn over hook
Special Stitches
- Picot - ch3, insert hk into 3rd ch from hk, YO pull the yarn back through both the stitch and the loop on the hk.
Instructions
- Foundation - MR, or ch3, sl st into 1st st to join and form a circle.
- Body — Ch3 (not a stitch), 16tr in ring, tighten ring, sl st into 1st tr to join. [16tr]
- Head — Ch2 (counts as dc), make (1dc, picot, 3dc, picot, 2dc) in the same space as ch-2, then sl st into the same sp. [7dc, and 2 picots]
- Wing #1 and claws — Ch10, sc in 2nd ch from hk, sc in each of the next 9-ch sts, sl st into next st on the body, ch1, turn.Sc in each of the next 6-sts, turn, picot (this forms the tip of the wing), sc in each of the next 6-sts, sl st into next st on the body, ch1, turn.Sc in each of the next 4-sts, turn, picot, sc in each of the next 4-sts, sl st into the next st on the body, ch1, turn.Sc in next 2-sts, turn picot, sc in next 2-sts, sl st into each of the next 5-sts on the body, picot (for claw 1), sl st in next 2-sts, picot (for claw 2), sl st in next 7-sts on the body (the last sl st should be in the same sp as the ch-3 of the head), and turn.
- Wing #2 — ch10, sc in 2nd ch from hk, sc in each of the next 9-ch sts, sl st into next st on the body, ch1, turn.Sc in each of the next 6-sts, turn, picot, sc in each of the next 6-sts, sl st into next st on body, ch1, turn.Sc in each of the next 4-sts, turn, picot, sc in each of the next 4-sts, sl st into the next st on the body, ch1, turnSc in next 2-sts, turn, picot, sc in next 2-sts, sl st into next st on the body, ch1, cut yarn, and fasten off.
- Finish — Use a yarn needle to weave in the tail ends.If necessary block or press them lightly on the wrong side with a warm iron, to stop them from curling up.Then glue or sew eyes to the bat head.
No comments
Write a comment