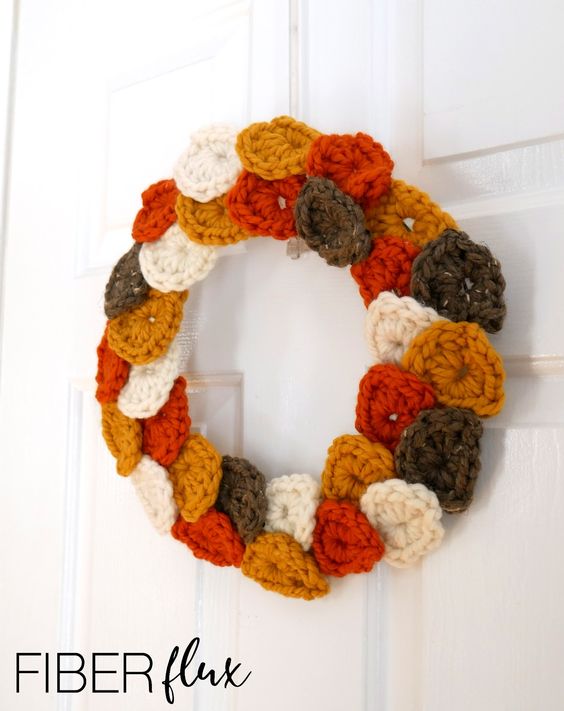
Crochet Falling Leaves Wreath
The Crochet Falling Leaves Wreath is a charming and delightful seasonal decoration for any home. Handcrafted with warm fall colors and intricate crochet stitches, it exudes a cozy and inviting feel. The intricately designed leaves bring a touch of nature indoors, capturing the essence of autumn. Whether hung on your front door to welcome guests or displayed on a blank wall to add a festive touch, this wreath is sure to brighten up any space. Get ready to embrace the beauty of the season with this lovely and unique crochet creation!

Materials:
- 9.0 mm N crochet hook
- Scraps of super bulky/6 yarn of your choice (I used Lion Brand Wool Ease Thick & Quick (I used the “Barley” “Pumpkin” “Fisherman” and “Mustard colorways)
- Tapestry needle
- Scissors
- Tape measure
- 12 inch wreath form
- Glue gun
- Optional: ribbon for a wreath bow
Finished Sizing:
- 14 inches across (12 inch wreath form with added width from leaves)
Instructions for one round leaf:
- Note: I made several in each yarn color…make enough to cover your wreath (number of leaves will be dependent on what size wreath form you are using. Wreath shown has 30 leaves)
- Chain 4 and join with a slip stitch to form a ring.
- Round 1: In the center of the ring, ch 3 (counts as a dc) then work 5 dc, 4 sc, 1 tr, 4 sc. Join with a slip stitch to close leaf and fasten off. Weave in any ends that remain and you may need to shape the leaf a bit with your hands.
Assembly instructions:
- Pre arrange leaves around the wreath from to get an idea of the design first. I arranged mine so that they all went in the same direction around the circle.
- Once leaves are how you want them to be, glue each leaf into place with the glue gun.
- Add a bow if desired.
- If you need a hanging loop, tie a little scrap of yarn/ribbon/twine to the top of the wreath.
- Allow wreath to completely cool and dry before hanging.
No comments
Write a comment