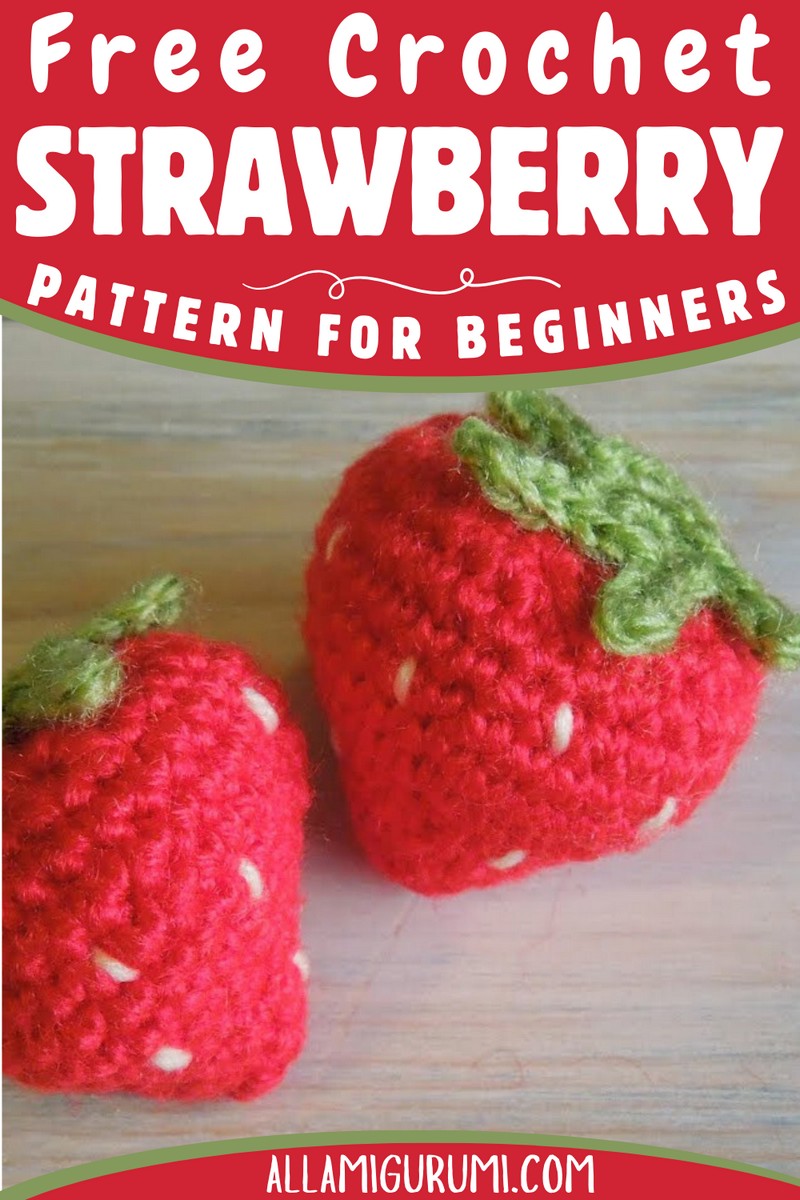
Crochet Cute Strawberry
Crocheting cute strawberries is a delightful and therapeutic activity that brings joy to both the creator and those who admire the finished product. The intricate details and vibrant colors used to craft these tiny fruits make them irresistible to look at and hold. Whether you're a seasoned crocheter or just starting out, the process of shaping the red berry with its signature green leaves can be both relaxing and rewarding. Not only can these adorable crocheted strawberries be used as keychains, décor, or even gifts, but they also serve as a reminder of the simple pleasures in life. So, grab your yarn and hooks, and let's crochet some sweetness into the world, one strawberry at a time!

Materials Needed:
- Green yarn
- Red yarn
- Yellow yarn (pale yellow preferred)
- DK (double knitting) light worsted weight yarn
- 3mm crochet hook (you can use 2.75mm or 3mm, but 3mm is recommended)
- Scissors
- Yarn needle
- Toy stuffing or yarn scraps for stuffing
Step by step Pattern
Round 1: With red yarn, work 6 single crochets (sc) into a magic circle. Alternatively, you can chain 4, slip stitch into the first chain to form a loop, and work the 6 sc into the loop. Close the round with a slip stitch into the first sc.
Round 2: Work 1 sc into each stitch around (6 stitches).
Round 3: Work 2 sc into each stitch around to double the number of stitches to 12.
Round 4: Work 1 sc into each stitch around (12 stitches).
Round 5: Work 1 sc in the next stitch, then 2 sc in the next stitch (increase). Repeat from * to * around to end up with 18 stitches.
Round 6: Work 1 single crochet in the next two stitches, then 2 sc in the next stitch (increase). Repeat from * to * around to end up with 24 stitches.
Round 7: Work 1 sc in the next three stitches, then 2 sc in the next stitch (increase). Repeat from * to * around to end up with 30 stitches.
Rounds 8-10: Work 1 sc in each stitch around (30 stitches).
Round 11: Work 1 sc in the next three stitches, then crochet 2 stitches together (decrease). Repeat from * to * around to go back down to 24 stitches.
Adding the «Seeds»:
Switch to yellow yarn.
- Thread the yarn needle with the yellow yarn.
- Insert the needle from the inside of the strawberry out through a stitch at the bottom.
- Make small stitches that look like seeds around the strawberry's surface. Don't pull too tight to avoid distorting the shape. Place these «seed» stitches all around the strawberry until you're satisfied with the look.
Finishing the Body:
Round 12: Continue with red yarn, crochet 2 stitches together all the way around until you have 12 stitches left. Before closing up completely, stuff the strawberry with either toy stuffing or yarn scraps.
Closing the Strawberry:
Continue decreasing (crocheting 2 stitches together) until you only have 6 stitches left. Cut the yarn, leaving a long tail for sewing. Use the yarn needle to weave through the last 6 stitches, pull tight to close the opening, and secure the end inside the strawberry.
Making the Leafy Top:
Switch to green yarn.
Round 1: Work 5 sc into a magic circle or chain 4 and join with a slip stitch to form a ring, then work the 5 sc into the ring. Slip stitch to the first sc to join.
- Chain 4, slip stitch in second chain from hook and in the next two chains, then work a single crochet in the same stitch on the main circle.
- Repeat this process around the circle to create leaf shapes. You should have a total of five leafy peaks.
- After completing the leafy top, cut the yarn, leaving a tail for sewing, and fasten off. Sew the leafy top onto your strawberry, positioning it at the top.
Finishing Touches:
Weave in any loose ends, and adjust the leafy top and the strawberry's shape as necessary.