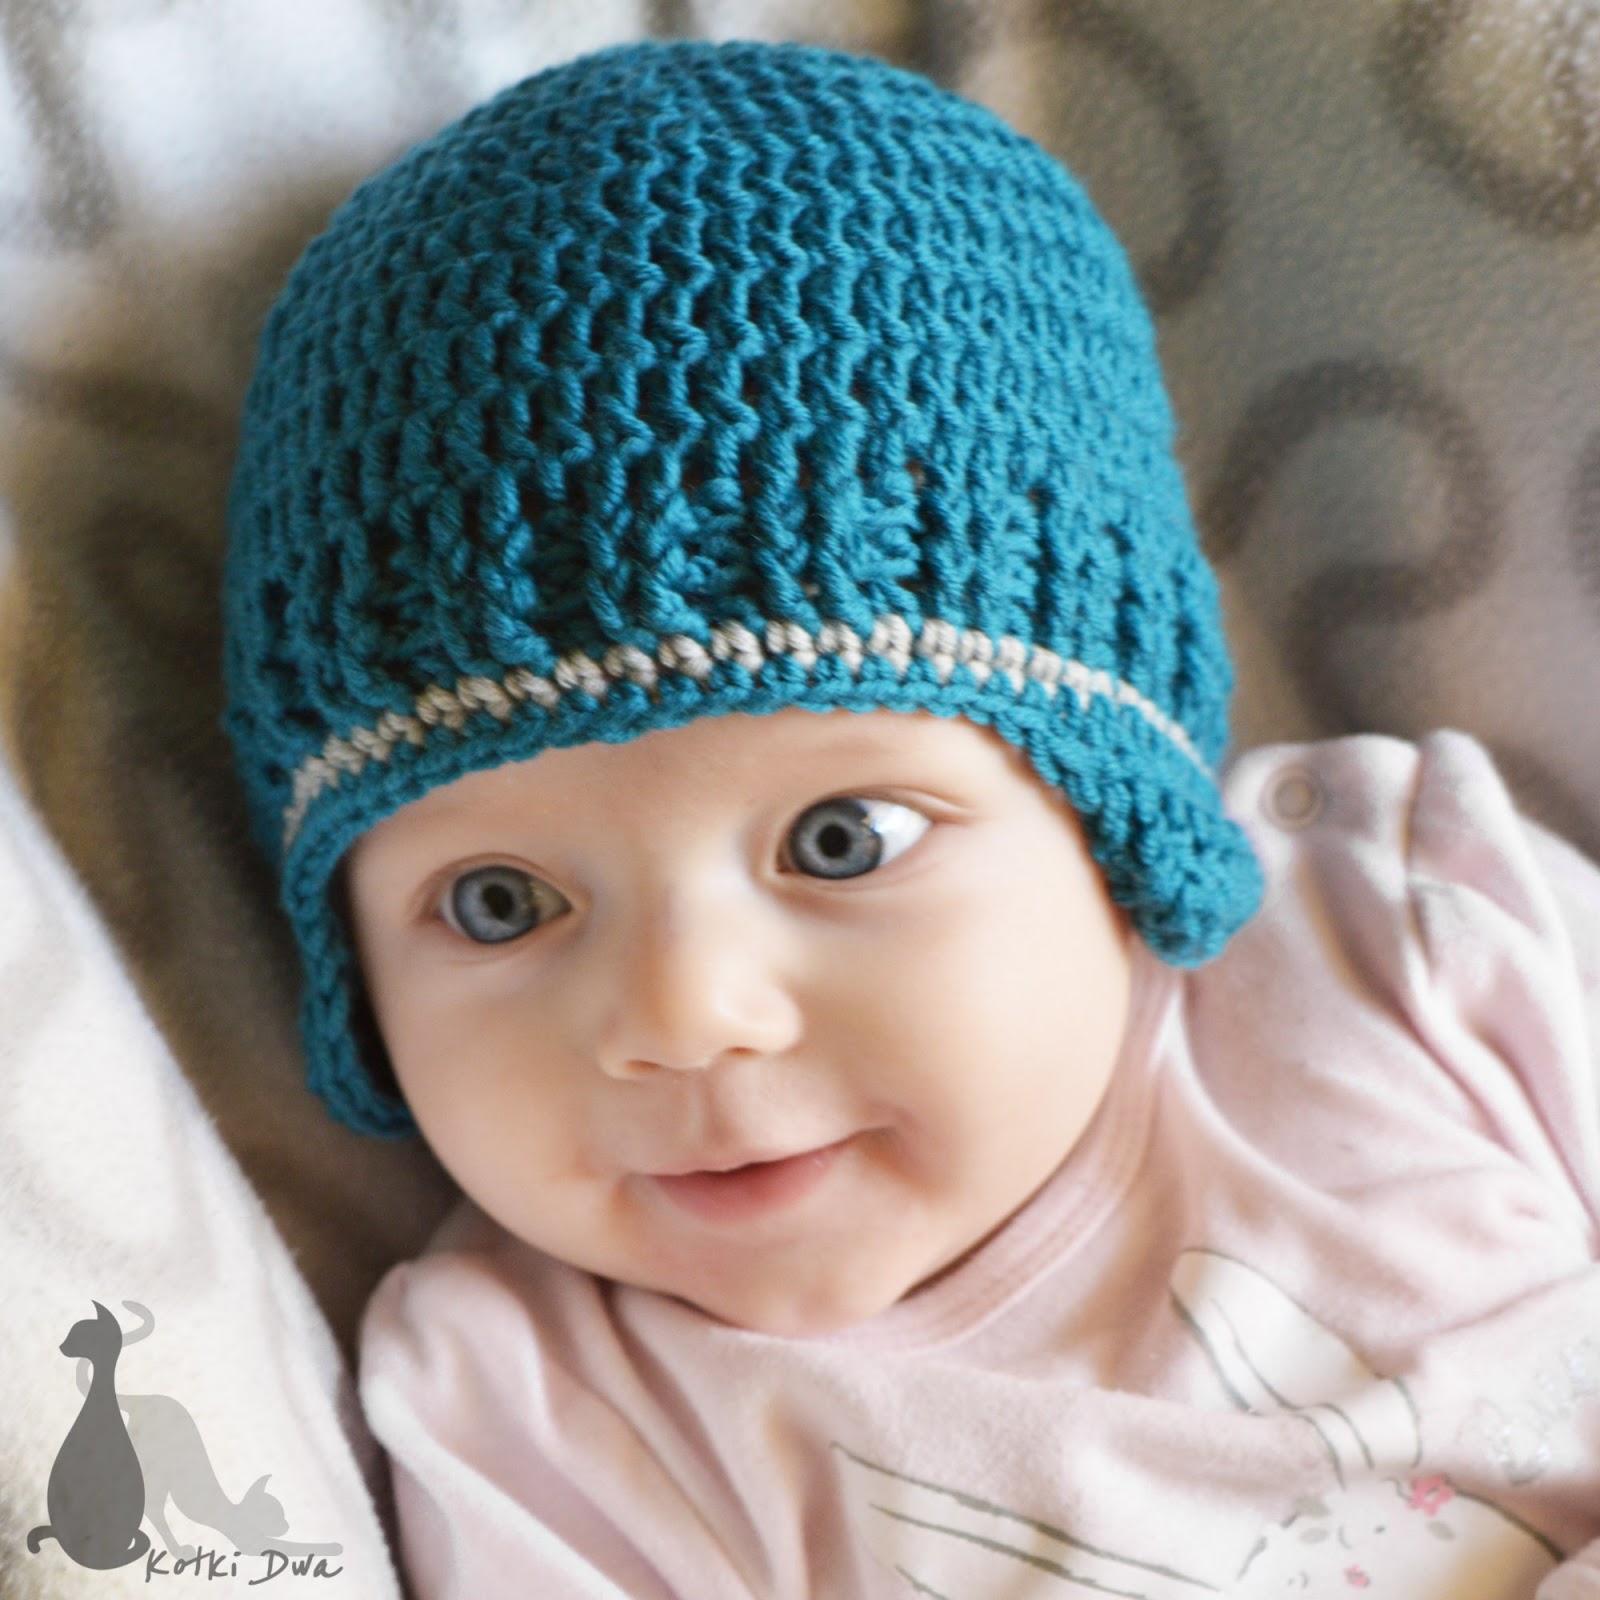
Crochet Beanie for Babies
Crochet beanies for babies are not only adorable but also practical, keeping your little one cozy and stylish at the same time. The soft yarn and delicate stitches create a gentle touch against their delicate skin, ensuring they stay warm during chilly days. With a myriad of colors and patterns to choose from, you can customize each beanie to match your baby's outfit or personality. Whether you're a seasoned crocheter or a novice looking to start a new hobby, crafting these tiny beanies is a rewarding and heartwarming experience. Seeing your baby rocking a handmade beanie, made with love, is truly a priceless moment that will be cherished for years to come. So, grab your crochet hook, pick out some yarn, and get ready to create the cutest accessories for your little bundle of joy!

You will need:
— quite thick, good quality wool (in my opinion merino wool is one of the best) – my choice is DROPS Merino Extra Fine (mix 05 and uni colour 28)
— crochet 4,5 mm
dc – double crochet
sc – single crochet
inc – increase
dec – decrease
Step 1 – find your size
The pattern is simple, mostly based on double crochets. You start with magic ring and develop your work to the right size. How to find it? You can get another baby’s beanie and crochet until your work reaches width of the model beanie. Finish every round with slip stitch, and start every round with two chains.
1: 10 dc in magic ring (10)
2: (inc) repeat 10 times (20)
3: (1 dc, inc) repeat 10 times (30)
4: (2 dc, inc) repeat 10 times (40)
5: (3 dc, inc) repeat 10 times (50)
6: (4 dc, inc) repeat 10 times (60)
7: (5 dc, inc) repeat 10 times (70)
As you can see, the way you increase following rounds is easy. In the last round you can add less than 10 stitches or don’t add anything.
For example: for my 4-months girl I made 60-stitches beanie, for a 8-months-old boy I made 66 stitches, and for my 2-years-old son – 70 stitches.
Step 2 – find your length
In next rounds use only double crochets, until you reach your length (keep in mind that the rib is another 1 cm length). I made 4 rounds, so we have:
8-11: 60 dc – 4 rounds
Step 3 – make a rib
To make a rib you will use two kinds of double crochets – front loop dc and back loop dc (relief stitches). Make two rounds this way:
12-13: (2 dc from the front loop, 1 dc from the back loop), repeat 20 times (60)
* in the photo you can see the right and the wrong side of my work
Step 4 – make ears (if you don’t want ears, finish your work on the rib)
14: single crochets in all stitches (60)
15: FIRST EAR: 10 dc, reverse, 2 stitches, dec, 4 dc, dec, 1 dc, reverse, 2 stitches, dec, 2 dc, dec, 1 dc, slip stitches downside of the ear, 20 sc*, SECOND EAR: 10 dc, reverse, 2 stitches, dec, 4 dc, dec, 1 dc, reverse, 2 stitches, dec, 2 dc, dec, 1 dc, slip stitches downside of the ear, 20 sc*
* 20 sc is the length calculated from the beanie width. It’s full width sub 20, and the result div 2 (in my work: 60-20=40, 40:2= 20)
The beanie is done now!