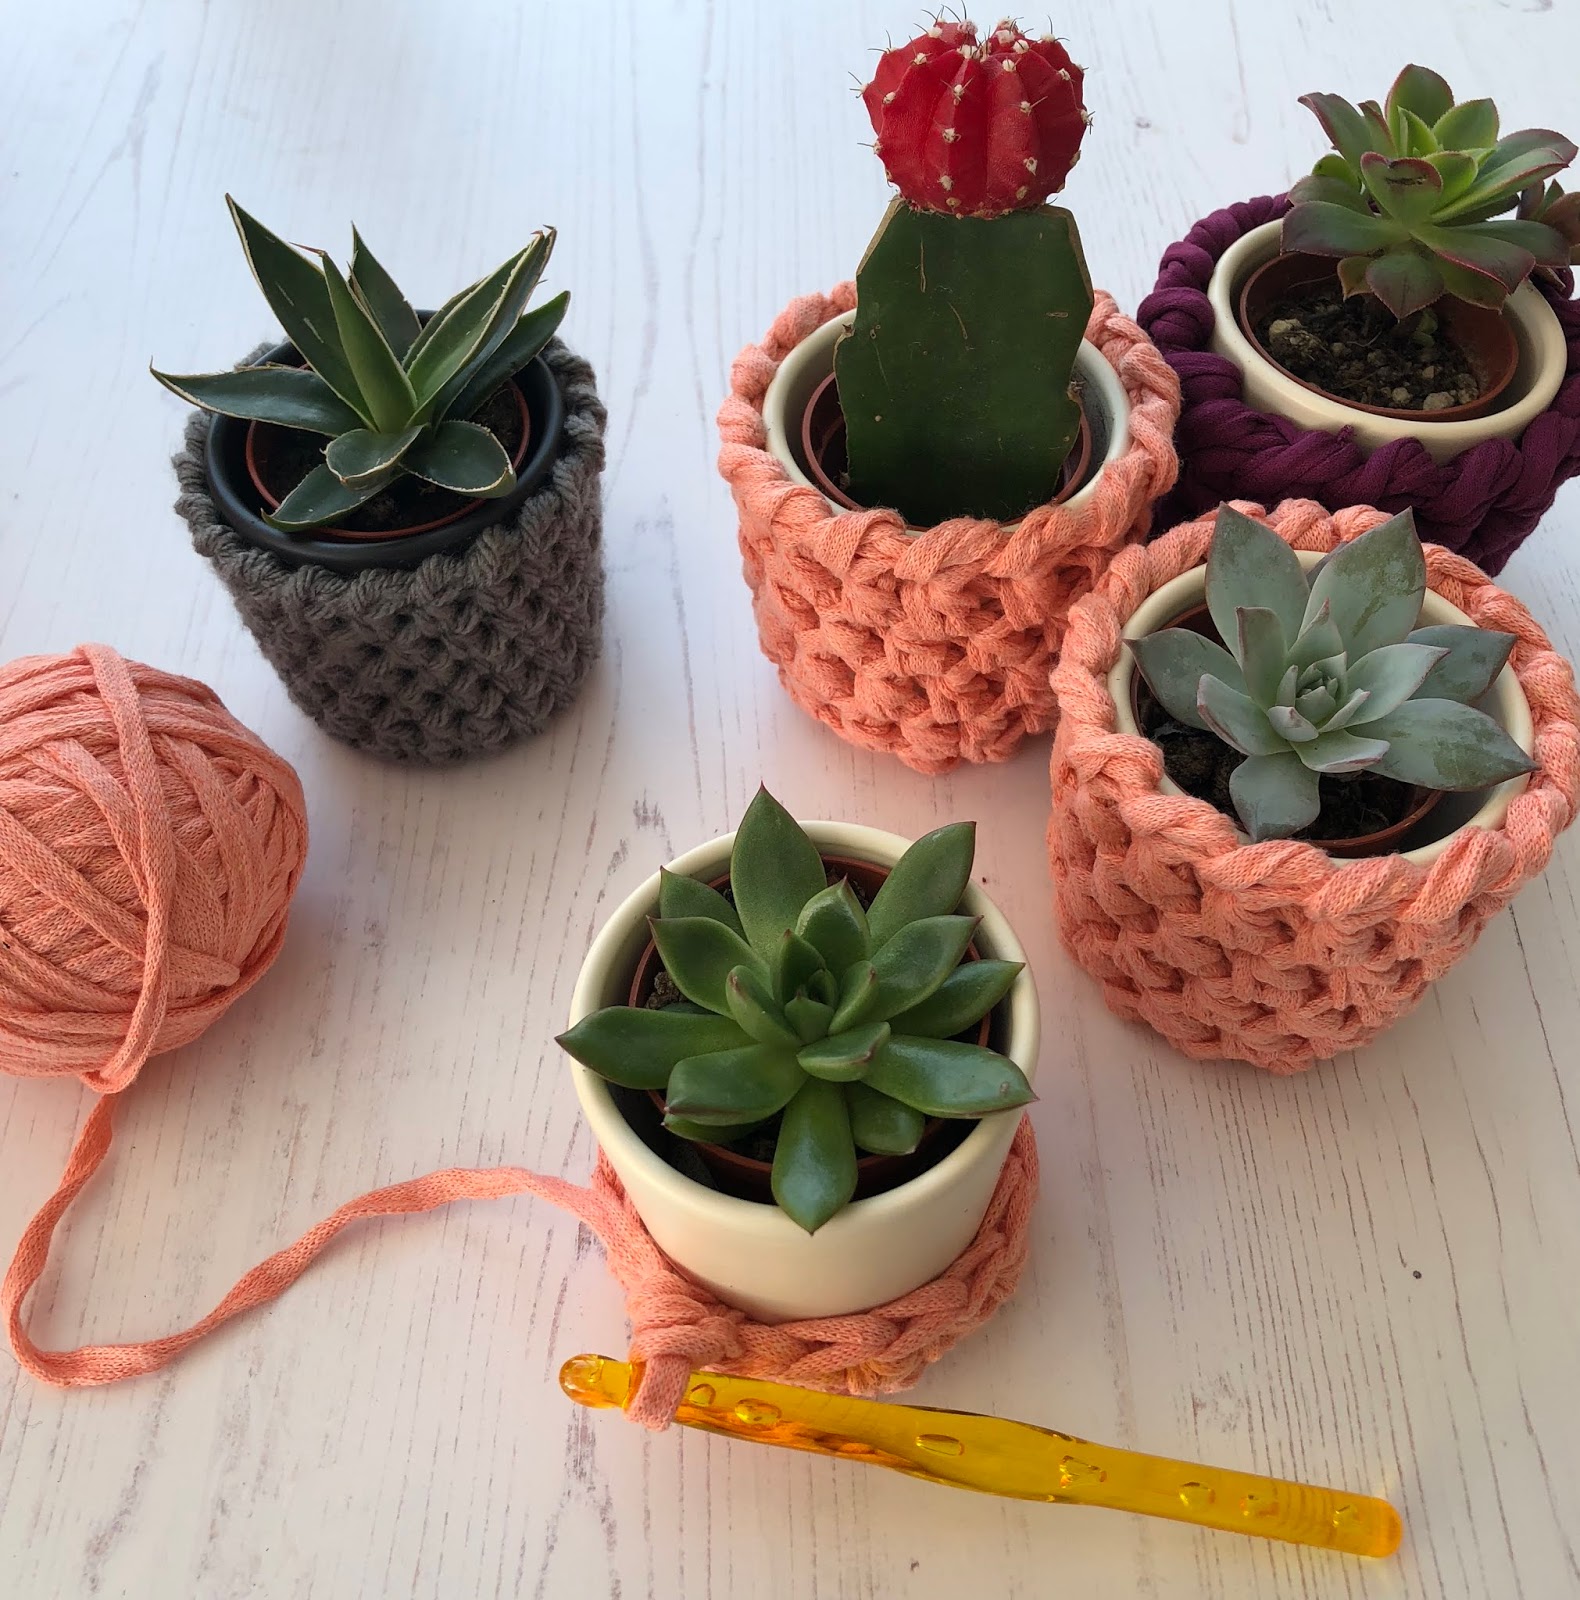
Crochet Plant Pot Covers
Crochet plant pot covers are a delightful way to add a touch of charm and warmth to your indoor space. Not only do they add a cozy feel to your plant collection, but they also make for a unique and personalized decor piece. With a wide variety of colors and patterns to choose from, you can easily find the perfect cover to match your style and bring a cheerful vibe to any room. Additionally, these covers provide a layer of insulation for your plants, keeping them cozy during colder months. So, whether you're a seasoned crocheter or looking to try a new DIY project, crochet plant pot covers are a fun and creative way to spruce up your home with a touch of handmade goodness.

You will need:
Just a small amount of yarn and a hook size to match (with the t shirt or ribbon yarn I use 9mm or chunky acrylic with a 6mm)
a small plant pot. Mine measure approx. 2 inch diameter at the base, 2.5 inch diameter at the top and height = 2.5 inches
scissors and darning needle to weave in ends
Follow the basic pattern below increasing the number rows to adjust height or diameter
abbreviations:
mc = magic circle
st= stitch
hdc= us half double/uk half treble
ss= slip stitch
ch = chain
note-ch 1 does not count as a stitch
with t shirt yarn and a 9mm hook:
1. mc, ch 1 and work 6 hdc, ss to 1st hdc =6st
2. ch 1, work 2 hdc in each st =12 st
note-at this point you should have a circle that measures roughly the same as the base of your plant pot, if needed add an additional increase row by working 1hdc, 2hdc and repeat this pattern around to give a total of 18 st. Keep increasing by adding 6 st in each row until the circle has the correct diameter. The yarn should have some stretch so slightly smaller than your pot base is perfect as you want it to fit quite tightly
3. ch 1, hdc in each stitch working in the back loops only, ss to first hdc = 12 st
4. ch 1, *hdc in the next 3 st, 2 hdc in next st, repeat * ss to 1st hdc =15 st
5-6. ch 1 hdc in each st = 15 st (add additional rows here to make a taller cover)
7. work in crab stitch (reverse single crochet) around for the final row, or ss around for a simpler finish
fasten off and weave in ends
That's it! so quick and easy. With the hoooked ribbon yarn I added one extra row of hdc after row 6 just to get the height right. You can adjust however you need, just make sure to get the base size right before working in the back loops to create the rim, then add one more increase row (increase by 3 st) before creating the height
With paintbox chunky acrylic yarn I used a 6mm hook and adapted the pattern slightly:
rows 1-2 as above
3. ch 1, *hdc, 2 hdc in next st and repeat around, ss to 1st hdc = 18 st
4. ch 1, hdc in back loops, ss to first hdc = 18 st
5. ch 1, *hdc in next 5 st, 2 hdc in next st, repeat around, ss to 1st st = 21 st
6-9, ch 1, hdc in each st = 21 st
10. crab stitch around for final row
fasten off and weave in ends