Crochet The Heart Puff Hat
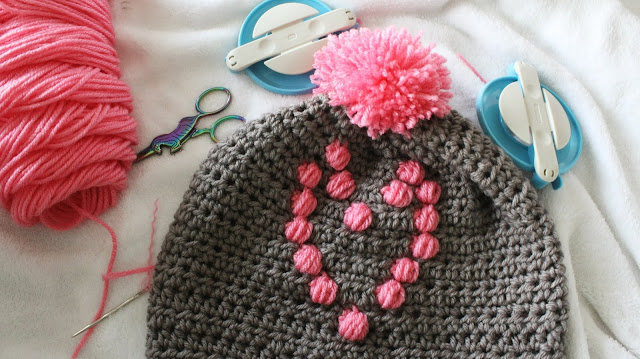
The Crochet The Heart Puff Hat is an adorable and cozy accessory that will keep you warm while adding a touch of charm to your outfit! This hat features cute heart-shaped puffs, making it perfect for spreading love and warmth wherever you go. Whether you're out for a stroll in the park or relaxing at home, this hat is sure to make you feel snug and stylish. So, why not treat yourself to this lovely crochet creation and spread some love with every wear? It's the perfect way to add a warm hug to your ensemble!
Materials:
- Less than half a skein of Grey and Pink from Red Heart Super Saver/Medium 4/ 100% Acrylic // 364 yards
- H/8 5.00MM Crochet Hook
- Yarn Needle
- Craft Scissors
GAUGE
- 4"= 5 STS
- 4"=7 Rows
- 49X29
ABBREVIATIONS/STITCHES UTILIZED
- sc=single crochet
- hdc=half double crochet
- hdc blo slst=back loop half double crochet
- dc=double crochet
- tch[s]=turning chain[s]
- sts=stitches
- sl st= slip stitch
- ch=chain
THE PATTERN
STEP ONE
Chain FOR 57 STS/ 18 INCHES LENGTH/ 10 INCHES WIDTH
Grey
R1: SC into all of the STS for the entire row, at the end of the row, turn work utilizing turning chain to continue.
R2: HDC into all of the STS for the entire row, at the end of the row, turn work utilizing turning chain to continue.
R3: SC into all of the STS for the entire row, at the end of the row, turn work utilizing turning chain to continue.
R4: HDC into all of the STS for the entire row, at the end of the row, turn work utilizing turning chain to continue.
R5: SC into all of the STS for the entire row, at the end of the row, turn work utilizing turning chain to continue.
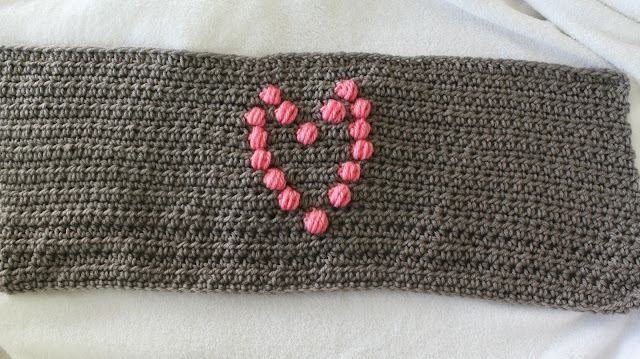
R6: HDC into the first 28 STS [change colors to Pink to create a PUFF STITCH] then HDC the remaining the 28 STS, at the end of the row, turn work utilizing turning chain to continue.
R7: SC into all of the STS for the entire row, at the end of the row, turn work utilizing turning chain to continue.
R8: HDC into the first 27 STS [change colors to Pink to create a PUFF STITCH] then HDC the remaining the 3 STS, and then [change colors to Pink to create a PUFF STITCH], then HDC the remaining STS, at the end of the row, turn work utilizing turning chain to continue.
R12: HDC into the first 25 STS [change colors to Pink to create a PUFF STITCH] then HDC the remaining the 7 STS, and then [change colors to Pink to create a PUFF STITCH], then HDC the remaining STS, at the end of the row, turn work utilizing turning chain to continue.
R14: HDC into the first 24 STS [change colors to Pink to create a PUFF STITCH] then HDC the next 3 STS, and then [change colors to Pink to create a PUFF STITCH], then HDC the next 3 STS, and then [change colors to Pink to create a PUFF STITCH], then HDC the remaining STS, at the end of the row, turn work utilizing turning chain to continue.
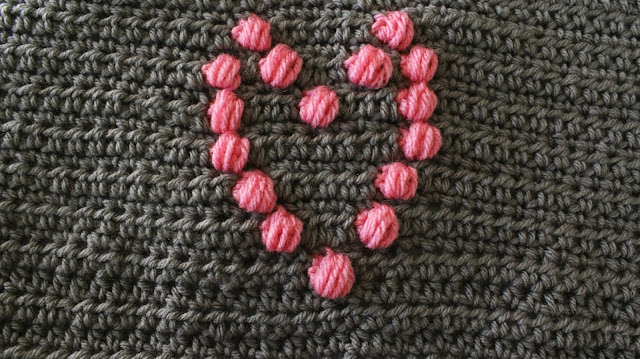
R18: HDC into the first 23 STS [change colors to Pink to create a PUFF STITCH] then HDC the next 5 STS and then [change colors to Pink to create a PUFF STITCH] then HDC the remaining STS, at the end of the row, turn work utilizing turning chain to continue.
R21: HDC into all of the STS for the entire row, at the end of the row, turn work utilizing turning chain to continue.
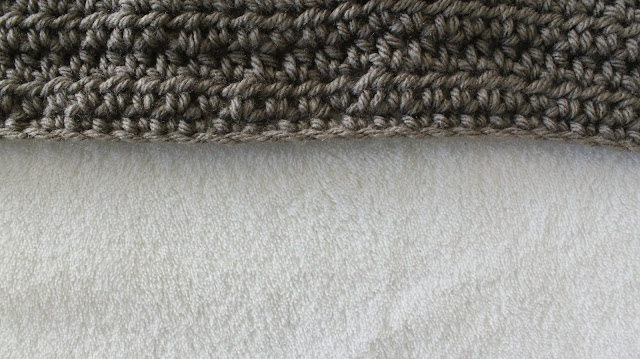
R22: SC into all of the STS for the entire row, at the end of the row, SL ST to complete final work.
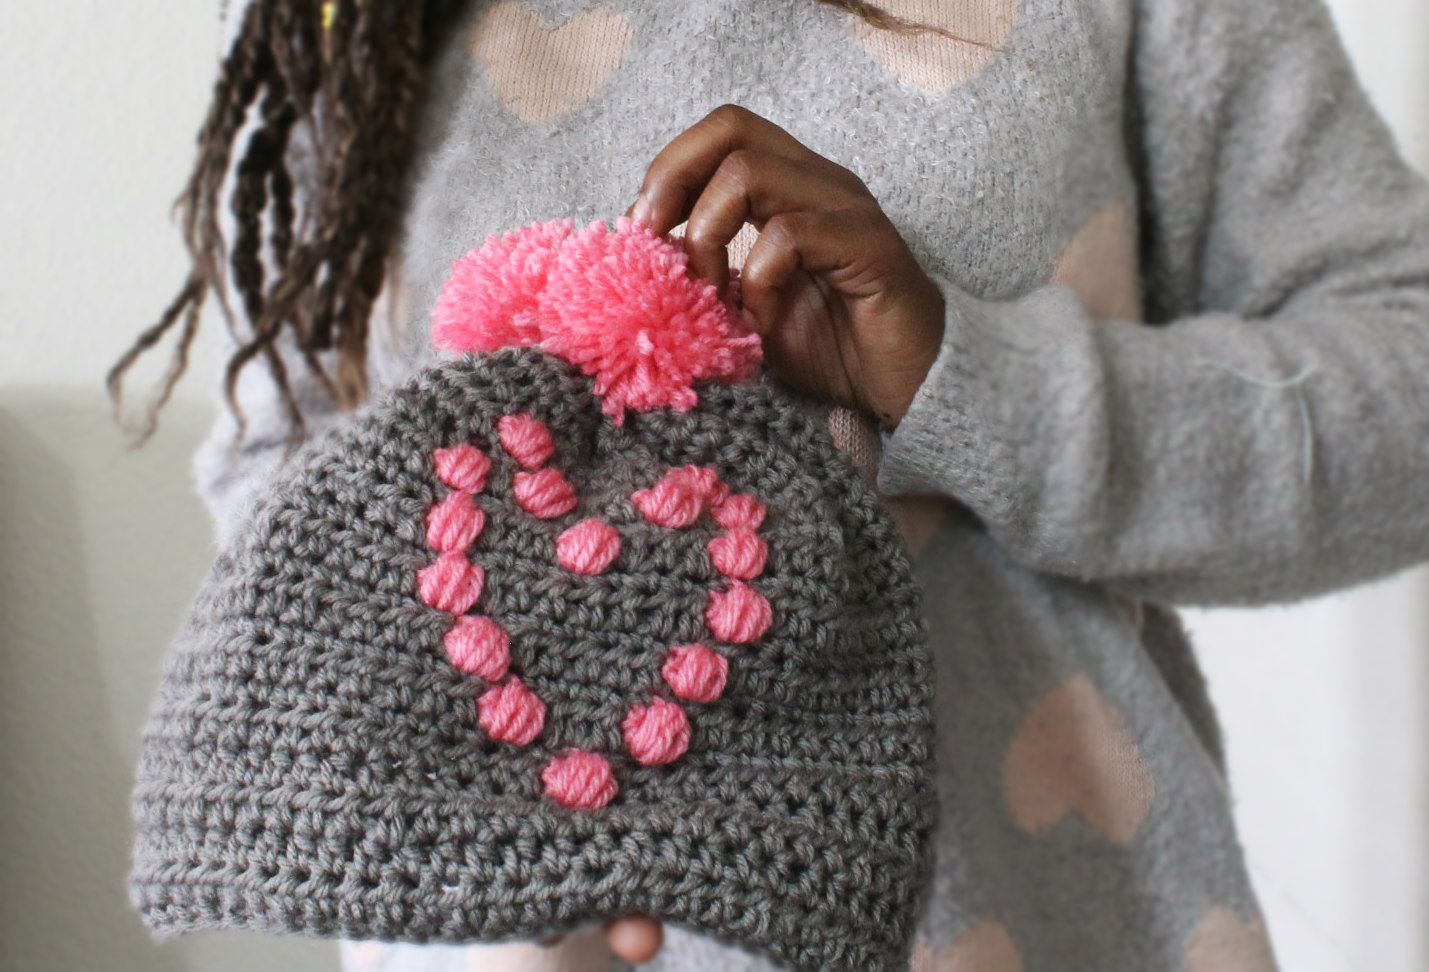
Next, with your tapestry yarn sewing needle and a strand of yarn, sew the sides of the horizontal piece together.
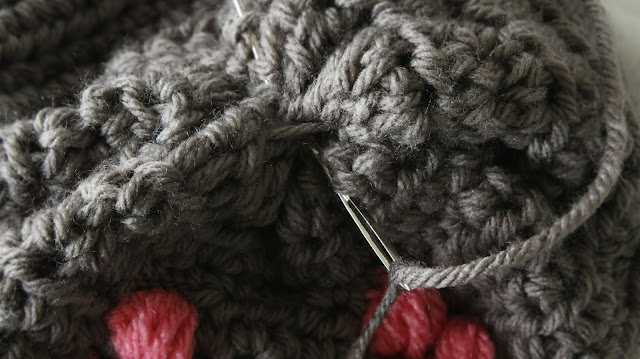
Next, at the top opening for the hat, utilize the whip stitch along the top last row [22] in between the stitches, to pull the strand to secure the top of the newly constructed hat.
Also, I created two pom poms to place at the top of the hat for a little more flair!
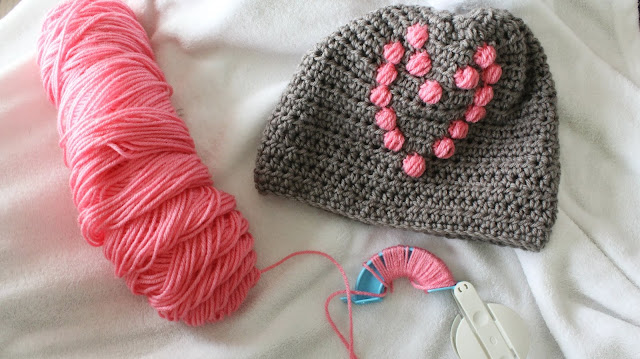
Using the pom pom maker tool, I constructed two pom poms in Pink, utilizing the tapestry yarn sewing needle and a strand of yarn, the pom poms were sewn to the center top portion of the hat.