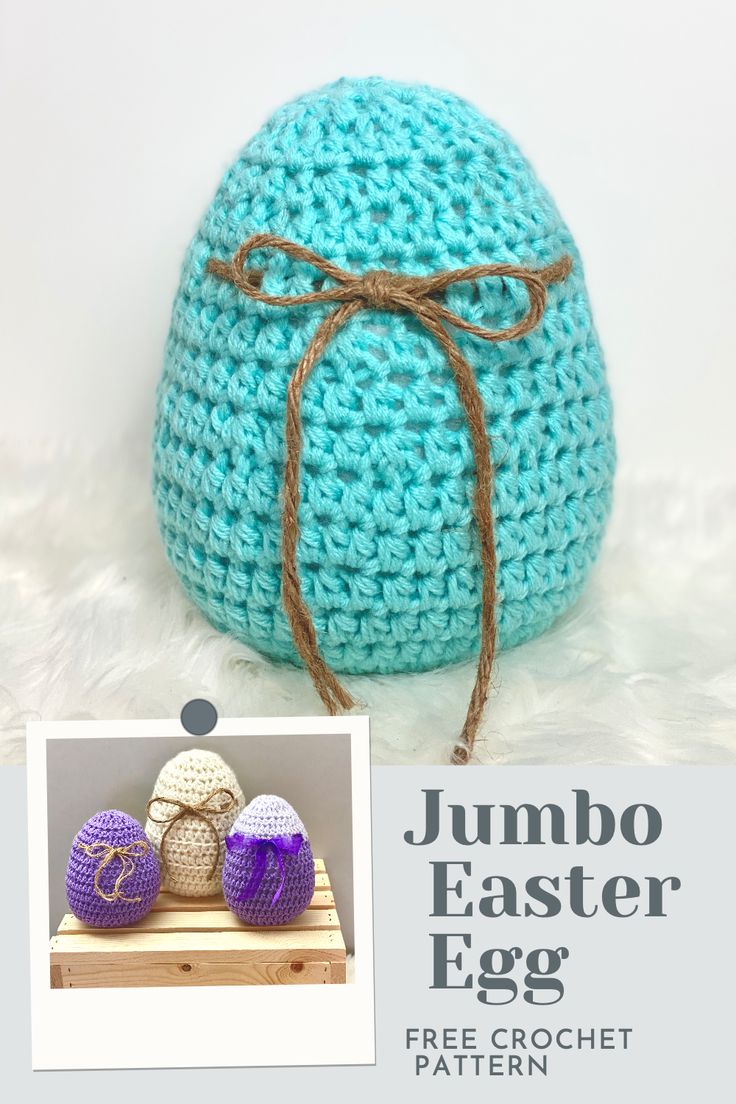
Crochet Jumbo Easter Egg
The Crochet Jumbo Easter Egg is the perfect way to bring some festive cheer to your home this spring! This delightful decoration adds a touch of whimsy to any space, whether displayed on a mantel or as a centerpiece on your dining table. Handcrafted with love and care, it's a unique and charming addition to your Easter decor. With its colorful yarn and intricate design, this jumbo egg is sure to bring a smile to your face and create a warm and inviting atmosphere for you and your loved ones to enjoy during the holiday season.
What you will need for the Jumbo Easter Egg crochet pattern
- Yarn of choice. Approximately 60-120 yards but varies based on yarn weight used; I have used Worsted #4, Bulky #5 & Super Bulky #6 yarns
- Hook to match yarn weight. I used 5.00mm hook for #4 yarn or 6.5mm hook for #6 yarn.
- Ribbon or Rope/Jute
- Poly-fil
- Yarn Needle
- Scissors
Pattern Notes
* Beginner pattern.
** Written in US crochet terms.
* Finished size = Varies depending on yarn weight used.
** Gauge: Not essential for this pattern.
* Ch at the beginning of Rnd does not count as a st, always place 1st st of each Rnd in same st as beginning chain unless stated otherwise.
** I have tried different types of yarn and found that medium #4 and bulky #5 yarn worked the best, but I encourage you to experiment with different materials to get different sizes and textures.
* Egg is worked in the Rnd from the bottom up.
** Be careful not to overstuff the egg, otherwise it will not sit flat.
Stitch Key
- ch = chain
- dc = double crochet
- dec = half double crochet decrease
- hdc = half double crochet
- join = Invisible Join Method
- MC = Magic Circle
- rep = repeat
- Rnd(s) = Round(s)
- sc = single crochet
- sk = skip
- slst = slip stitch
- OPTIONAL: Inv Dec = hdc Invisible Decrease. Use instead of dec
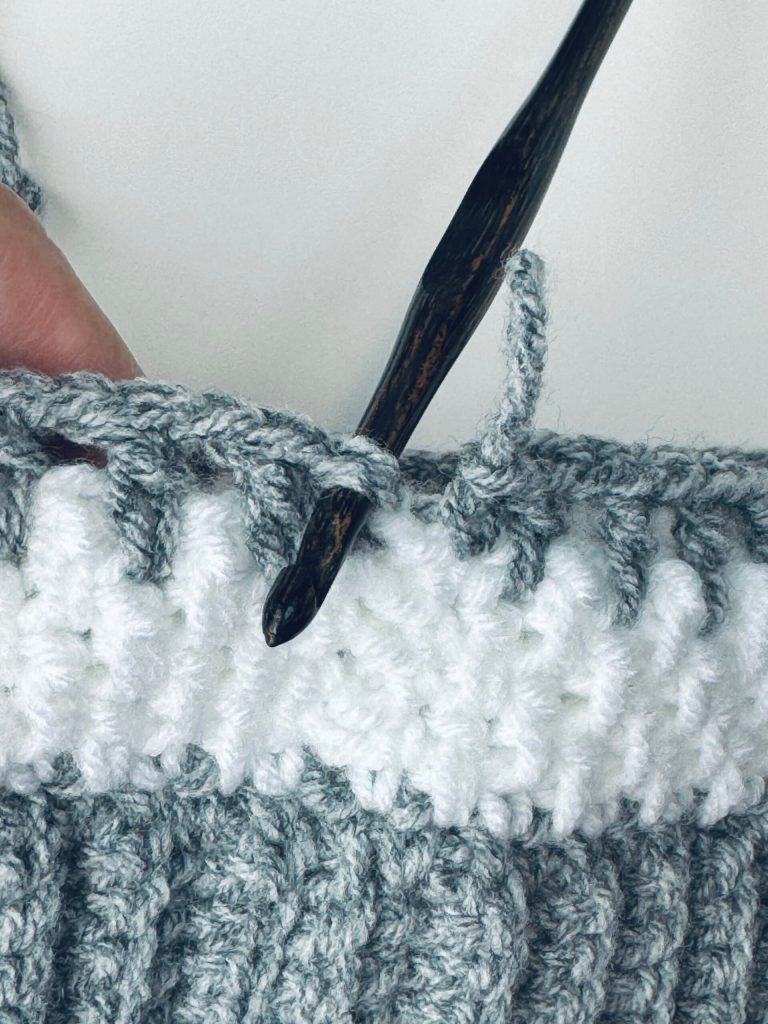
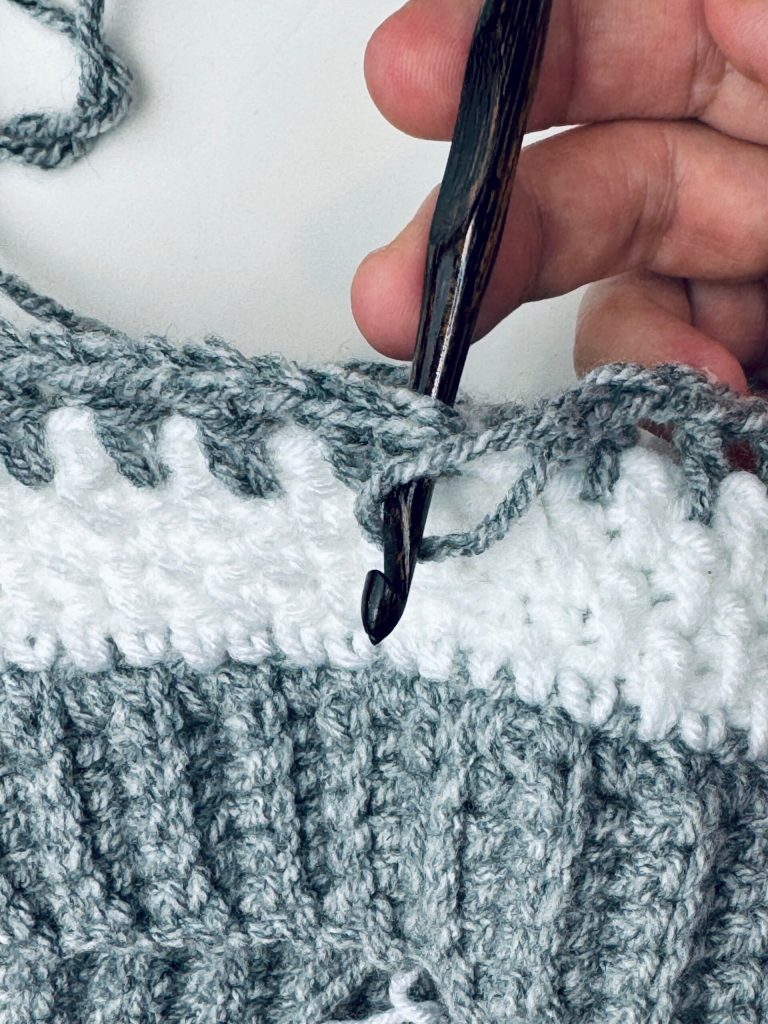
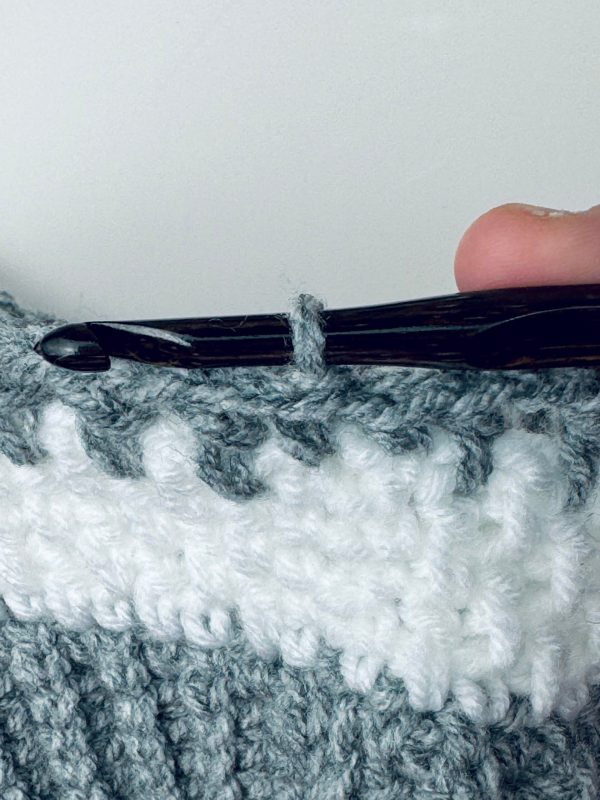
Invisible Join Method Tutorial
Rnd 1:
Ch 3, work 15 dc in the 3rd ch from hook, (or work 15 dc in MC), join to 1st dc, ch 2. (15 dc)
Rnd 2:
2 dc in each st around, join, ch 2. (30 dc)
Rnd 3:
dc in each st around, join, ch 1.
Rnd 4:
*hdc, 2 hdc in next st; repeat from * around, join, ch 1. (45 hdc)
Rnds 5 – 6:
hdc in each st around, join, ch 1.
Rnd 7:
*hdc in the next 13, 2 hdc in the next st; repeat from * 3 times, 1 hdc in each of the last 3 sts, join, ch 1. (48 hdc)
Rnd 8:
hdc in each st around, join, ch 1.
Rnd 9:
*hdc in next 3, dec; repeat from * 9 times, 1 hdc in last 3, join, ch 1. (39 hdc)
Rnd 10:
hdc in each st around, join, ch 1.
Rnd 11:
*hdc in next 7, dec; repeat from * 4 times, hdc in each of the last 3, join, ch 2. (35 hdc)
Rnd 12:
dc in each st around, join, ch 1.
Rnd 13:
hdc in each st around, join, ch 1.
Rnd 14:
*hdc, dec; repeat from * 11 times, hdc in the last 2 sts, join, ch 1. (24 hdc)
Rnd 15:
hdc in each st around, join, ch 1.
~ Stuff egg with Poly-fil before beginning Round 16 ~
Rnd 16:
dec in each st around, join, ch 1. (12 hdc)
Rnd 17:
sc in each st around, join.
Rnd 18:
*slst, sk st; repeat from * around, join. (6 slst)
rep Rnd 20. 16
Finish off leaving a 12″ tail. Weave the tail in and out of the stitches on Rnd 18, then cinch closed and secure.
Adding Ribbon or Jute
Wrap ribbon/jute around Rnd 12 (the dc Rnd) of the egg to measure how much you will need. Be sure to leave plenty of length for the tails on the bow before cutting.
Weave the ribbon/jute through the dc stitches on Rnd 12. Locate the seam where the Rnds meet and turn away from you.
With the front of egg facing you, thread a large yarn needle with ribbon/jute, insert the needle between two sts. Choose two sts that are slightly to the left of center and weave in and out going under and over every 3 stitches.
Once back around to the front tie a beautiful bow.