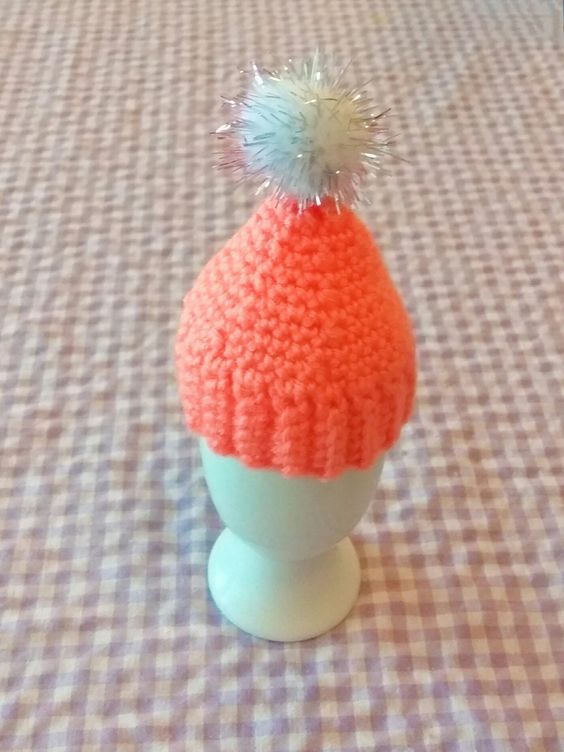
Crochet Egg Cosy Hat
The crochet egg cosy hat is the perfect addition to your breakfast routine, bringing a touch of fun and charm to your table. Not only does it keep your boiled eggs warm and snug, but it also adds a delightful element to your morning ritual. With its cute design and cozy feel, this adorable accessory is sure to bring a smile to your face as you start your day. Whether you enjoy crafting or simply appreciate the little things in life, the crochet egg cosy hat is a delightful way to add a touch of whimsy to your breakfast experience. So why not treat yourself to this cute and practical addition to your kitchen collection? It's a small gesture that can make a big difference in brightening up your morning routine.
You will need:
- 3.5 mm or 4 mm crochet hook
- Salmon colour yarn recommended for the hook
- Scissors
- Needle and string
- Pompon or anything you want to use for decoration of the hat
Abbreviations:
- ch – chain
- sl st – slip stitch
- st – stitch
- sc – single crochet
- dec – 2 sc together (used to decrease the number of stitches)
- X 6 – repeat 6 times
- at the end of every round total number of stitches is shown in brackets
Instructions:
We start with the ribbing, make 5 ch (the last, 5th ch is a turning ch)
Rounds 1-36: sc in next 4 st IN BACK LOOPS ONLY, 1 turning ch (4)
Round 36: now we are going to close the rubber. Insert the hook in the last st of the last and the first rounds at the same time, make sl st in next 4 st (4)
Now we are crocheting the “body” of the hat. So I start counting the rounds again.
Round 1: 1 ch, sc in next 36 st (36)
Round 2: (sc in next 4 st, dec) X 6 (30)
Round 3: sc in all st (30)
Round 4: (sc in next 3 st, dec) X 6 (24)
Round 5: sc in all st (24)
Round 6: (sc in next 2 st, dec) X 6 (18)
Round 7: sc in all st (18)
Round 8: (sc in next st, dec) X 6 (12)
Round 9: sc in all st (12)
Round 10: (dec) X 6 (6)
Round 11: sc in all st (6)
Round 12: Closing the hat: dec, skip 1 st, sl st, fasten off, cut the yarn and weave in all ends.
Now sew the pompon, decorate the hat and it is finished!