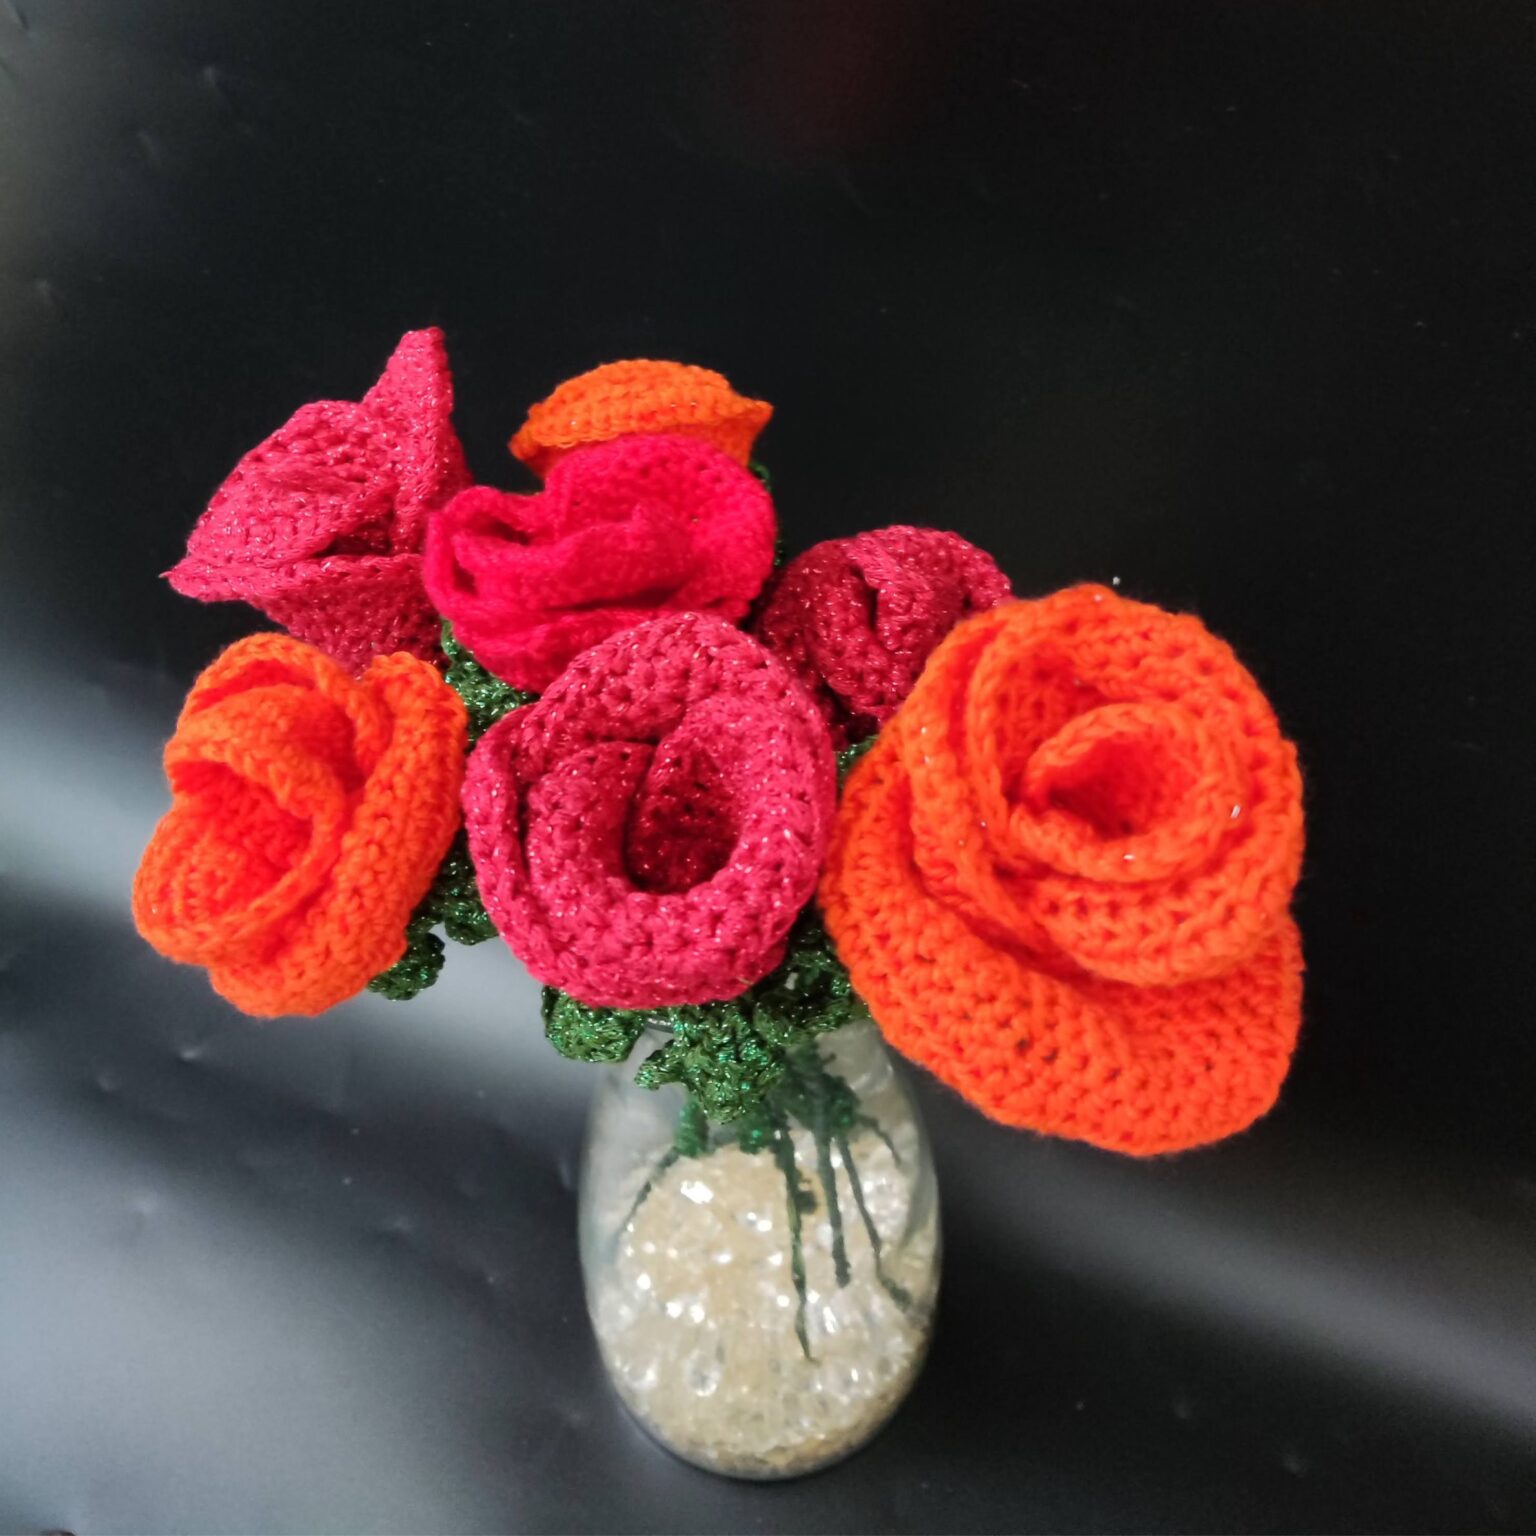
Crochet Beautiful Rose
Crocheting a beautiful rose is not only a wonderful way to add a touch of handmade charm to any project but also a delightful way to express your creativity. The intricate loops and stitches come together to form a stunning floral masterpiece that is sure to brighten up anyone's day. So grab your yarn and hook, and let's create something truly special together, one stitch at a time!
Supplies needed for your easy rose crochet pattern
Yarn – The prototype uses both 4 Ply and Worsted weight yarn. You can use any weight of yarn for yours.
4 Ply yarn – Hobbii Friends wheel, 4-ply, 55% Cotton, 45% Acrylic, 400 m / 437 yds per 100 g / 3.5 oz.
Worsted weight – Hobbii Flash it! #4, Medium, 80% Viscose, 20% Metallic fiber, 90 m / 98 yds per 50 g / 1.75 oz.
Sample made in: Orange (4 Ply), Red, and Green colors (Worsted weight)
Estimated Total Yardage for one rose
80 yards for the petals
40 yards for the Sepal
Hook and other materials needed for the crochet rose pattern
4 mm Crochet Hook
Glue gun – Optional
Optional – Florist wire
- Binding wire for floristry and flower arranging
- Stub Wire – Green Florist wires – 12”
- Wire cutter
Gauge according to the yarn weights –
4 Ply = 17 sts over 14 rounds = 4” made in hdc
Worsted weight = 13 sts over 10 rows – 4” made in hdc
Gauge is not critical to this project.
Free Easy Rose Crochet Pattern Notes
- Please kindly read through the pattern before starting.
- Any weight yarn can be substituted. Please note that the finished rose dimension would be determined by the weight of your yarn.
- Section 1 – The Rose is worked in a spiral without joining, stitch markers should be moved up with each round.
- Section 2 – The sepal – is worked in a combination of rounds with rows into the last round to make leaves. Continue to work in a spiral without joining using a stitch marker to keep track of the rows.
- You can skip adding wires.
Difficulty Level – Intermediate
Terms – US Terminology
Stitches used for this easy rose crochet pattern
Chain/chains – ch/chs
Single crochet -sc
Half double crochet – hdc
Slip Stitch – sl st
Instructions for this easy rose crochet pattern
Section 1 – Rose Petals
Note:
SMALL PETALS –
- Make 9 pieces.
- With your desired petal colors.
Round 1: In a magic ring, ch 1, 6 sc in magic ring, place stitch marker (6 sc)
Round 2: 2 sc into each st around, move stitch marker. (12 sc)
Round 3: *2 sc into next st, sc into next st, repeat from * to stitch marker (18 sc)
Round 4: *2 sc in next st, sc in next 2 sts, repeat from * to stitch marker (24 sc)
Round 5: *2 sc in next st, sc in next 3 sts, repeat from * to stitch marker (30 sc)
Round 6: *2 sc in next stitch, sc in next 4 sts, repeat from * to stitch marker (36 sc)
Do not forget to add wire when working Round 7
Round 7: Working over the wire, *(hdc, ch 2, hdc) in next st, hdc in the next 5 sts repeat from * to stitch marker, join with an sl st to beginning st. (42 hdc, 6 ch-2 sp)
Fasten off.
MEDIUM
- Make 6 pieces.
- With red thread, using a 2.0mm hook.
Round 1: In a magic ring, Ch 1, 6 sc in magic ring, place stitch marker (6 sc)
Round 2: 2 sc into each st around, place stitch markers and move with every round. (12 sc)
Round 3: *2 sc into next st, sc into next repeat from * to stitch marker. (18 sc)
Round 4: *2 sc in next st, sc in next 2 sts, repeat from * to stitch marker. (24 sc)
Round 5: *2 sc in next st, sc in next 3 sts, repeat from * to stitch marker. (30 sc)
Round 6: *2 sc in next st, sc in next 4 sts repeat from * to stitch marker. (36 sc)
Round 7: *2 sc in next st, sc in next 5 sts, repeat from * to stitch marker. (42 sc)
Round 8: *2 sc in next st, sc in next 6 sts, repeat from *to stitch marker. (48 sc)
Round 9: *2 sc in next st, sc in next 7 sts repeat from * to stitch marker. (54 sc)
Note – do not forget to add wire when working Round 10
Round 10: Working over the wire, *(hdc, ch 2, hdc) in next st, hdc in next 8 sts repeat, from * to stitch marker. (52 hdc, 6 ch-2 sp)
LARGE – MAKE 3 PCS
With red thread, using a 2.0mm hook.
Round 1: Make a magic ring, ch 1, 6 sc in magic ring, place stitch marker (6 sc)
Round 2: 2 sc into each st around, move stitch marker after every round. (12 sc)
Round 3: *2 sc into next st, sc into next st, repeat from * to stitch marker. (18 sc)
Round 4: *2 sc in next st, sc in next 2 sts, repeat from * to stitch marker. (24 sc)
Round 5: *2 sc in next st, sc in next 3 sts, repeat from * to stitch marker. (30 sc)
Round 6: *2 sc in next st, sc in next 4 sts, repeat from * to stitch marker. (36 sc)
Round 7: *2 sc in next st, sc in next 5 sts, repeat from *to stitch marker. (42 sc)
Round 8: *2 sc in next st, sc in next 6 sts, repeat from *to stitch marker. (48 sc)
Round 9: *2 sc in next st, sc in next 7 sts, repeat from * to stitch marker. (54 sc)
Round 10: *2 sc in next st, sc in next 8 sts, repeat from * to stitch marker. (60 sc)
Round 11: *2 sc in next st, sc in next 9 sts, repeat from * to stitch marker. (66 sc)
Note – do not forget to add wire when working Round 12
Round 12: Working over the wire, *(hdc, ch 2, hdc) in next st, hdc in next 10 sts repeat, from * to stitch marker. (62 hdc, 6 ch-2 sp)
Fasten off
To assemble
ROSE BUD
- Pick up one of the smallest petals, and wrap it into two as shown below.
- Add a little glue/gum to the middle of the second small petal, and wrap it around the petal on the wire making sure at each point to cover the opening of the previous petal and both positioned at the same height.
If you desire to skip the glue, you can sew the distal sts together.
- Repeat step 2 for the 3rd petal, and for the other petals.
Set aside.
Small size rose – 3 small petals and 3 medium-sized petals
Medium size rose – 3 small petals and 3 medium-sized petals
Large size rose – 3 small petals and 3 medium-sized petals, 3 Large-sized petals.
Repeat steps 1 – 3 for the other sizes.
Start with the 3 small petals, and 3 medium petals, and then proceed to add the 3 large petals.
Set aside
Section 2 – Rose Sepal
(Green part around the base of the petals)
- The number needed would be determined by the number of Roses made in Section 1.
- With green yarn.
Small and medium sized Sepal
Chain 8, join to the 1st chain to form a circle.
Round 1: *2 sc in first ch, sc in next ch, rep from * to the end of the round. (12 sc)
Round 2: Sc in each st around. (12 sc)
Rounds 3 – 5: Repeat Round 2
Now, we start by creating chains and work a few stitches into the chains to make the leaves then we return to work a few more chains on the round.
Round 6: Ch 8, sl st into 2nd chain from hook, sc into next 2 chs, hdc in next ch, dc in next 2 chs, hdc in last ch.
Skip the next st on the bud, Sc into the next st on round 5.
*Continuing around round 5, repeat the instructions above for round 6 to create another calyx (leave)
Repeat * 3 more times
Fasten off.
Stalk and leaves – continue with the same hook and yarn
Row 1: Attach yarn with a slip stitch to the base of the sepal, where you chained 8 – make 20 FSC do not fasten off.
Note that the length of your FSC would be dependent on how long you want the stalk to be!!
Fasten off.
Large size Sepal
Chain 8, join to the 1st chain to form a circle.
Round 1: *2 sc in first ch, sc in next ch, rep from * to the end of the round. (12 sc)
Round 2: *2 sc in first st, sc in next 2 sts, rep from * to the end of the round. (16 sc)
Round 3: Sc in each st around. (16 sc)
Rounds 3 – 7: Repeat Round 3
Now, we start by creating chains and work a few stitches into the chains to make the leaves then we return to work a few more chains on the round.
Round 8: Ch 10, sl st into 2nd chain from hook, sc into next 2 chs, hdc in next 2 chs, dc in next 3 chs, hdc in last ch.
Skip the next st on the bud, Sc into the next st on round 7
*Continuing around round 7, repeat the instructions above for round 8 to create another calyx (leave)
Repeat from * to the end
Fasten off.
Assembling the parts together
Attaching a firm stalk to your rose
- The prototype was made using a combination of 4 pieces of 25g Hobby Green wire (25 cm x 0,71mm) and was secured with Bind wire, wrapped around the green wire multiple times.
Pass the stalk through the middle of the petal.
Attaching a firm stalk to your rose
- Pick up the assembled petals and the sepal
- If using glue, apply a generous amount of glue around the base of the petals and place the petals firmly into the bud.
- If omitting the glue, place the petal inside the bud and stitch together severally.
- The stalk (made with (FSC) can be used to either join the roses together. Or for the roses with wire stalks, you could wrap the yarn multiple times around the wire. Secure firmly.