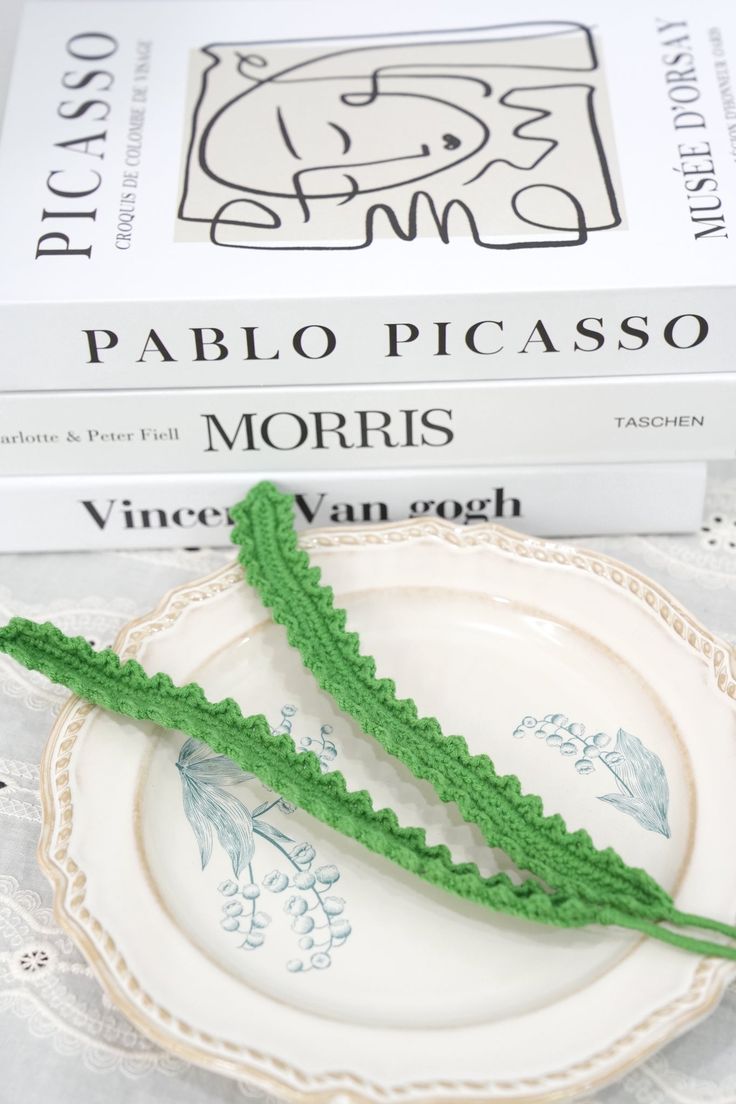
Crochet Serrated Leaf
The Crochet Serrated Leaf pattern is a delightful and intricate design that brings a touch of nature's beauty to your crochet projects! With its charming serrated edges and elegant texture, this pattern is perfect for adding a whimsical touch to your creations. Whether you're a beginner or a seasoned crocheter, this pattern offers a fun and rewarding challenge. So grab your favorite yarn and crochet hook, and let's create some beautiful serrated leaves together!
Materials Needed
- Yarn – Loopara 4ply combed cotton (Green 12)
- Hook – 2.0mm
- Iron wire – 0.5mm and 0.8mm
- Hot Melt Adhesive
- Stitch Marker
- Needle-nose Pliers
- Scissor
Step By Step Tutorial
Crochet Serrated Leaf
- R1: ch 62, add wire, 60 sc in 2nd ch from hook, 3 sc in next st, 60 sc, sl, ch
- R2: (sl, 2 incomplete sc, ch 2, sl in side of 2nd incomplete sc, sl in next st); rep from to tip, (sc, ch 2, sc) at tip, for other side: (sl, 2 incomplete sc, ch 2, sl in side of 2nd incomplete sc, sl in next st); rep from to end, sl
Serrated Leaf Assembly
- Start wrapping yarn from the bottom of the leaf to the end of the wire. Secure with a little glue at the bottom.
Notes
Crochet Tips:
1. Maintain consistent tension throughout, especially when working the serrated edge. This ensures even «teeth» along your leaf for a realistic appearance.
2. When adding wire in Round 1, gently weave it along as you crochet, being careful not to pierce your stitches. This will provide structure while keeping your work neat.