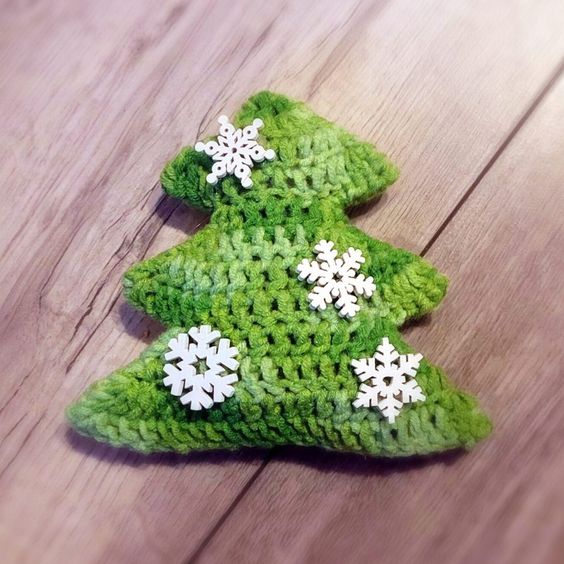
Crochet Christmas Tree with Snowflakes
Crocheting a Christmas tree with delicate snowflakes is such a heartwarming way to add a cozy touch to your holiday decor. The intricate details of the snowflakes against the textured tree create a beautiful and festive display that brings joy to any room. Taking the time to craft each stitch with care allows you to infuse your creation with love and creativity, making it a special piece that can be cherished for years to come. Whether you're wrapping it in twinkling lights or displaying it on a mantle, this crocheted Christmas tree with snowflakes is sure to spark smiles and spread holiday cheer.
Materials:
- 3.0 mm crochet hook
- Green DK yarn (I used this yarn from Amazon)
- Toy filling
- Tapestry needle
- Decorative snowflakes (or your preferred decorations)
- Glue gun
- Scissors
Abbreviations:
CH – chain
ST – stitch
DC – double crochet
SL ST – slip stitch
Instructions:
Make 2 crochet Christmas trees out of green yarn, finish them off with slip stitch. When finishing off second tree leave long tail for sewing.
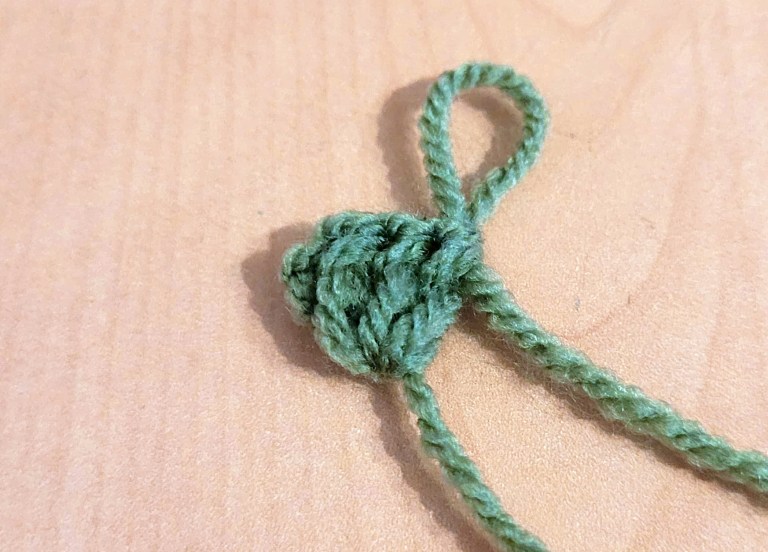
Make row 1 into magic circle. Ch of 3 will be counted as 1 DC.
Row 1: ch 3, 2 dc [3]
Crochet Christmas tree after finishing row 1:
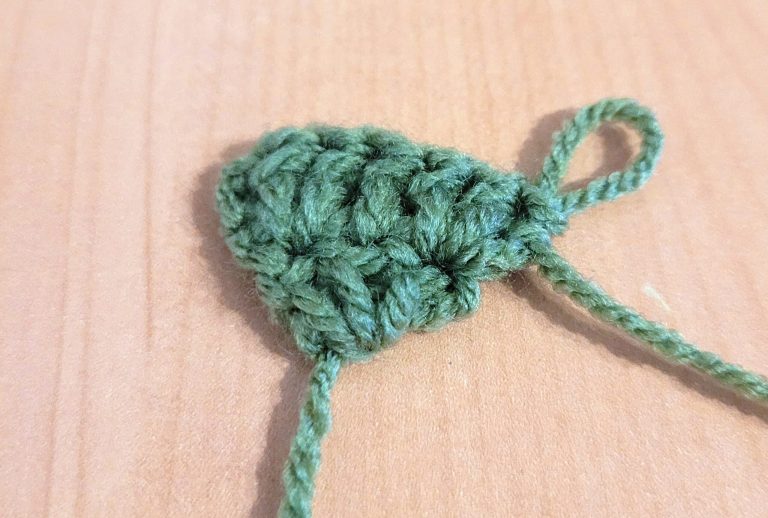
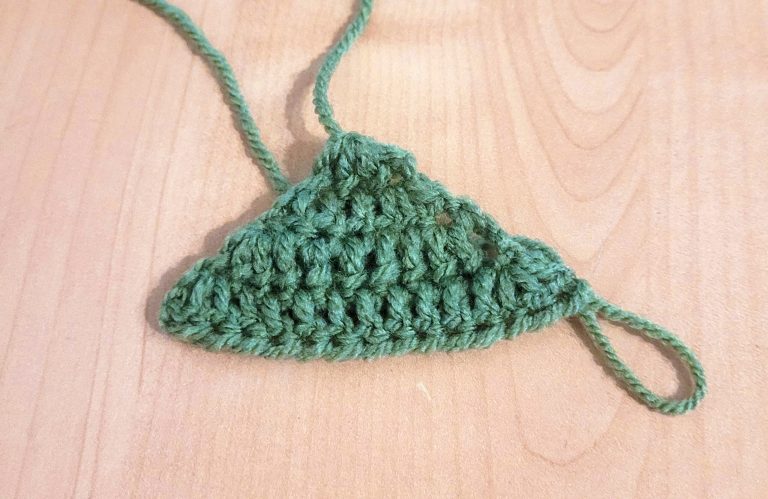
Row 2: ch 3, 2 dc into the same st, dc in next st, 3 dc into the last st (which is third st of previous round ch of 3) [7]
Crochet Christmas tree after finishing row 2:
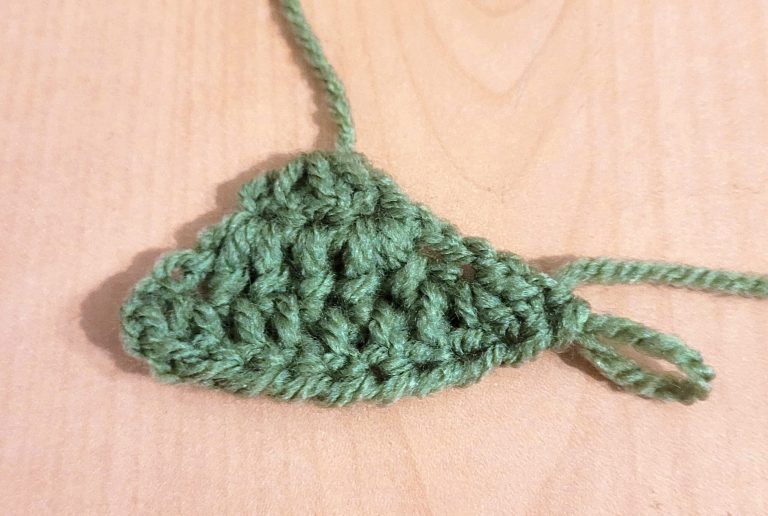
Row 3: ch 3, 2 dc into the same st, dc in next 5 st, 3 dc into the last st (which is third st of previous round ch of 3) [11]
Crochet Christmas tree after finishing row 3:
Row 4: ch 3, 2 dc into the same st, dc in next 9 st, 3 dc into the last st (which is third st of previous round ch of 3) [15]
Crochet tree after finishing row 4:
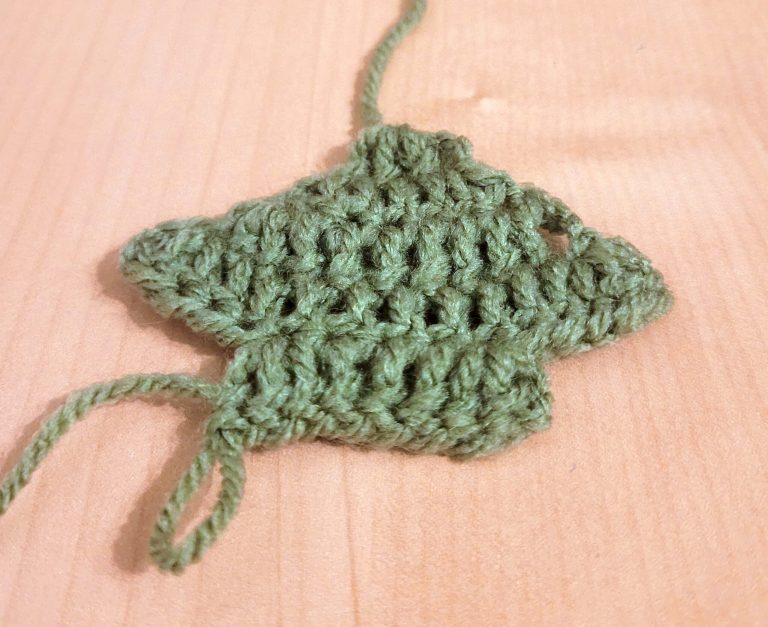
Row 5: sl st into next 6 st, ch 3 and 2 dc into the next st, dc in next 3 st, 3 dc into the last st [9]
Crochet Christmas tree after finishing row 5:
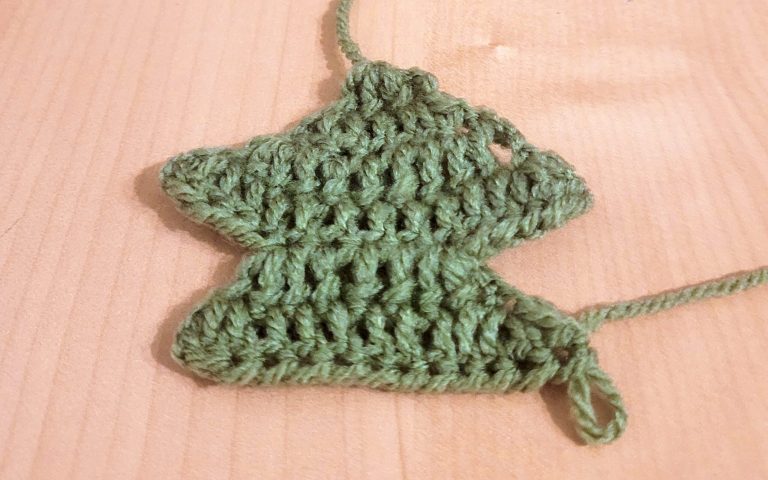
Row 6: ch 3, 2 dc into the same st, dc in next 7 st, 3 dc into the last st (which is third st of previous round ch of 3) [13]
Crochet tree after finishing row 6:
Row 7: ch 3, 2 dc into the same st, dc in next 11 st, 3 dc into the last st (which is third st of previous round ch of 3) [17]
Crochet Christmas tree after finishing row 7:

Row 8: ch 3, 2 dc into the same st, dc in next 15 st, 3 dc into the last st (which is third st of previous round ch of 3) [21]
Crochet tree after finishing row 8:

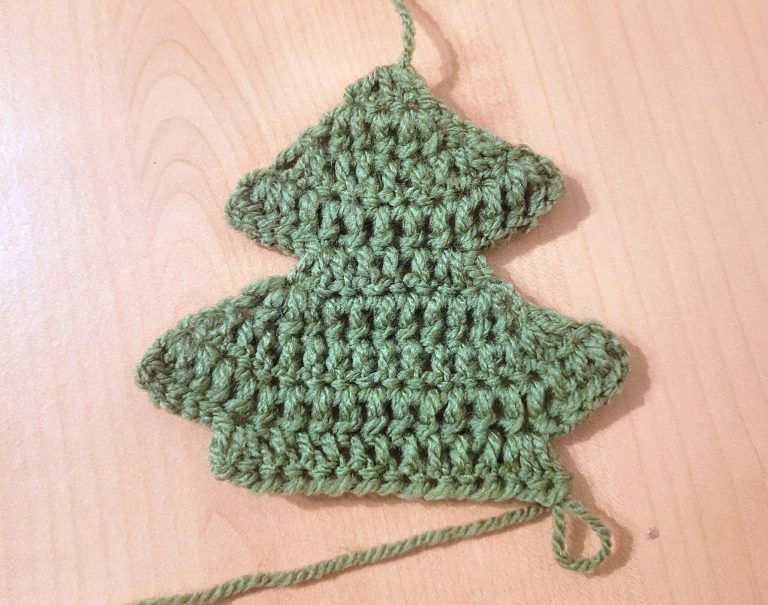
Row 9: sl st into next 6 st, ch 3 and 2 dc into the next st, dc in next 9 st, 3 dc into the last st [15]
Crochet Christmas tree after finishing row 9:
Row 10: ch 3, 2 dc into the same st, dc in next 13 st, 3 dc into the last st (which is third st of previous round ch of 3) [19]
Crochet Christmas tree after finishing row 10:
Row 11: ch 3, 2 dc into the same st, dc in next 17 st, 3 dc into the last st (which is third st of previous round ch of 3) [23]
Crochet tree after finishing row 11:
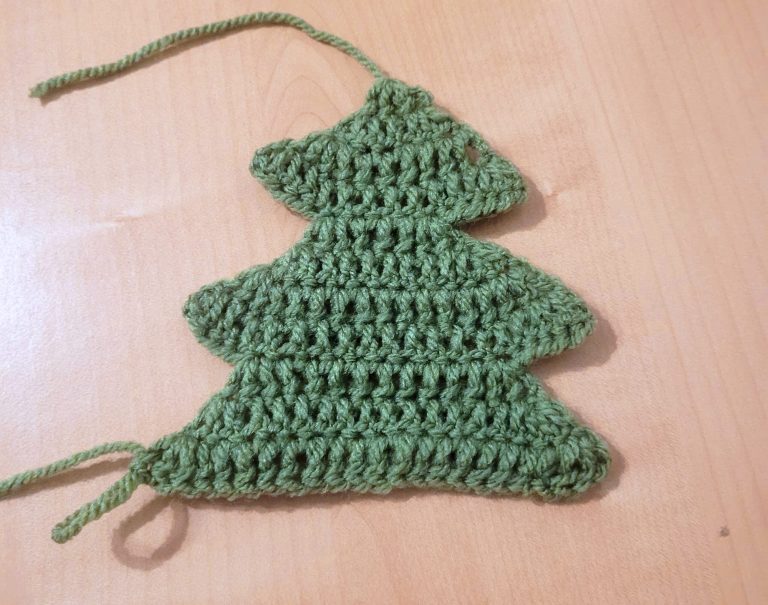
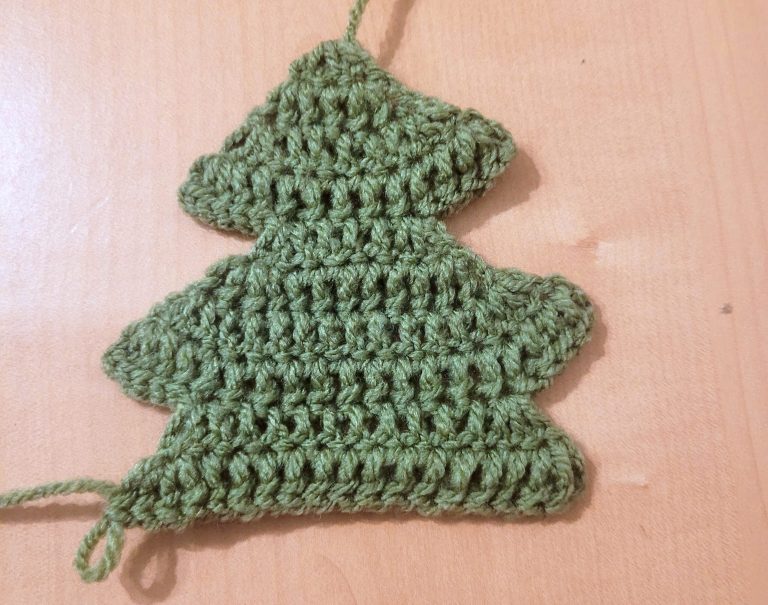
Row 12: ch 3, 2 dc into the same st, dc in next 21 st, 3 dc into the last st (which is third st of previous round ch of 3) [27]
Crochet Christmas trees after finishing row 12:

Assembly
Step 1: grab tapestry needle and place both trees on top of each other (make sure bad face inside).
Step 2: stitch them together. Stuff slightly with toy filling before closing it off.
Step 3: using glue gun attach snowflakes to our crochet Christmas tree.