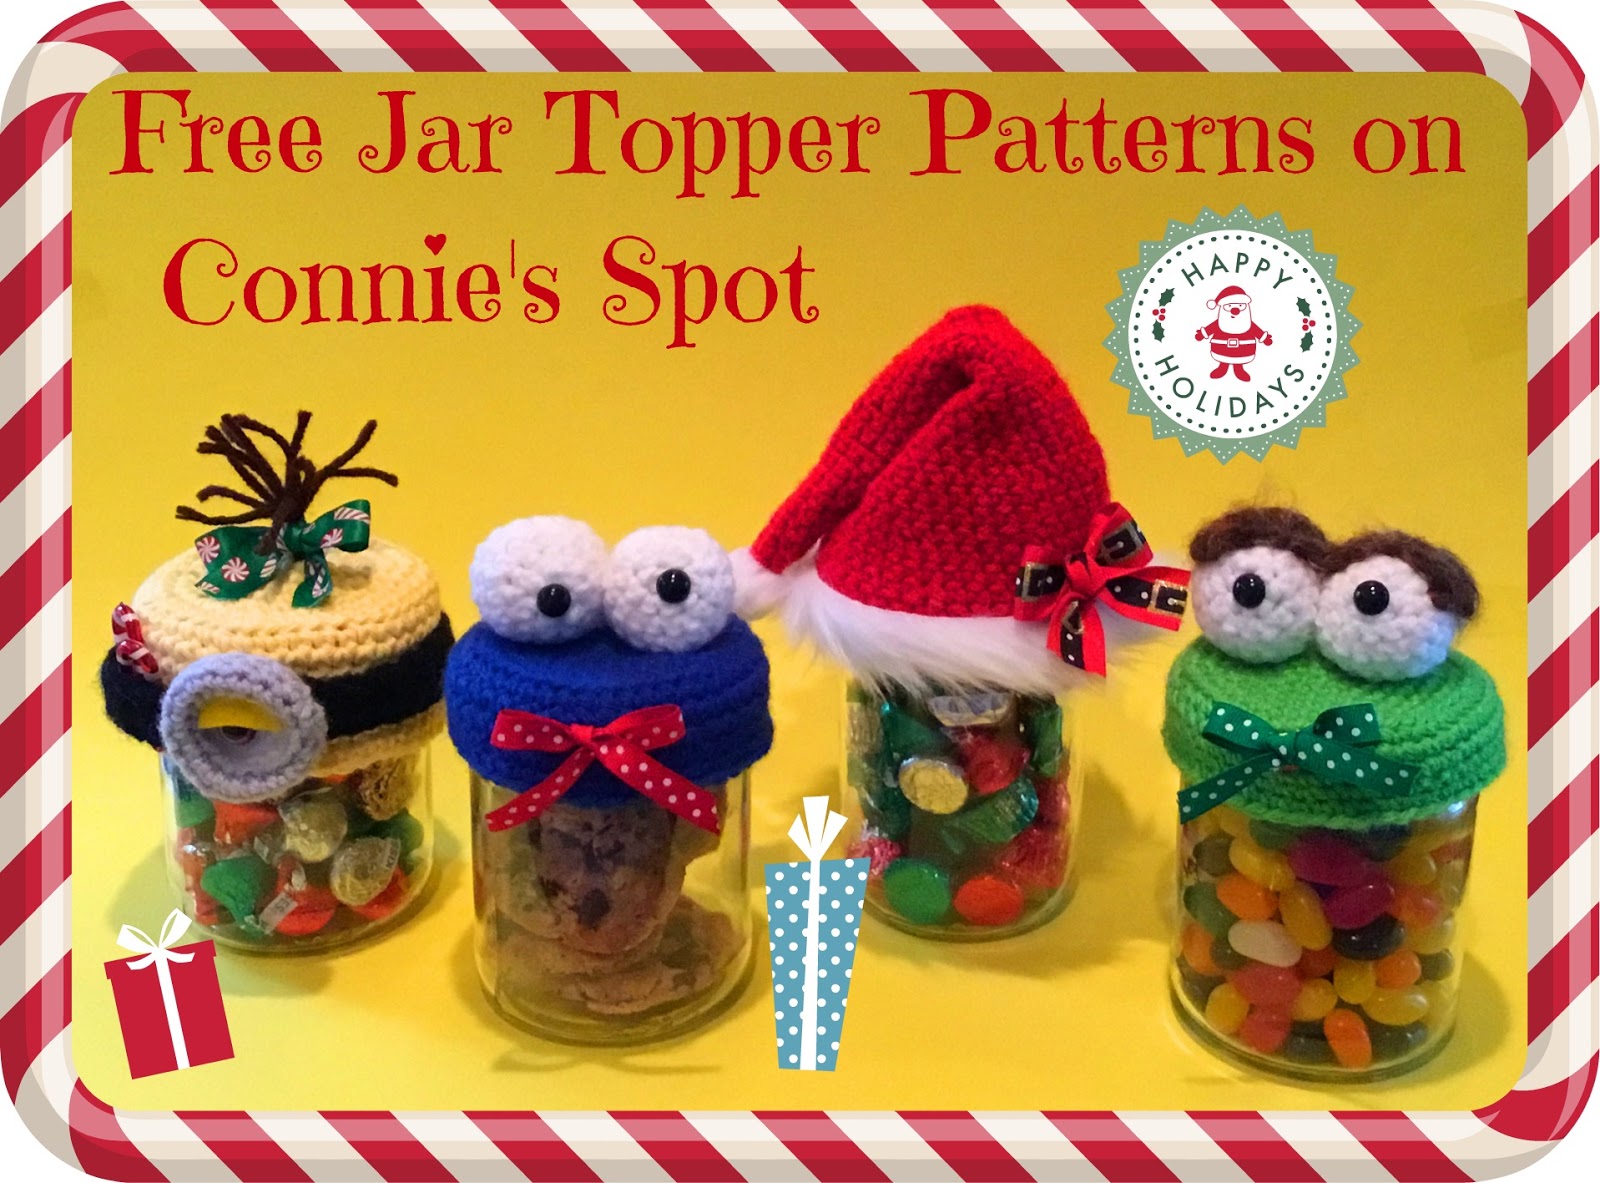
Crochet Jar Topper
Crochet jar toppers are a delightful way to add a touch of charm to your mason jars or containers. These whimsical creations not only serve a practical purpose by keeping your food items fresh, but they also bring a sense of coziness and handmade warmth to your kitchen decor. By using colorful yarn and various crochet stitches, you can customize your jar toppers to suit your style and personality. Whether you are an experienced crocheter or just starting out, creating these cute toppers can be a fun and fulfilling project that adds a unique flair to your home. So grab your crochet hook and let your creativity flow as you craft these adorable jar toppers that are sure to bring smiles to anyone who sees them!

I used a Masion Jar Lid Size that is 3 1/4" also the same as a Tostitos Jar
Red Heart Super Saver Yarns used in Pattern:
Cherry Red
Spring Green
Real Royal Blue
White
Brown Fur type yarn (for Oscar's eyebrows)
Brown (for minion hair)
Black
Light Grey
Sugar'n Cream Yarn in:
Vanilla Bouquet
Other Materials used in Pattern:
Poly Fiber Fill
2 10mm Safety Eyes (for Cookie Monster, Oscar)
Sm. Piece of Yellow Felt (for eyelid)
(For the minion eye see the Minion eye piece portion in pattern below).
1 9mm Safety Eye in Light Brown
Sm. Piece of Velcro
Needle & Thread
Hot Glue
Ribbon
Tapestry Needle
Hooks Used:
E
(Note: the Jar Topper base will look like it won't fit but it will so don't increase it)
Jar Topper Base: with Real Royal Yarn/Yellow/Spring Green & E Hook
Ch2
Row 1. 6sc in the 2nd st from the hook.
Row 2. 2sc in each st around-12sts.
Row 3. 1sc, 2sc in the next st-18sts.
Row 4. 1sc in 2, 2sc in the next st-24sts.
Row 5. 1sc in 3, 2sc in the next st-30sts.
Row 6. 1sc in 4, 2sc in the next st-36sts.
Row 7. 1sc in 5, 2sc in the next st-42sts.
(When making the one with Spring Green add one more row (1sc in 6, 2sc-48sts, then do row 8)
Row 8. 1sc in the BLO in 42sts.
Rows 9-12. 1sc in 42sts, at the end of row 12 FO.
(When making the Minion add 2 extra rows to the length and FO).
To make the Minion Eye Piece: with White Yarn & E Hook
Optional: I snipped off the post of a 9mm safety eye in light brown and hot glued it to the eye piece.
Ch2
Repeat rows 1-3 of the base piece
Change to Light Grey
Row 4. 1sc in the FLO in each st around.
Row 5. 1sc in each st around.
Row 6. 1sc in the BLO in 18sts.
Rows 7-8. 1sc in 18sts at the end of row 8 wk 1slst in 2sts and FO.
To make the Black Band: Along one side of the eye attach black yarn to the unworked sts of row 4 with a slst and ch1, wk 1sc in 3sts, ch1 & turn. Repeat until the band fits all the way around jar and reaches the other side of the eye piece and FO. Place on small piece of Velcro on the back of the eye piece and one piece on the band and glue in place.
To make the Cookie Monster/Oscar Eyes: with White Yarn & E Hook (make 2)
Repeat rows 1-3 of the base pattern
Rows 4-5. 1sc in 18sts
Row 6. 1sc, dec1sc around-12sts.
Put eyes in place and stuff
Row 7. dec1sc until closed and FO.
To the Eye Brows: with a Brown Fuzzy Type Yarn & E Hook
Ch16
Row 1. 1hdc in 14sts, ch2 & turn.
Row 2. 1hdc in 14sts and FO.
Sew the brows over the top of the eyes.
Santa Hat Jar Topper: with Cherry Red Yarn & E Hook
Ch42, join & ch1
Row 1. 1sc in 42sts
Rows 2-5. Repeat row 1
Row 6. 1sc in 5, dec1sc around-36sts.
Row 7. 1sc in 36sts
Rows 8-9. Repeat row 7
Row 10. 1sc in 4, dec1sc around-30sts.
Rows 11-12. 1sc in 30sts
Row 13. 1sc in 3, dec1sc around-24sts.
Rows 14-15. 1sc in 24sts
Row 16. 1sc in 2, dec1sc around-18sts.
Rows 17-18. 1sc in 18sts
Row 19. 1sc, dec1sc around-12sts.
Rows 20-24. 1sc in 12sts
Row 25. dec1sc, 1sc in 10sts.
Rows 26-28. 1sc in 11sts
Row 29. dec1sc 2x, 1sc in 7sts.
Row 30. 1sc in 9sts
Row 31. dec1sc, 1sc in 7sts.
Row 32. 1sc in 8sts
Row 33. dec1sc 2x, 1sc in 4sts and FO.
With a tapestry needle weave the end closed and glue on white pom-pom. The hat will fit around the ring of the jar without gluing it on. Cut out white fur trim to fit around the jar and glue that around the edge of the hat.