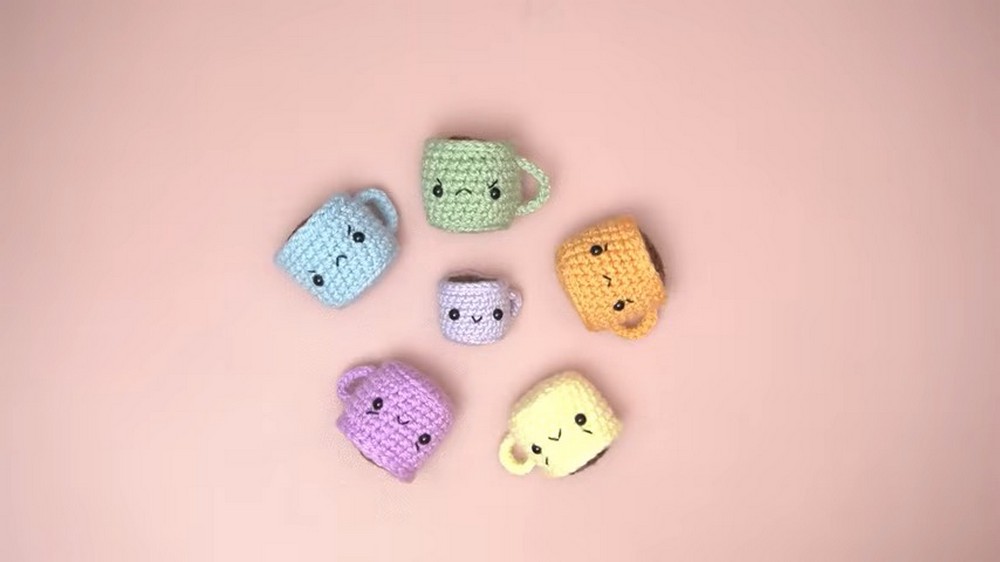
Crochet Upset/Angry Coffee Ornament
Oh no, it seems like your Crochet Upset/Angry Coffee Ornament is having a rough day! Don't worry, though; with a little bit of creativity and some calming crochet stitches, you can turn that frown upside down and transform your ornament into a happy little caffeine buddy. Perhaps adding a cheery smile or some colorful embellishments can bring some joy back to your craft project. Remember, crafting is all about having fun and expressing yourself, so let your imagination run wild and bring some sunshine back to your cozy coffee creation!

Supplies Needed:
- Yarns: Size 4 yarn in Pistachio Green (Paintbox Simply Aran) for the cup and Coffee Bean (Paintbox Simply Aran) for the coffee.
- Crochet Hook: 2.5 mm crochet hook (adjust based on your yarn choice and desired size).
- Eyes: Safety eyes (around 6 mm) or alternative (beads, buttons, or embroider the eyes).
- Embroidery Thread: For the mouth and eyebrows.
- Stuffing: For filling the coffee cup.
- Needles: Darning needle or tapestry needle for stitching pieces together and weaving in ends.
- Stitch Marker: To keep track of rounds.
- Scissors: For cutting yarn.
Step by step Pattern
The base of the Coffee Cup:
- Magic Circle of 6 Single Crochets (SC): Wrap yarn around your finger, insert hook, pick up yarn and create a loop. Insert 6 SC into the loop, pull yarn tail to tighten.
- Increase Round: Increase in every stitch around by crocheting 2 SC in each stitch (12 stitches).
- Row 1: SC 1, Increase 1 repeat around (18 stitches).
- Row 2: SC 2, Increase 1 repeat around. Finish with 24 stitches.
- Creating Hard Edge: Crochet in back loops only for one round to create an edge, single crochet all the way around (24 stitches).
- Building Sidewalls: Crochet in both loops, straight SC around for 7 more rounds (maintaining 24 stitches).
Finishing the Cup:
- Complete the sidewalls with a slip stitch round for a neat finish.
- Cut the yarn, leaving enough length to weave in, and secure it through the last stitch.
The Handle:
- Create a slip knot and chain 11.
- Starting in the second chain from the hook, slip stitch in each chain across (10 slip stitches).
- Cut the yarn, leaving a length for sewing, and finish off.
The Coffee (Top Part):
- Magic Circle with 8 SCs: Tighten circle.
- Increase Round: SC 2 in every stitch around (16 SCs).
- Following the pattern increase for the desired width to represent the coffee top. Keep increments even for a circular shape.
- Finish with a secure slip stitch, cut the yarn (leaving a long tail for sewing), and fasten off.
Assembling the Coffee Cup:
- Place the safety eyes between rounds, according to preference, for the angry face expression.
- Use black embroidery thread to sew the angry eyebrows and downturned mouth as desired.
- Sew the coffee top to the cup, stuffing before completely sealing.
- Attach the handle to one side of the cup, using yarn tails to fasten securely.
Final Steps:
Ensure all parts are securely attached, weave in any remaining ends, and adjust stuffing to give the cup a balanced shape. Feel free to customize the face to make different expressions for your coffee cup character.
This pattern is designed for beginners and can be adjusted in size by changing the yarn and hook size. You're encouraged to customize it for your own use, whether for sale, gifting, or personal enjoyment.