Crochet Romantic Ribbon Bag
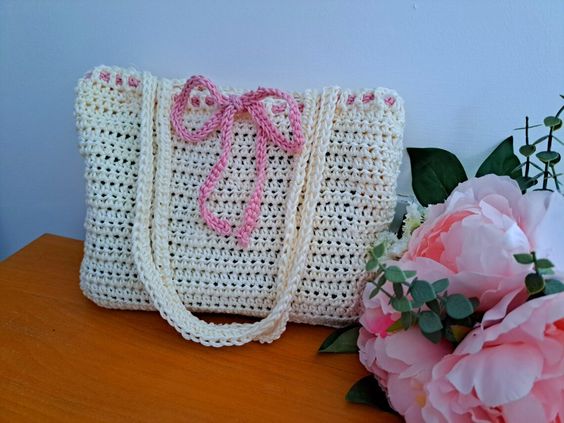
Fall in love with the enchanting allure of the Romantic Ribbon Bag, a stunning crochet creation that exudes elegance and charm. This exquisite accessory is perfect for those who appreciate the finer things in life and want to add a touch of romance to their everyday style. The delicate ribbons intertwine gracefully, creating a mesmerizing pattern that is sure to turn heads wherever you go. Immerse yourself in the world of crochet and indulge in the beauty of the Romantic Ribbon Bag. This captivating piece showcases the artistry and craftsmanship of crochet, with its intricate design and soft, romantic colors. The bag is not only a fashion statement but also a testament to the skill and dedication of the creator. Carry this bag with pride and let its romantic charm inspire you to embrace the beauty and elegance that life has to offer.

Level: Easy +
Size of finished project (excluding straps)
8” (20 cm) x 11” (28 cm)
Gauge
4” (10 cm) = 15 stitches
4” (10 cm) = 12 rows
General Notes
I will be using US terms (British terms in brackets)
Materials
- 1 skein of Drops Muskat yarn in shade 06 Desert Rose
- 2 skeins of Drops Muskat yarn in shade 08 Off White
- 4 mm crochet hook
- A pair of scissors
- A tapestry needle
- Sewing pins (optional)
Abbreviations
Ch: chain
Sl st: slip stitch
St: stitch
Sk: skip
SC: Single Crochet (UK Double Crochet)
DC: Double Crochet (UK Treble Crochet)
HDC: Half Double Crochet (UK Half Treble Crochet)
EOR: End of round/End of row
Pattern begins here
For this project, we will start by making the front and back panels (which are identical); then we will be making a long rectangular piece to sew between the front and back panels which will be the bottom and sides of the bag.
We will then be making the two identical straps.
Once these are made, we will be crocheting the pink ribbon.
Once all these pieces are crocheted, we will be assembling them together using the mattress stitch (everything will be explained in detail below).
Front and back panels (identical)

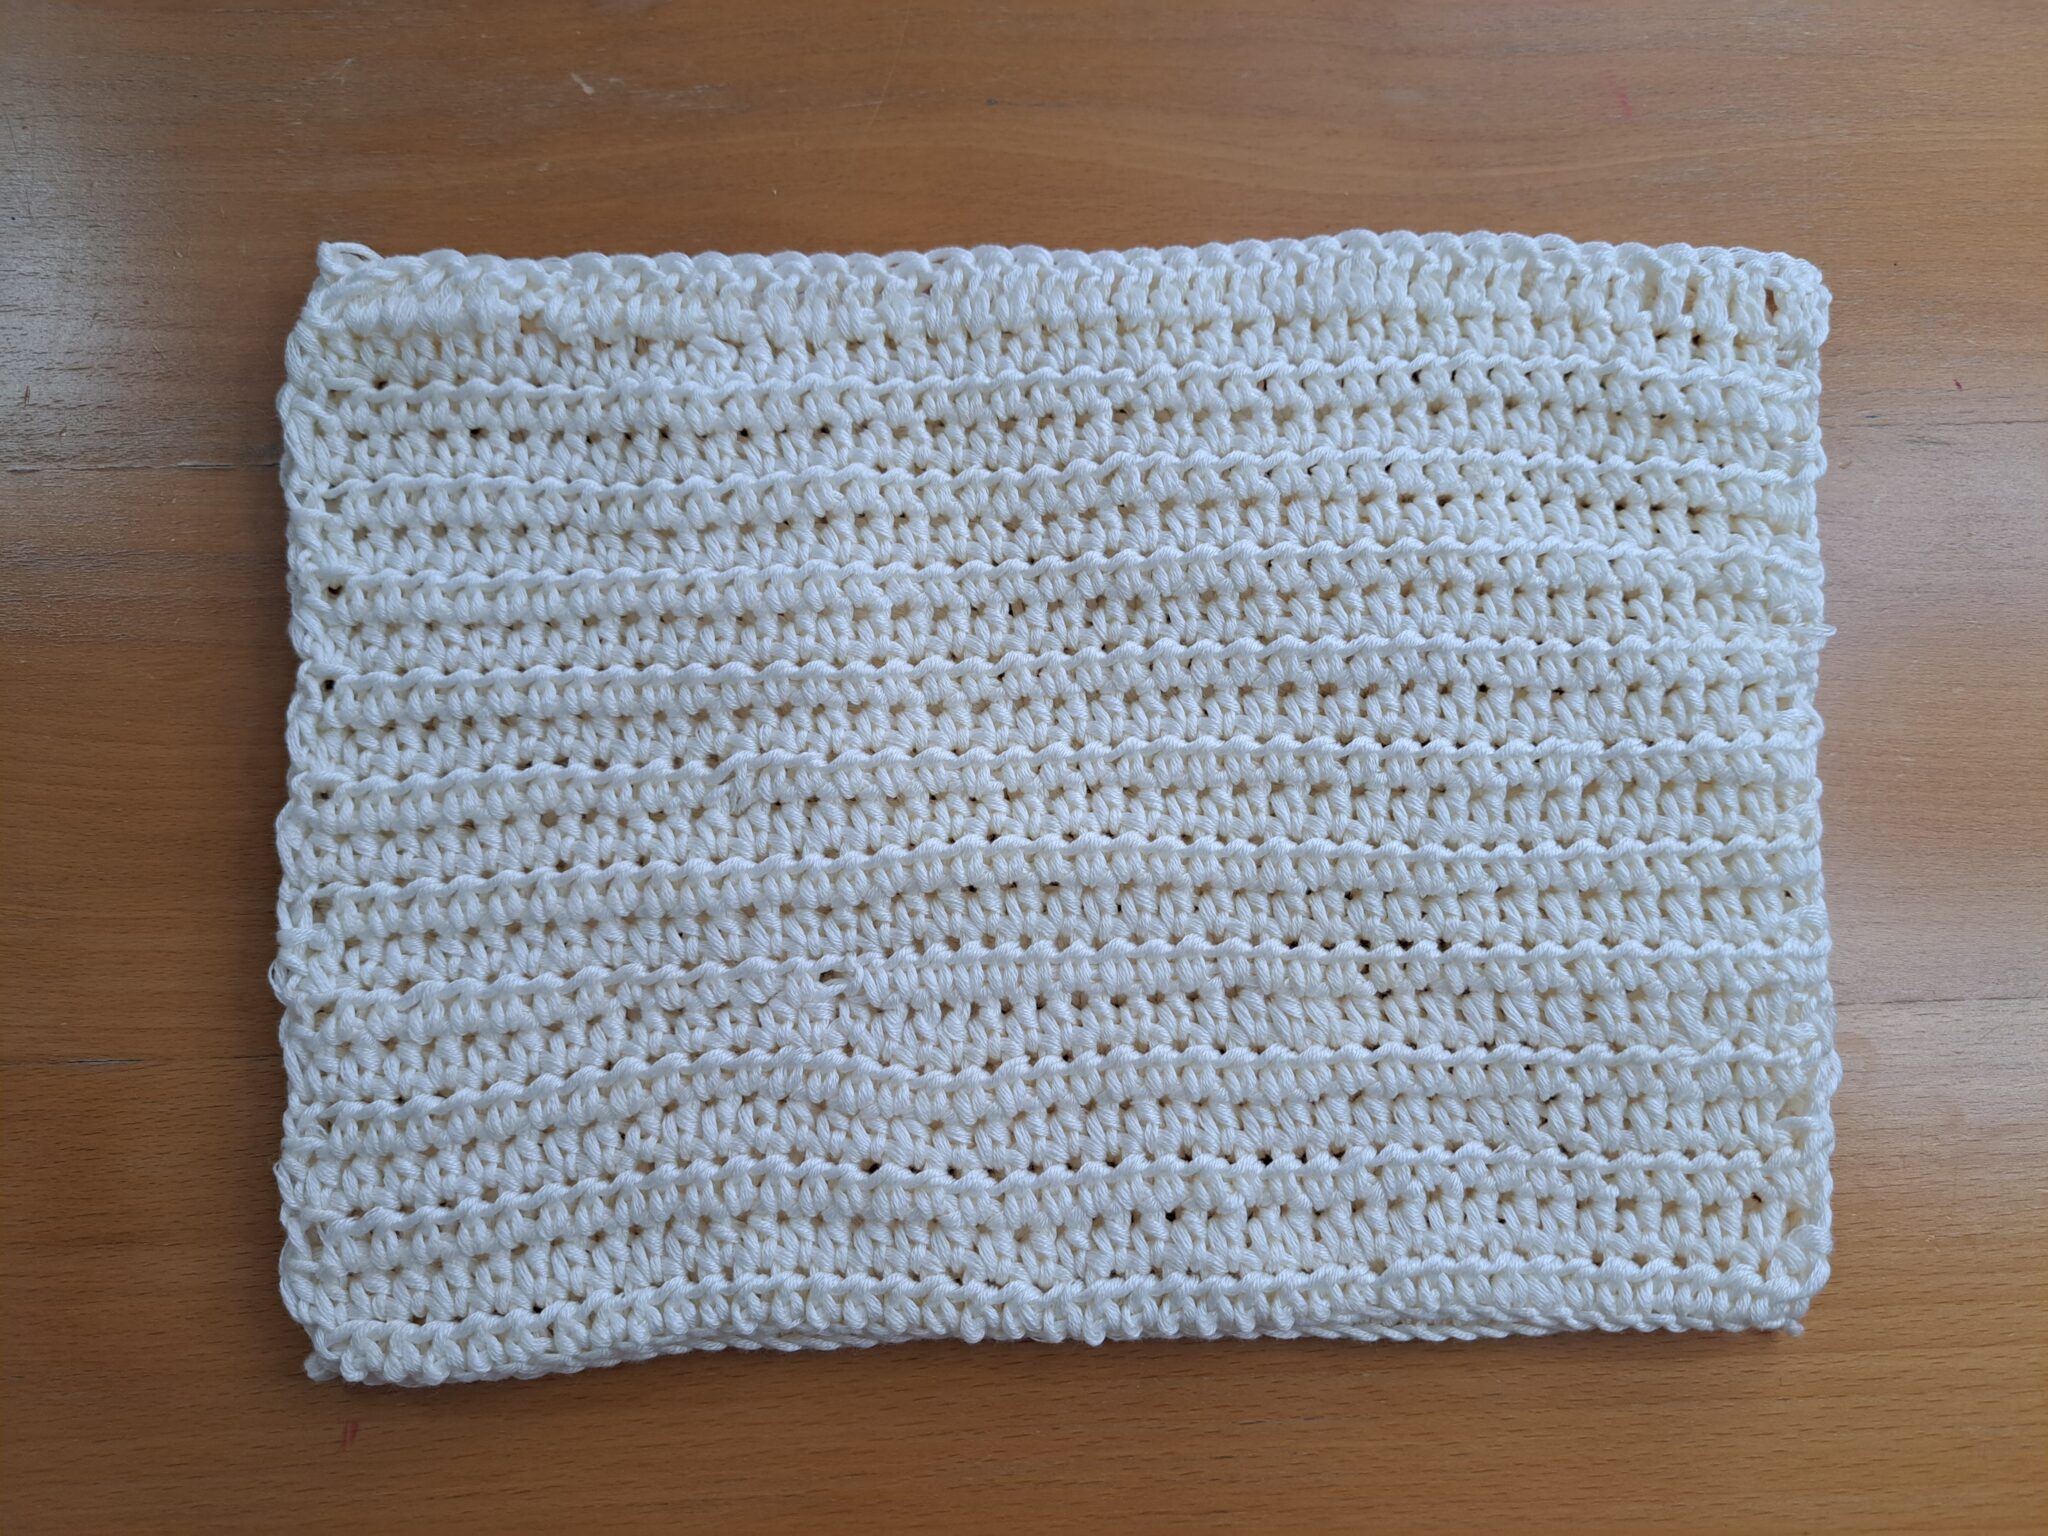
Front and back panels
With shade Off White, make a slip knot.
Ch 40
1: HDC in 3rd ch from hook (first ch 2 counts as a HDC), HDC into each ch until eor.
2: Ch 2 (=HDC), turn your work, HDC into 2nd HDC from previous row, and into each HDC until eor (including ch 2 from previous row).
3-20: Repeat row 2.
Row 21: Ch 3 (=DC), turn your work, DC into 2nd HDC from previous row, and each HDC until eor (including ch 2 from previous row).
Fasten off, leaving long tail for sewing.
Create rectangular piece
This rectangular piece will be sewed later on in this tutorial. This crochet piece will become the sides and bottom of bag.
Still with shade Off White, ch 6.
1: HDC in 3rd ch from hook (first ch 2 counts as a HDC), HDC into each ch until eor.
2: Ch 2 (=HDC), turn your work, HDC into 2nd HDC from previous row, and into each HDC until eor (including ch 2 from previous row).
3-63: Repeat row 2.
Fasten off, leaving long tail for sewing.
Create 2 handles (both identical)
Still with shade Off White, ch 78.
Row 1: HDC in 3rd ch from hook (first ch 2 counts as a HDC), HDC into each ch until eor.
Fasten off, leaving long tail for sewing.
Crochet pink ribbon
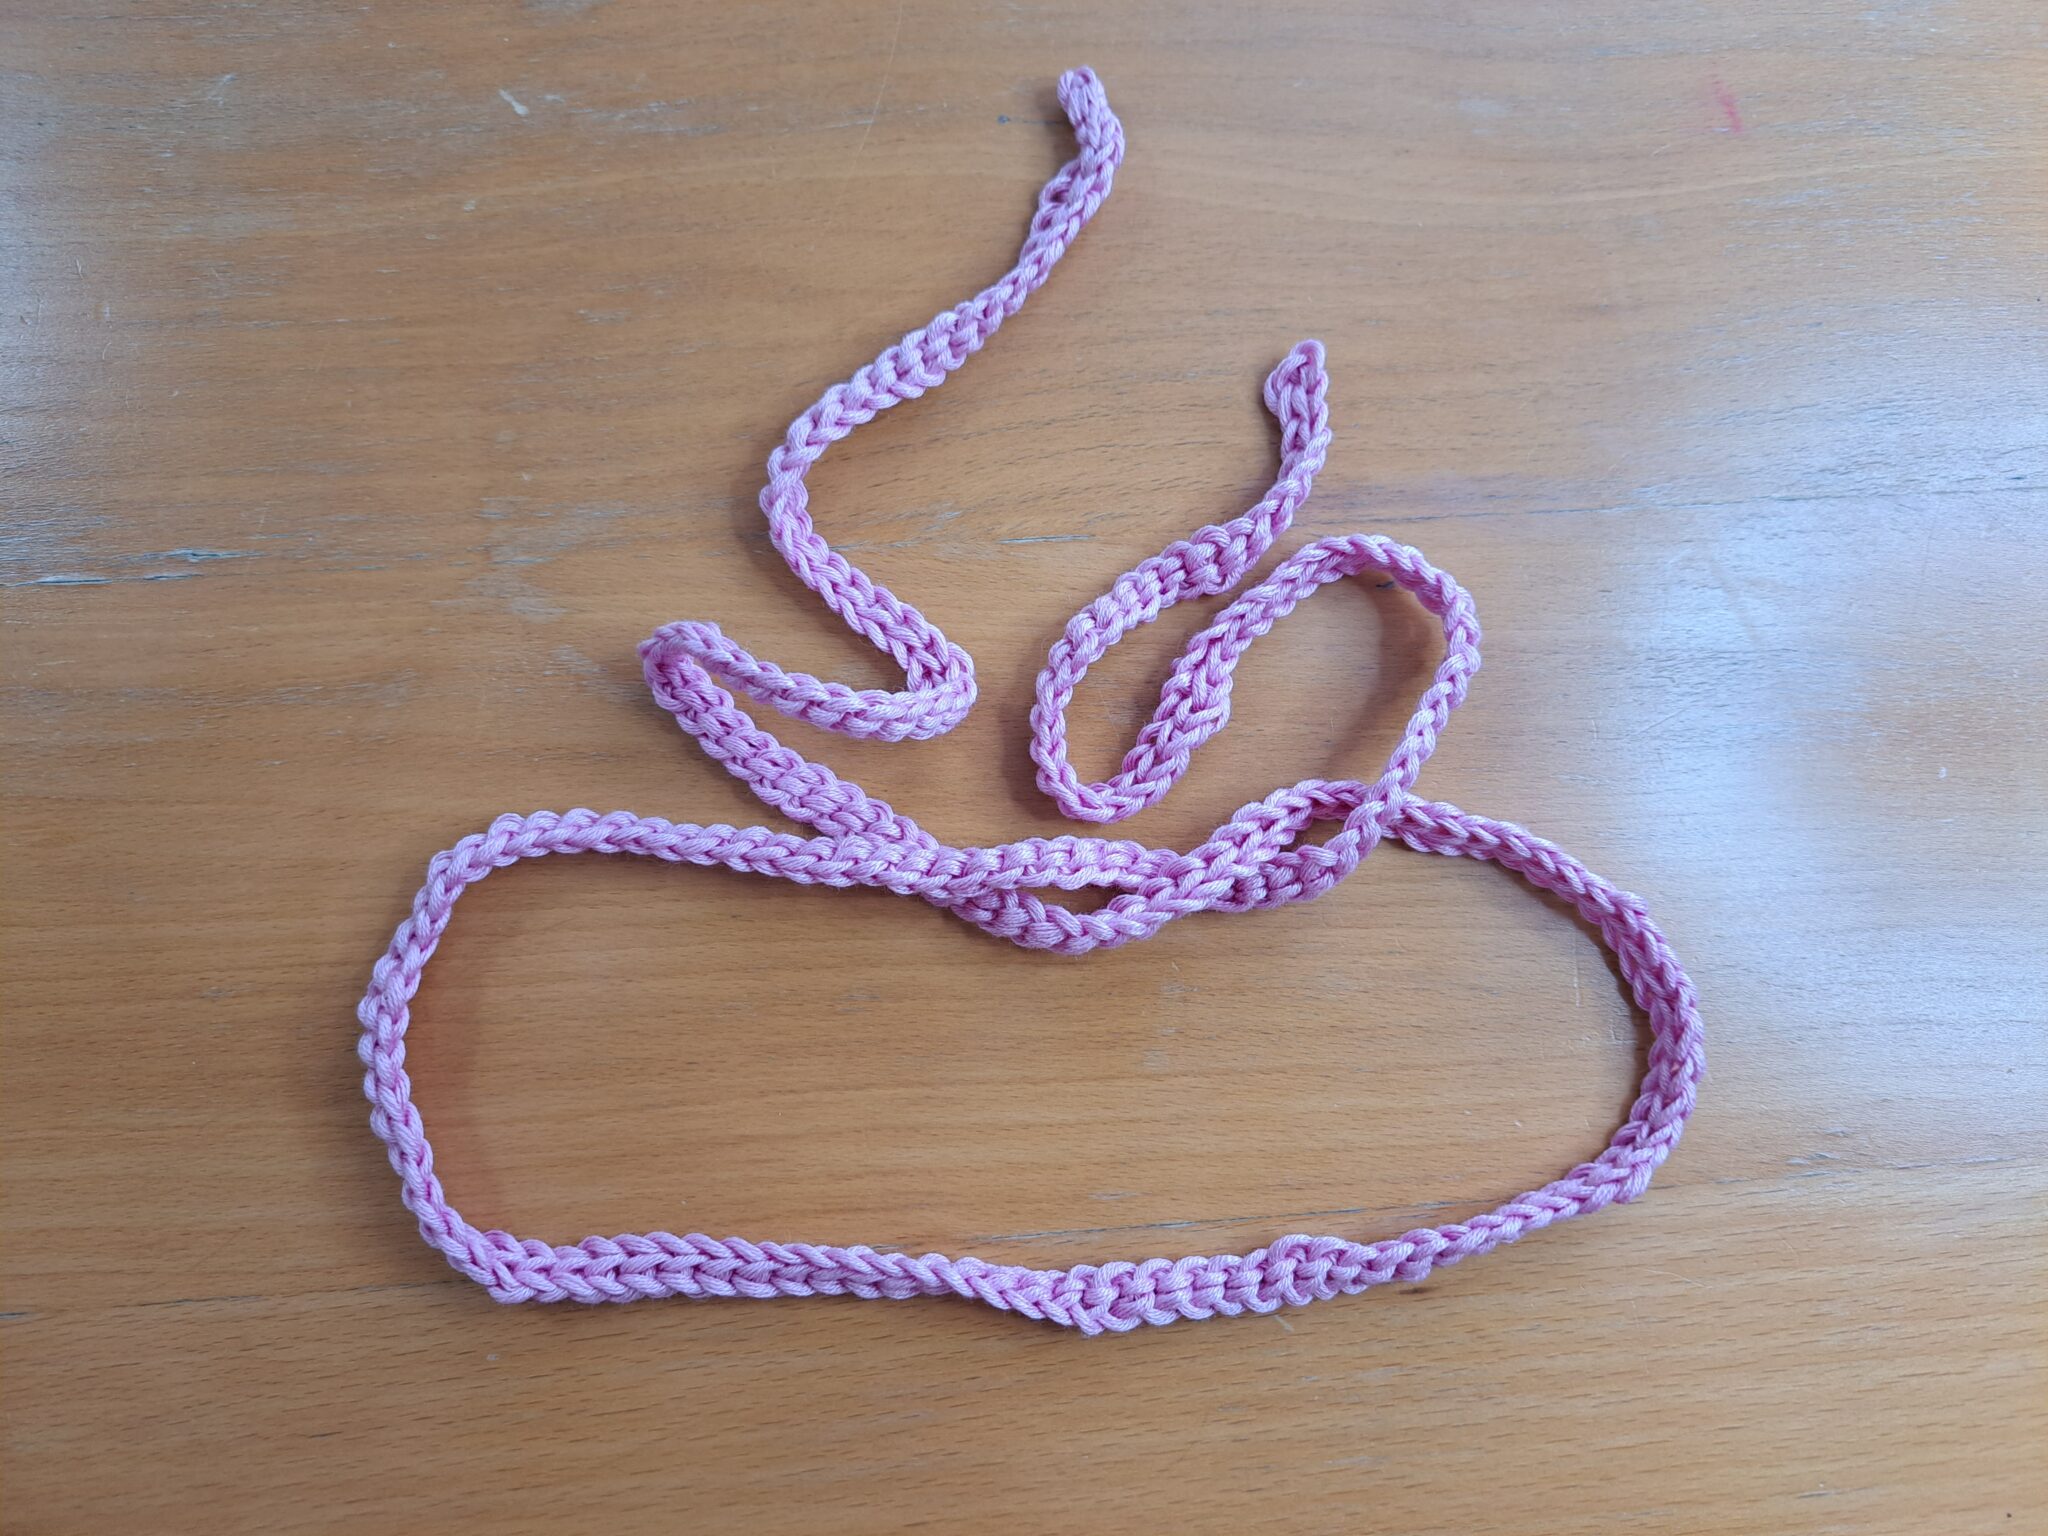
With shade Desert Rose, ch 200.
Slip stitch through 2nd chain from hook, and through each chain across until end of chain.
Fasten off, tidying up all loose ends.

Ribbon
Sew bag together
For this part, please make sure that for both panels you have placed them with the last DC row facing upwards (before you start sewing your project together).
Choose your right and wrong side. The right side is the side which will be facing the outside of the bag, so this has to be the neater side of the front and back panels.
Place one panel on a flat surface.
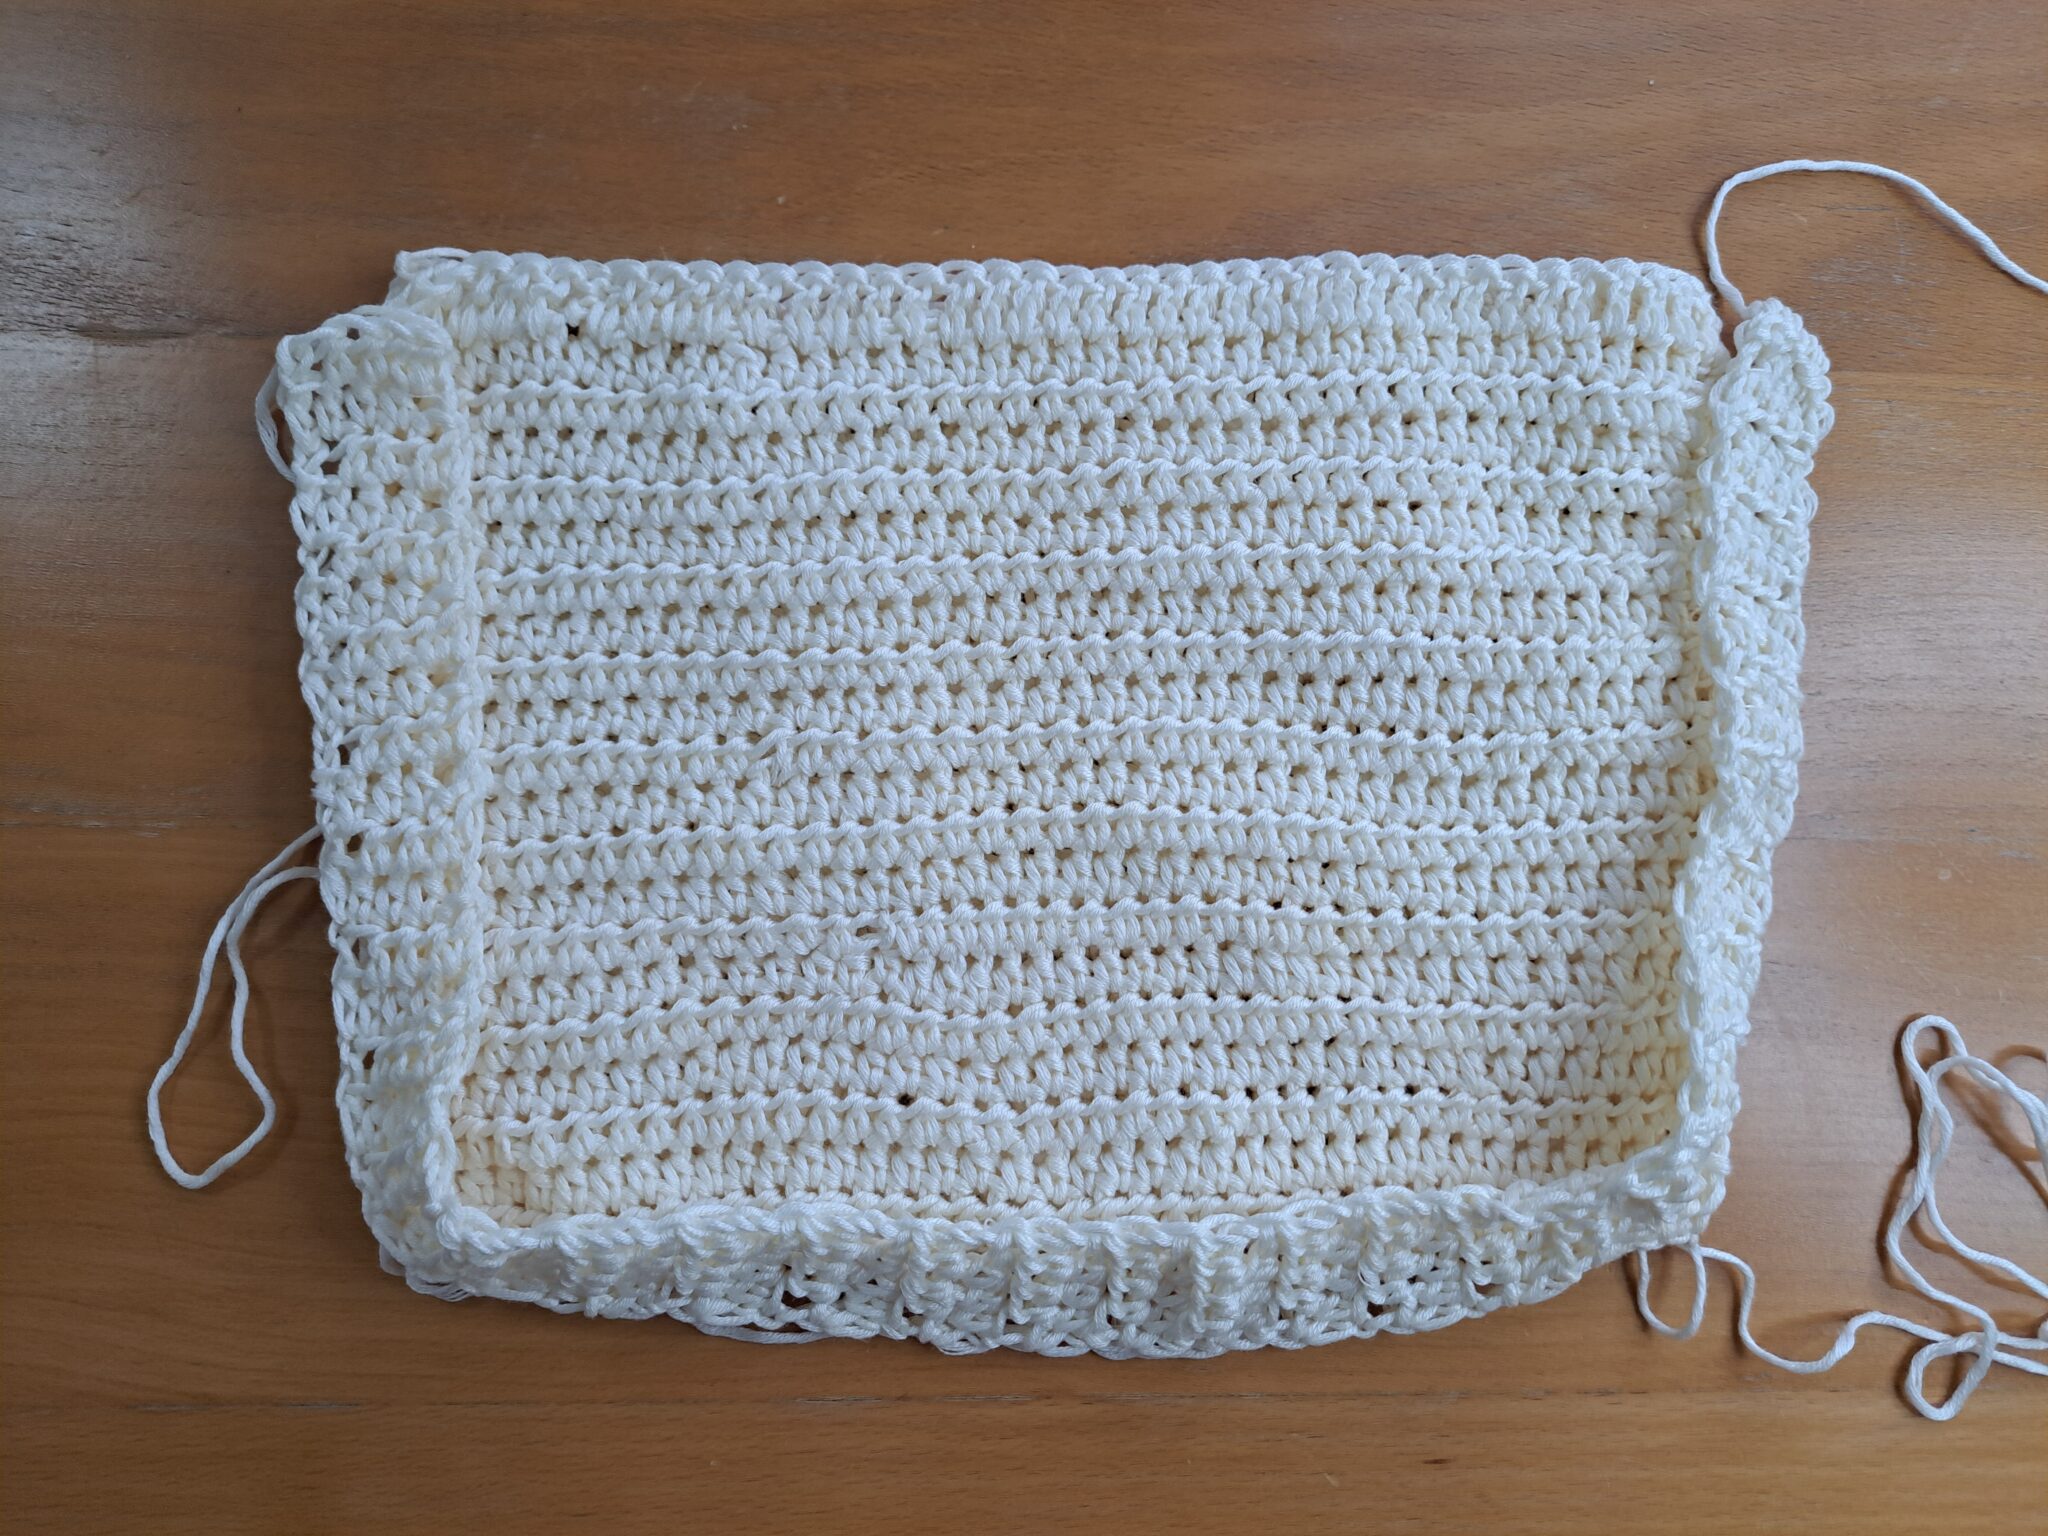
Now place the rectangular piece around this panel, starting on the top left corner, going all the way down so that is goes underneath panel, and then all the way up (see photograph below).

Sew the bag together
Start sewing your bag by either using the long tail left on the top corner of your bag (either corner is fine), or if you do not have a long tail left for sewing, attach a piece of yarn to any top corner of bag.
Start sewing down the first seam using the mattress stitch, and sew all the way around the bag (except the top which should be left unsewn). Sew all the way down the first side, then across the bottom, and then up the other side of the bag. Once you reach the top corner of the bag, fasten off yarn and tidy up all loose ends.
Place the back panel onto the project, and sew the back panel to the rectangular piece so as to create the bag shape. Repeat the same process you have completed for the front panel.
Fasten off and tidy up all loose ends.
Sew your straps onto the bag
Place your bag on a flat surface, and sew your straps onto your project.
Place your first strap symmetrically as seen in photograph below.
Sew your straps into the project securely, making sure your stitching will not be apparent once the bag is turned inside out so that the right side is facing (after all the sewing has been done).
Sew your straps in using tapestry needle and a loose piece of yarn, making sure you sew the straps into a HDC row (not the DC row at the top of the bag).

Sew straps to bag
Repeat this process on the other side of the bag with the second strap.
Turn your project inside out, so that the right side is now facing out.
Interlace your ribbon into the top of the crochet bag
Once you have turned your bag so that the right side is facing you, you can start interlacing your ribbon into the top DC row of the bag.
Locate the center DC of the front panel; take your ribbon and pass it under one DC stitch. Go all around the top row going in and out with your ribbon, placing your ribbon through every other DC until you have gone all the way around the bag.
When you reach the sides (where there is no DC row), just do this process through HDCs.
Once you have reached the second to last DC on the front of the bag, tighten ribbon slightly and create a bow.