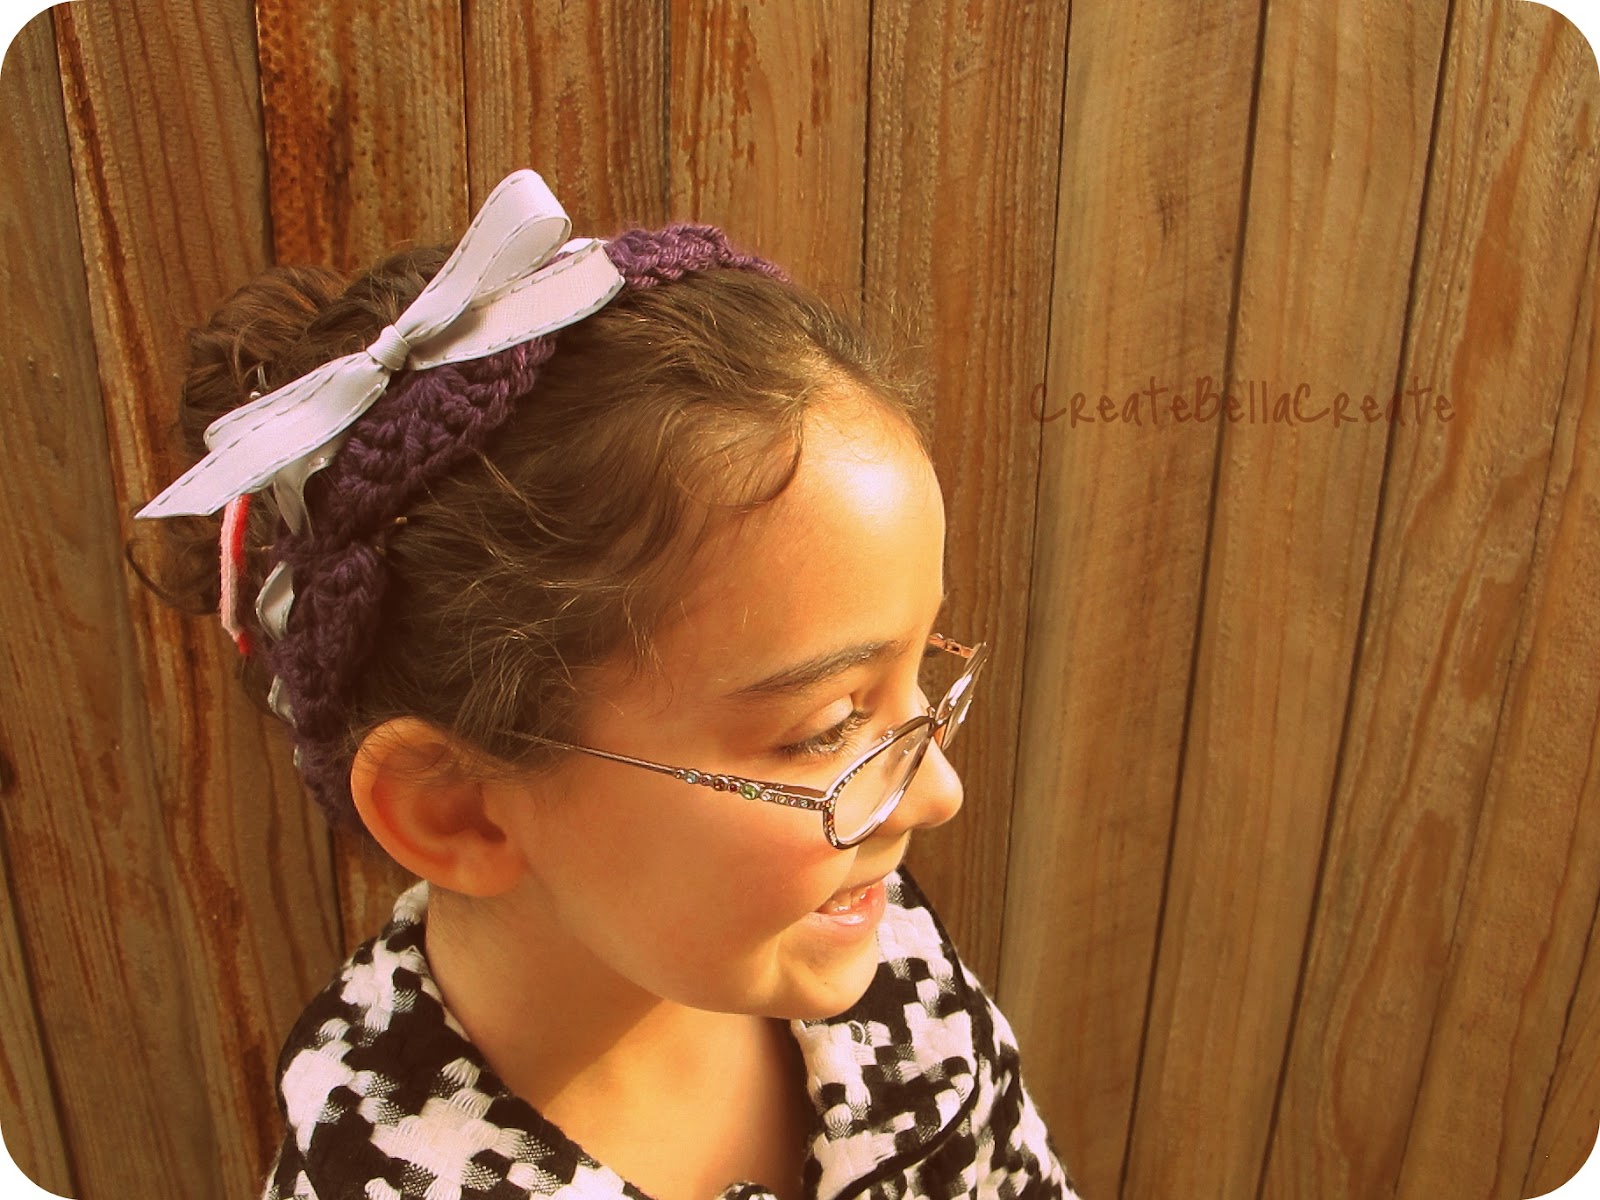
Crochet Beautiful Headband
Are you looking for a stylish and unique accessory to add to your wardrobe? Look no further than crochet! With just a few simple steps, you can create a beautiful headband that will make heads turn. Crochet allows you to unleash your creativity and customize your headband to match your personal style. Whether you prefer a delicate and lacy design or a bold and chunky pattern, the possibilities are endless.

Written in US Crochet Terms
What you will need:
5.00mm hook {or hook needed for proper sizing}
Small amount of yarn, I like a sturdy wool or cotton blend
Ribbon for weaving
Needle for weaving ends
Stitches Used:
single crochet {sc}
half double crochet {hdc}
double crochet {dc}
~~Note: This pattern is made for an 8 ~9 year old but children's heads and people's crochet gauges do vary. The best thing to do is to chain a multiple of six and then check it against the child's head to insure a proper fit. The chain should fit snuggly but not so much so that you can't slip it off and on their head. :)
ch 60
Being careful not to twist your yarn join into a circle.
Round 1:
ch 2
skip 1, hdc in the next
*ch 1, skip 1, hdc in the next* repeat from * to * around
End with a ch 1 and join with a slip stitch into the ch 2 space of the beginning ch 2
Round 2:
ch 1, skip 2, 7 dc in the next, skip 2
* sc, skip 2, 7dc in the next, skip 2*
Repeat from * to * around
slip stitch into the ch 1 space
You can end it here and have a thinner headband or you can do another round of shells. I decided to do another round of shells for mine.
Optional Round 3:
7dc in the ch 1 space that you did the slip stitch into in the previous round, yes, its a tight fit.
*sc in the dc that is at the top of the shell, 7 dc in the next ch 1 space*
Repeat from * to * around
You will end with a sc in the dc in the top of the last shell from the previous round and then slip stitch into each dc to work your way to the next ch one.
Finish off your end at that point and weave in. I have you end there because it creates a more finished look with the shells.
Weave your ribbon into the spaces created in round 1 and get ready to make lots of these or to buy lots of different ribbon to change the look up. ;) You could always whip up your own ribbon buy using fabric to sew ribbon strips as well.