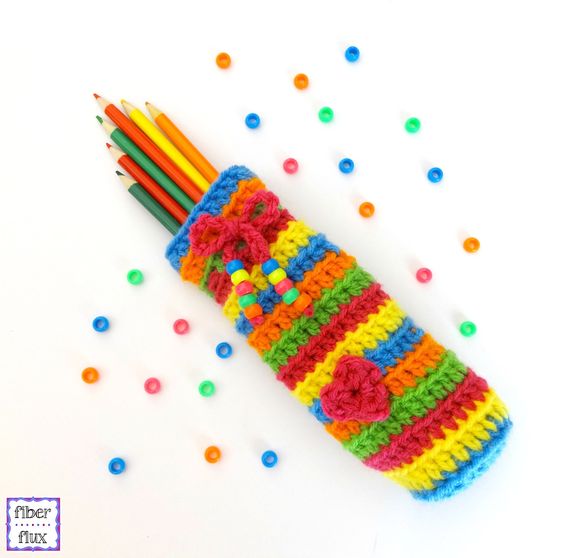
Crochet Candy Stripe Pencil Case
The Crochet Candy Stripe Pencil Case is a charming and practical accessory that combines functionality with style. Its colorful design, reminiscent of candy stripes, adds a playful touch to any pencil case collection. Crafted with care and attention to detail, this pencil case is not only visually appealing but also durable and versatile. Whether you're storing your favorite pens and pencils or organizing your art supplies, this crochet pencil case is sure to brighten up your day. It makes a wonderful gift for anyone who appreciates handmade items and unique designs. Embrace your creative side with this sweet and functional accessory that will surely bring a smile to your face every time you reach for it.

Materials Needed:
- Worsted weight yarn in colors of your choice (yarn shown in the photos is Red Heart Super Saver in “Shocking Pink” “Spring Green” “Bright Yellow” “Blue” “Pumpkin”)
- Beads (I used plastic pony beads in neon colors)
- H (5.0 mm) crochet hook
- Scissors
- Tapestry needle
- Pencil or ruler to help determine height
Instructions:
(Pencil case is worked from the bottom up)
Ch 4, join with a sl st to form ring.
Round 1: Ch 4, then work 11 dc into the center of the ring, join to close round with a sl st.
Round 2: Ch 3 and work a dc into the first st. Work a dc in each stitch, then join with a sl st to close round.
Round 3: Ch 3, then work a dc in the blo (back loops only) in each st, join with a sl st to close round.
Repeat round 3 until pencil case is a little taller than a pencil, or to desired height. Fasten off and weave in any ends.
Finishing & Assembly:
With any color yarn, make a chain 12 inches long and fasten off but don’t weave in ends. Using a tapestry needle if needed, weave in the drawstring between stitches (the spaces in between the stitch posts) a few rounds down from the top edge all the way around the case. I threaded mine every three stitches or so. String a few beads onto the yarn tails on both sides and tie a knot at the bottom to secure. Trim and you’re finished!