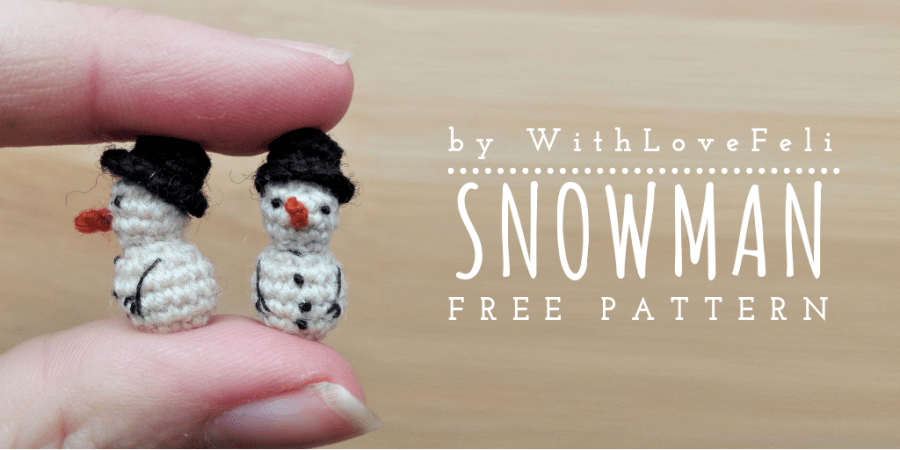
Crochet Tiny Snowman
Creating a crochet tiny snowman can be a delightful and fun project, perfect for adding a touch of winter charm to your home decor or gifting to loved ones. From choosing the softest yarn for the snowman's body to carefully crafting its tiny accessories like a scarf or hat, every step is filled with joy and creativity. As you work on each stitch, imagining the snowman coming to life, you'll find yourself smiling at the adorable result that will bring warmth and cheer to anyone who lays eyes on it. So grab your crochet hook and let's make some winter magic together!

Materials
White, black and orange yarn (I used sock mending yarn)
Thinner black thread (I used sewing thread)
Crochet hook (I used size 0.9)
Sewing/yarn needle
Stitch marker
Abbrevations
- sc – single crochet
- inc – increase (sc2 in one stitch)
- dec – decrease (go from 2 stitches to one), I recommend using invisible decrease
- BLO – work in back loops only
- FLO – work in front loops only
The snowman and hat are worked in the round. The snowman is worked from the bottom up (So you start with the body, then the head)
Pattern:
Snowman
1. sc 6x in magic ring (6)
2. inc 6x (12)
3. (inc, sc3) 3x (15)
4. sc15 (15)
5. sc15 (15)
6. (dec, sc3) 3x (12)
Start stuffing the body
7. dec6 (6)
8. FLO: (inc, sc) 3x (9)
9. (inc, sc2) 3x (12)
10. sc12 (12)
11. (dec, sc2) 3x (9)
Finish stuffing the head
12. (dec, sc) 3x (6)
Finish off
Hat
1. sc 5x in magic ring (5)
2. inc 5x (10)
3. BLO: sc10 (10)
4. sc10 (10)
5. FLO: (inc, sc) 5x (15)
Slip stitch to finish off
Nose
1. ch2
Assemble
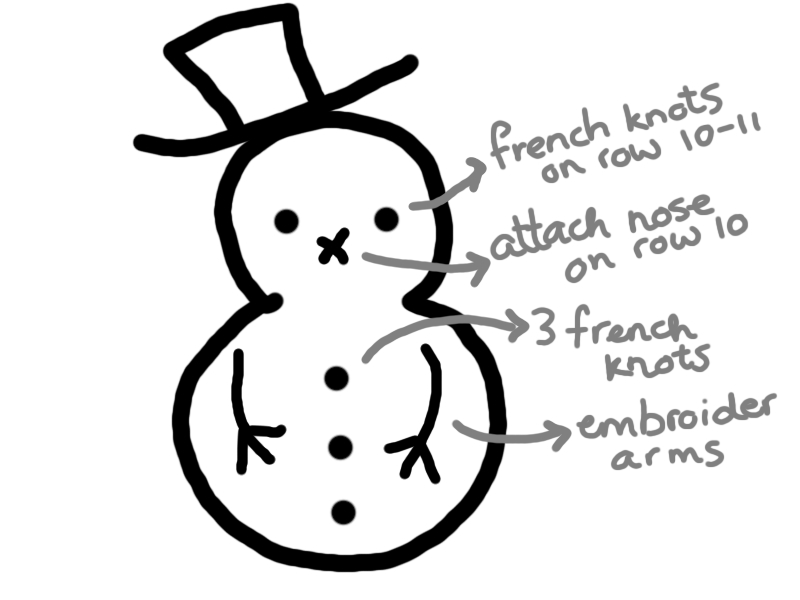
Attach the nose on row 10
Make french knots as eyes around row 10-11
Make 3 french knots as buttons on the snowman body
Embroider the arms: 1 stitch for the arm, 3 for the hands
