Crochet Tiny Jellyfish
Crocheting tiny jellyfish is a delightful and calming craft that brings a touch of whimsy to any space. These adorable creations are not only fun to make but also make charming decorations or thoughtful gifts. With just a few basic crochet stitches and some colorful yarn, you can create a whole school of these little sea creatures. The best part is that each tiny jellyfish can be customized with different colors and embellishments, making them truly unique. So grab your crochet hook and thread, and get ready to create some enchanting underwater wonders that are sure to bring a smile to anyone's face!
I used Sugar n’ Cream yarn with a G hook (4.25mm). This is crocheted in the round.
Stitches used:
Chain
Slip Stitch
SC – Single Crochet
For the Head:
Round 1: Chain 2 and SC 6 into second chain from hook (6)
Round 2: 2 SC in each stitch around (12)
Round 3: *2 SC in first stitch – 1 SC in next stitch* *Repeat around (18)
Round 4: SC in each stitch around (18)
Round 5: *2 SC in first stitch – 1 SC in next two stitches* *Repeat around (24)
Round 6-8: 1 SC in each stitch around (24)
To Finish: Slip stitch into first stitch. Leave a tail of yarn to weave in. Weave it in now to get it over with. (right? Weaving in ends… ugh)
For the bottom of the Head:
Round 1: Chain 2 and SC 6 into second chain from hook (6)
Round 2: 2 SC in each stitch around (12)
Round 3: *2 SC in first stitch – 1 SC in next stitch* *Repeat around (18)
Round 4: *2 SC in first stitch – 1 SC in next two stitches* *Repeat around (24)
To Finish: Slip stitch into first stitch. Leave a tail of yarn to weave in.
For the tentacles:
I prefer my tentacles to all be the same length. Call it OCD, if you must, but you are free to make them all different lengths, or longer, or shorter. This is just the way I did it.
Row 1: Chain 30 (or 40 — I like the look of the longer tentacle too)
Row 2: *SC in second chain from hook – 2 SC in next chain* *Repeat until the end of the chain*
Leave a tail for attaching to bottom piece
(Make 3 of these – or 4 – or 12)
You then want to attach your tentacles to your bottom piece. I’d like to tell you I weaved the ends into it to make it super secure, but I didn’t. Instead, I just pulled each of the two strands per tentacle (one from the start of the chain and the tail from the end), up through the bottom piece and tied them in a triple knot. Unless you’ve got kids swinging them around their heads, they won’t go anywhere. If your kids are jellyfish tossers, please weave in the ends as well to make them more secure.
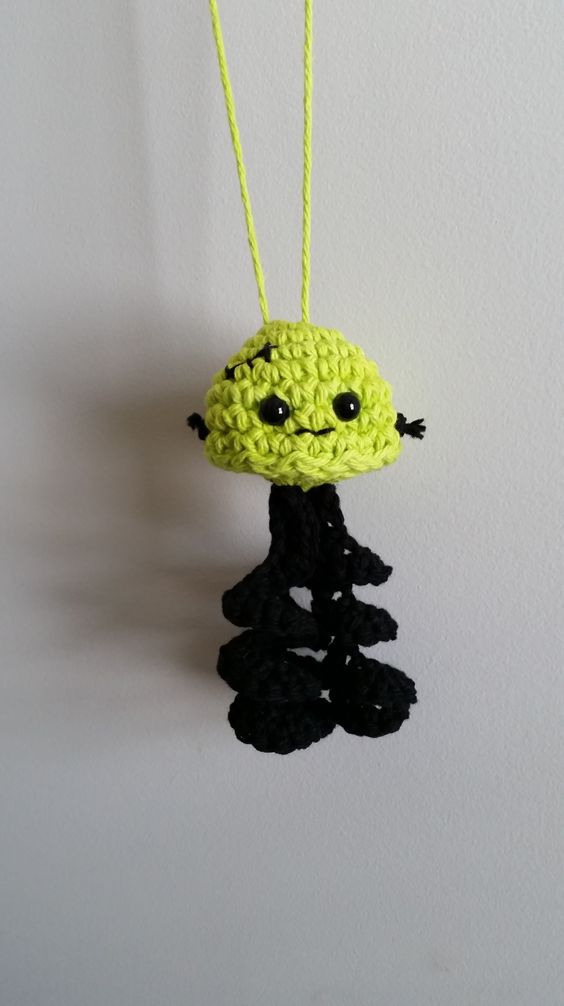
Here is where you decide if you want your jelly to have a face or not. If so, attach safety eyes and sew on a mouth. Or just use safety eyes. Or just a mouth… although I’m not sure that would make much sense. You can also crochet eyes, or use felt for eyes, or buttons, or any other crafty eye things you can think of.
After the tentacles are attached, line up the bottom and top pieces together and SC them together into each of the 24 stitches around. You can also sew them together. I’ve done this both ways. Sewing creates less of a lip around the bottom, so it just depends on if you’d rather see more of the bottom or not. SC hides more of the bottom piece that sewing. Weave in remaining ends.
Then attach a string at the top if you want! These work up super fast. I think I’ve made one in about an hour (and I’m pretty slow).
The Frankenjelly top and bottom were sewn together. The Cutie-Patootie Jelly was SC together.