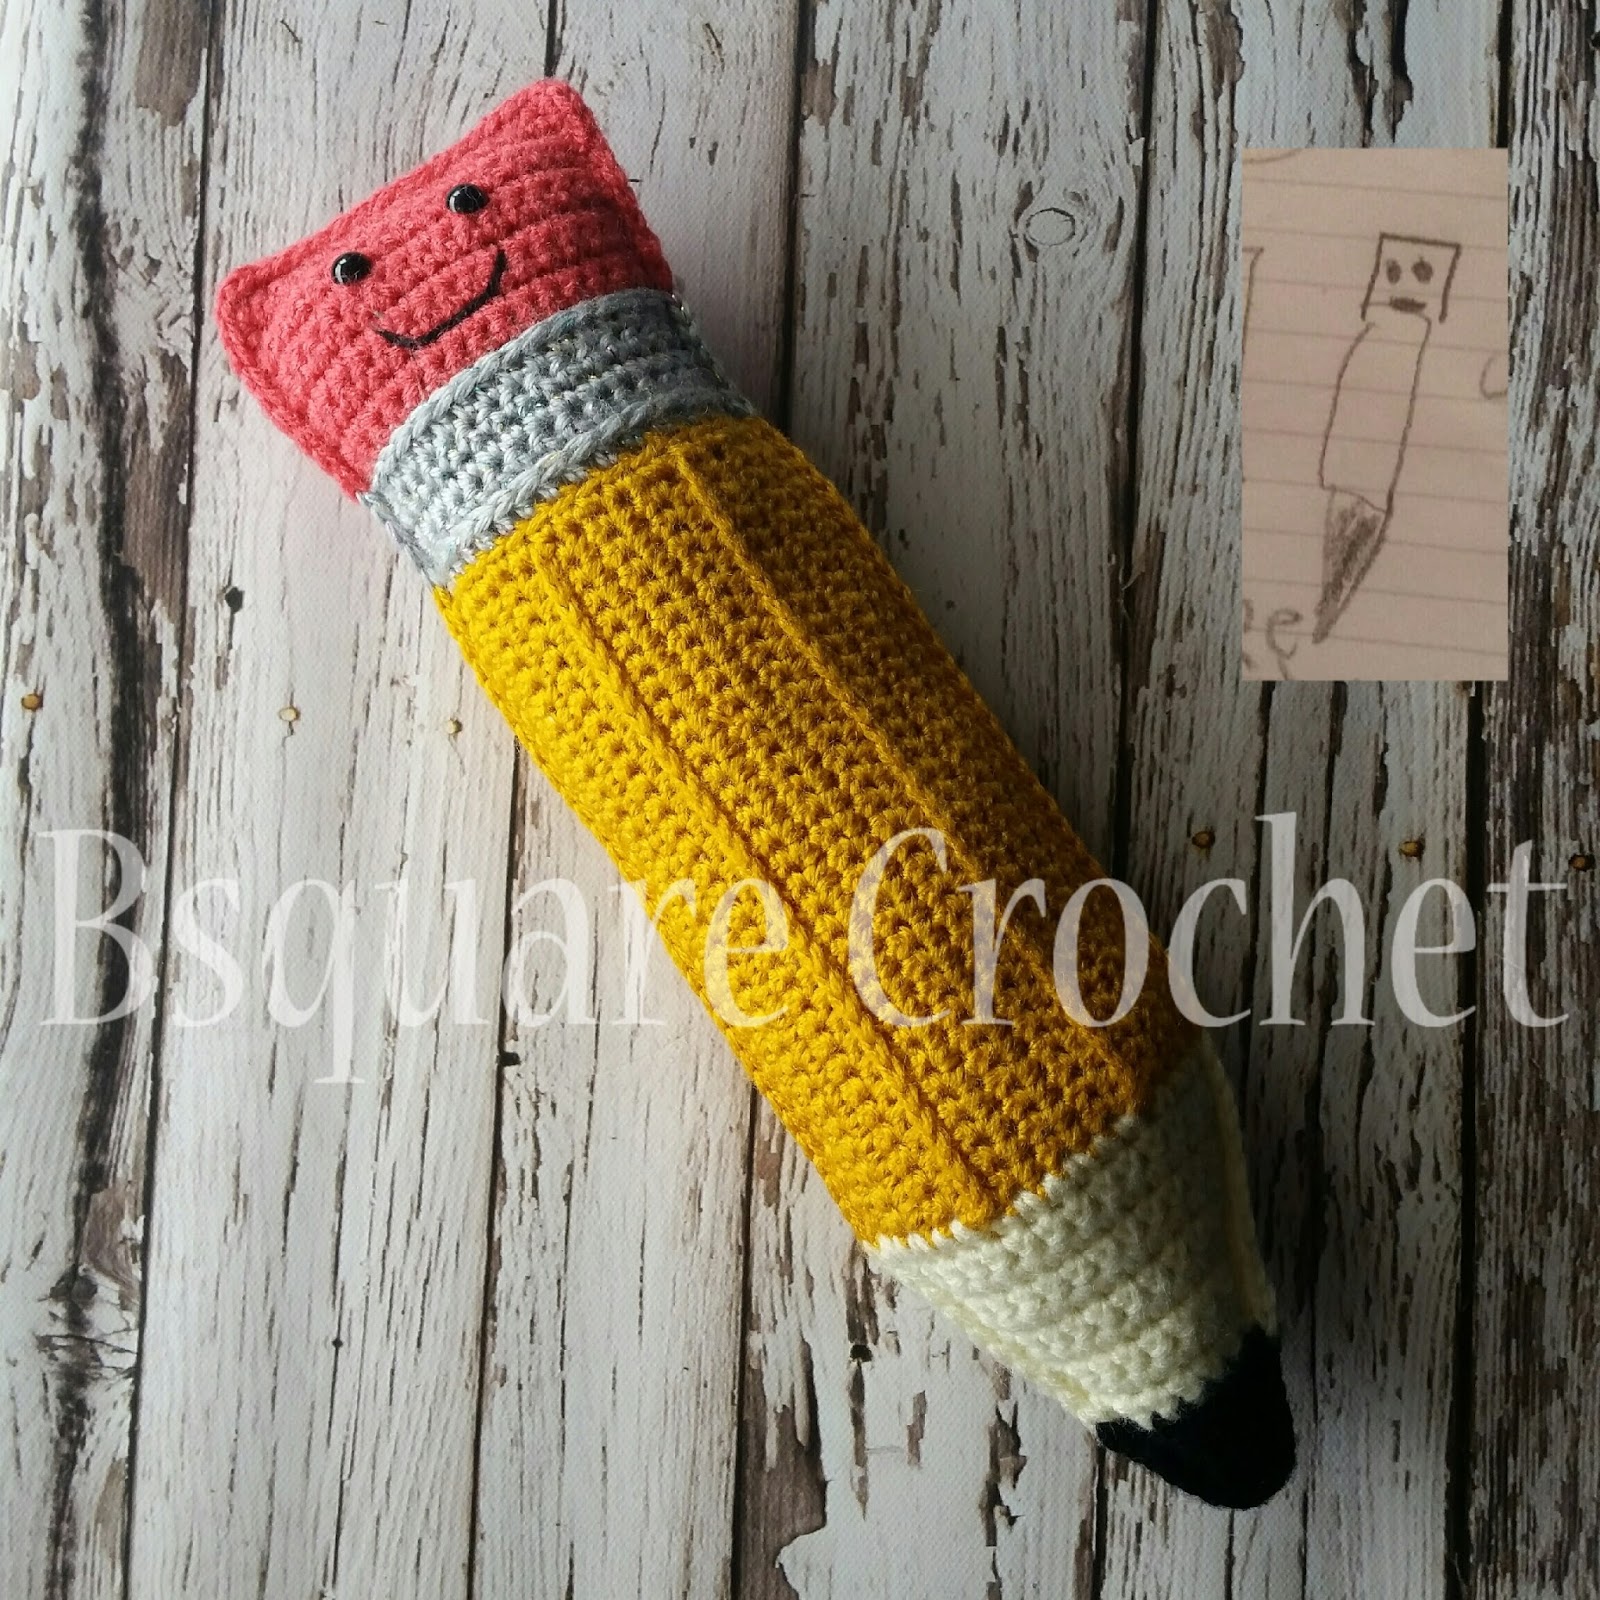
Crochet Adorable Pencil
Crocheting an adorable pencil can be a delightful and charming project to delve into. Whether you're a beginner or a seasoned crocheter, crafting this cute pencil can bring a smile to your face and add a touch of whimsy to your creations. With its simple design yet endearing appeal, the crochet pencil becomes a fun and creative way to explore different stitches and techniques. Imagine the joy of gifting or keeping this unique piece, a small but enchanting symbol of your crafting skills and creativity. So, grab your yarn, hook, and enthusiasm to embark on this cheerful journey of crocheting your very own lovable pencil!

MATERIALS:
Worsted Weight Yarn in Pink, Grey, Yellow, Cream, and Black.
Safety eyes (or whatever you prefer)
Poly-fil
4 MM hook
TERMS:
Ch- Chain
SC- Single Crochet
HDC- Half Double Crochet
DEC- Decrease
SS- Slip Stitch
FO- Finish Off
NOTE: Chain one and turn after each row. Number in parenthesis is stitch count.
When making the raised lines down the middle of the pencil, I use the 3rd loop technique with HDC. Because we are turning our work after each row, the 3rd loop is now in the FRONT, I will refer to it as the 1st loop in the pattern. Do not work into the top loops or you will not get the same effect. Although this pattern is still adorable without the lines, so if this intimidates you, you can replace the HDC with SC and work in the tops of 7 and 13.
Pencil Body:
Using Yellow Yarn.
1. Chain 31. SC in 2nd ch from hook and across (30).
2-5 SC across (30)
6. HDC across (30)
7. Working in 1st loop, SC across (30)
8-11. SC across (30)
12. HDC across (30)
13- Working in 1st loop, SC across (30)
14- 18. SC across
Tie off.
Repeat rows 1-18 of body for 2nd panel.
Pencil Tip:
Attach Cream yarn to one of the short sides.
1. Make 16 SC as evenly as you can across. (16)
2. DEC, 12 SC, DEC (14)
3. SC across (14)
4. DEC, 10 SC, DEC (12)
5. SC across (12)
6. DEC, 8 SC, DEC (10)
7. SC across (10)
8. DEC, 6 SC, DEC (8)
9. SC across (8)
10. DEC, 4 SC, DEC (6)
CHANGE TO BLACK YARN
11. SC across (6)
12. DEC, SC 2, DEC (4)
13. SC across (4)
14. DEC twice (2)
15. SC 2
Finish off.
Repeat rows 1-15 on other panel.
PENCIL TOP AND ERASER:
Working on opposite side end.
1. Working in Yellow, make 16 SC evenly across. (I used my tail from finish off but you can attach a new piece of yarn if you want.
CHANGE TO GRAY YARN
2. HDC 16 (16)
3. Working in 1st loop, SC across (16)
4-6. SC across (16)
7. HDC across (16)
CHANGE TO PINK YARN
8. Working in 1st loop, SC across (16)
9-16 SC across (16)
Finish off.
Repeat rows 1-16 on 2nd panel, do not finish off. You will use this tail to SC the two panels together.
FINISHING:
Place safety eyes and embroider mouth on eraser (or really wherever you'd like. There are no rules here! ) Place panel 1 on top of panel 2. Using the working yarn, SC around the body. For corners SC ch1 Sc in same stitch. I definitely recommend changing colors to match as you SC around. It is a little more work but looks better. When you have a few inches left of SC, start stuffing. Continue SC around until you reach where you started. FO and sew in ends.