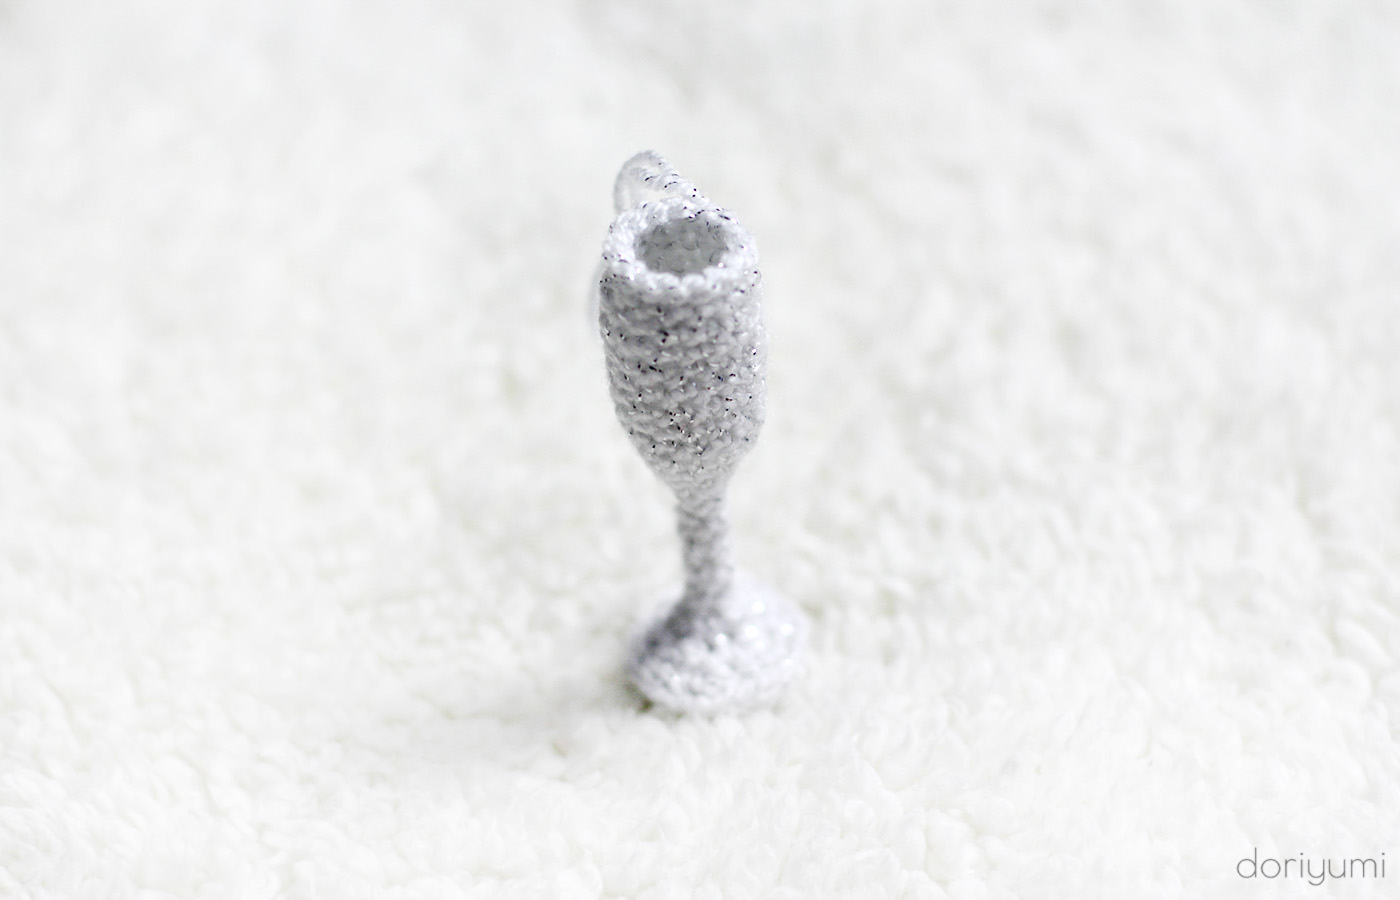
Crochet Mini Champagne Glass
Hello crafty friend! Did you know that creating crochet mini champagne glasses can add a touch of whimsy and elegance to your décor? These delightful little creations are perfect for celebrations, dollhouse decorations, or even as cute gifts for loved ones. With just a few basic crochet stitches, a bit of yarn, and some patience, you can craft these tiny wonders that will surely spark joy and conversations. So grab your crochet hook and get ready to have a bubbly time crafting these adorable mini champagne glasses — cheers to creativity and endless possibilities!

SUPPLIES
- Crochet hook D/3.25 mm
- Fiberfill or cardboard (optional)
- Yarn needle (I use Clover Chibi Bent Tip Needle Set)
- Stitch marker (I use Clover Locking Stitch Markers)
- Fine/sport weight yarn, I used the following yarn:
- Lion Brand Vanna’s Glamour, Diamond (white)
- Lion Brand Vanna’s Glamour, Topaz (gold)
NOTES
- Please read through the entire pattern before you start.
- Sizing: approx. 3.2″ in height x 1.1″ wide.
- Worked mostly in continuous rounds; do not join or turn unless noted in pattern.
ABBREVIATIONS
ch = chain
sc = single crochet
sc2tog = single crochet 2 together / sc decrease
BLO = work in back loop only
sl st = slip stitch
st(s) = stitch(es)
rep = repeat
* – * = repeat instructions between asterisks as many times as directed
PATTERN INSTRUCTIONS
Mini Champagne Glass
Start with a magic ring, ch 1 to secure ring.
Round 1: Work 6 sc in magic ring (4)
Round 2: 2 sc in each st around (8)
Round 3: *2 sc in next st, 1 sc in next st*, rep from * – * around (12)
Round 4: *2 sc in next st, 1 sc in next 2 sts*, rep from * – * around, sl st to first st to join. (16)
Round 5: Work in BLO, ch 1, 1 sc in each st around, sl st to first st to join. (16)
Round 6: Work in BLO, ch 1, *sc2tog, 1 sc in next 2 sts*, rep from * – * around (12)
You may cut out a small circle from a piece of cardboard to secure the shape of the base, or lightly stuff with fiberfill after the next round.
Round 7: Work in both loops again, *sc2tog, 1 sc in next st*, rep from * – * around (8)
Round 8: sc2tog around (4)
Rounds 9-13: 1 sc in each st around (4)
There’s no need to stuff the rod; but if you’d like, stick a coffee stirrer, toothpick, small paperclip or q-tip inside to secure the shape.
Round 14: *2 sc in next st, 1 sc in next st*, rep from * – * around (6)
Round 15: *2 sc in next st, 1 sc in next 2 sts*, rep from * – * around (8)
Round 16: *2 sc in next st, 1 sc in next 3 sts*, rep from * – * around (10)
Round 17: *2 sc in next st, 1 sc in next 4 sts*, rep from * – * around (12)
Round 18: *2 sc in next st, 1 sc in next 2 sts*, rep from * – * around (16)
Rounds 19-24: 1 sc in each st around (16)
Round 25: *sc2tog, 1 sc in next 6 sts*, rep from * – * around (14)
Round 26: 1 sc in each st around (14)
Sl st around and fasten off. Weave in ends.
Leave a longer tail if you wish to make a loop as a hanging ornament.