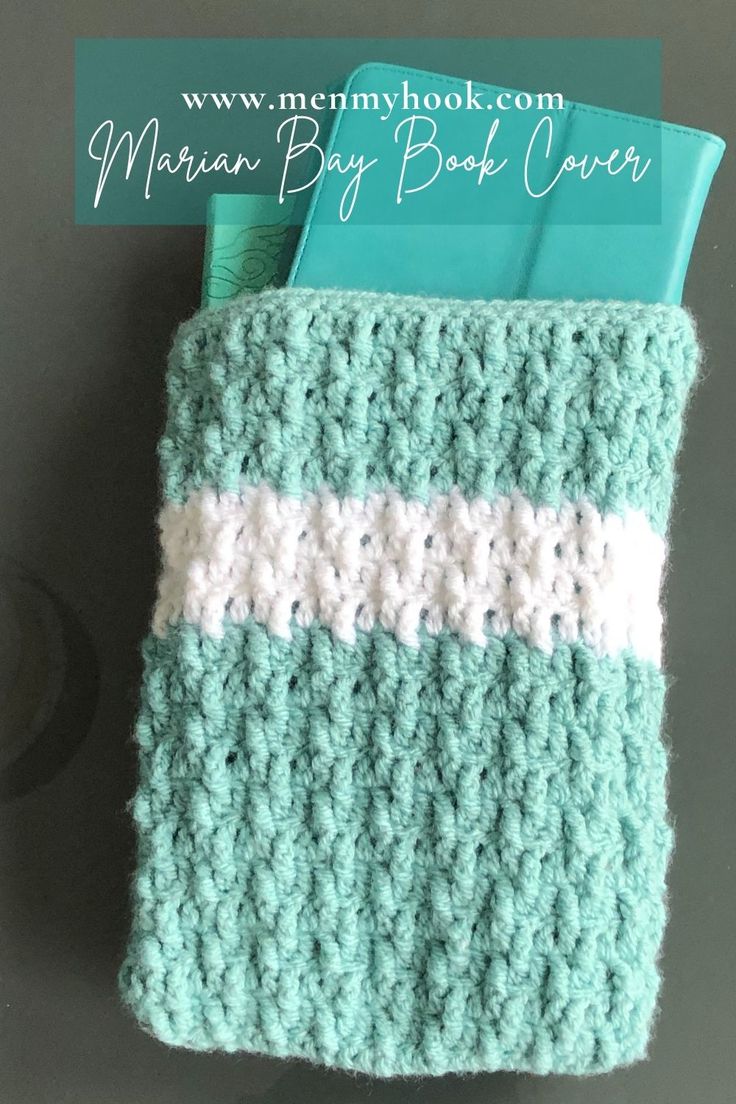
Crochet Book Cover
Crochet book covers are the perfect way to add a touch of charm and warmth to your favorite reads. Not only do they keep your books protected from wear and tear, but they also show off your creative side and make reading even more enjoyable. With endless possibilities for colors, designs, and embellishments, you can customize your crochet book cover to match your style or create a thoughtful gift for a bookworm friend. So, grab your hooks, pick out some yarn, and let's add a cozy touch to your reading adventures with a handmade crochet book cover!
Skill Level: Beginner
Terms: US Terms
Yarn: 100g or 1 x 100g, 184m/201yds – Paintbox Simply Aran or any Aran/Worsted 4 weight yarn
Hook: 4mm
Other items: darning needle, stitch markers, scissors, tape measure
Gauge: 17dc x 9rows = 4in
Finished size:
S – 6.5ins x 9ins (A5)
Notes:
- This pattern is worked in one piece
- Ch3 counts as a dc
- Ch2 does not count as a hdc
- Ch1 does not count as a sc
- I work into the back loops of the chain in a starting chain, this is a preference, and will not make a difference if you choose not to.
Stitches:
- Single Crochet – sc
- Double Crochet – dc
- Half Double Crochet – hdc
- Front Post Treble Crochet – fptr
- Back Post Treble Crochet – bptr
- Slip Stitch – sl-st
Start:
Ch61
Row 1:
Dc in the back loop of the 4th ch from the hook (ch3 counts as dc), dc in each st across. Turn (59)
Row 2:
Ch3 (counts as a dc here and throughout), dc in the next st, [fptr in the next st, dc in the next 2 sts], repeat until the end. Turn (59)
Row 3:
Ch3, dc in the next 2 sts, [bptr, dc in the next 2 sts], repeat until 2 sts remain, dc in the next 2 sts. Turn (59)
Rows 4 – penultimate row:
Repeat rows 2 and 3 until your work reaches 9ins tall
Final Row:
Ch1 (does not count as a stitch), sc in the same st, sc in each st across. Tie off and secure ends
To seam
With the wrong side facing
Fold the piece in half, like a book. Starting at the bottom inside corner, join with a mattress stitch along the bottom edge.
When you reach the corner, place 1 more stitch in the corner, then rotate the work and continue working along the open edge. I placed 2 sts evenly throughout these sts. End at the next corner. Tie off and secure your work.