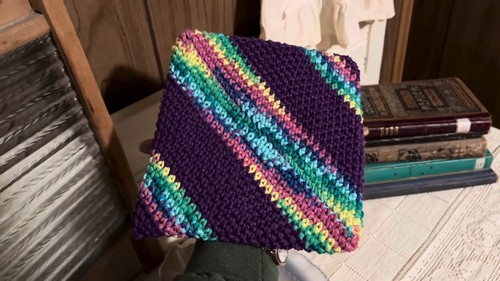
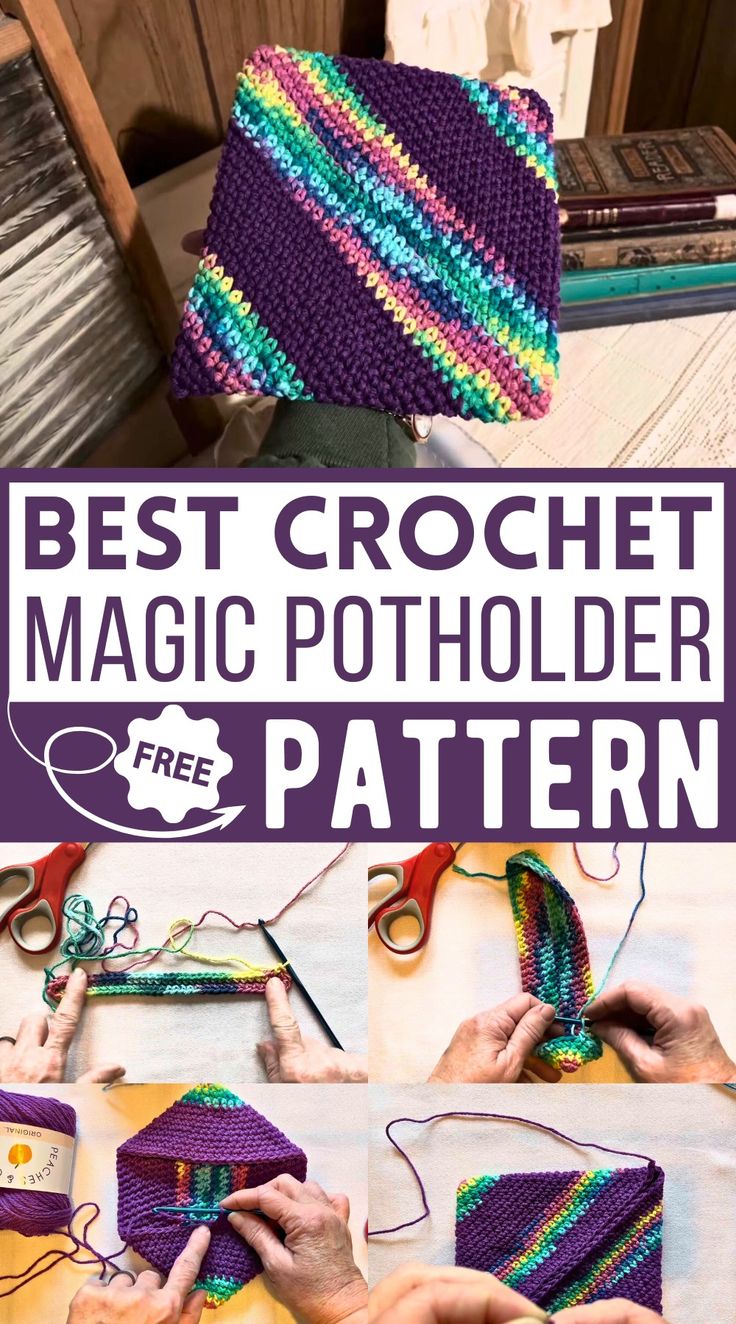
Crochet Magic Potholder
Crochet Magic Potholder is a delightful and practical addition to any kitchen. With its vibrant colors and intricate designs, this potholder not only protects your hands from hot dishes but also adds a touch of charm to your cooking space. The unique magic of crochet brings warmth and character to your home, making everyday tasks a little more special. So grab your favorite yarn and hook, and let's create some kitchen magic together with this lovely crochet potholder!
Materials
- Yarn: 100% cotton yarn (e.g., Peaches and Cream)
- Hook: Size H/8 (5 mm)
- Yarn Needle
Pattern Steps
Create a Slip Knot:
Loop yarn around your finger, twist, and pull a loop through.
Tighten to form a simple knot on your hook.
Chain 33:
This serves as the foundation chain for your pot holder.
First Row:
Skip the first chain from the hook.
Work 3 single crochets (sc) in the second chain from the hook.
Place 1 sc in each of the next chains, stopping at the last chain.
In the final chain, work 3 sc.
Do not turn the work; instead, rotate your piece upside down.
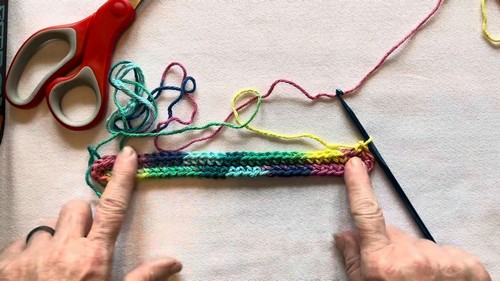
Working the Opposite Side of the Chain:
Place 1 sc in each chain on the opposite side, creating an oval.
Continue until you reach the initial 3 sc group.
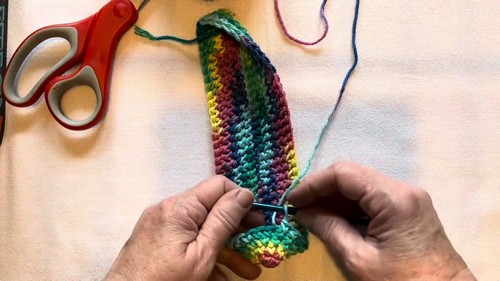
Continue Rounds:
Insert 1 sc in each stitch around.
As you reach the initial sc group, make sure to match it with a new 3 sc to maintain the round shape.
Decide how many rows you want for thickness (e.g., 10 rows for a thicker pot holder).
Color Change (Optional):
Begin a sc, but do not complete the stitch.
Cut the current yarn and pull through a new yarn loop color.
Tie the ends together and continue working with the new color.
Forming the Pot Holder:
Continue crocheting until the piece doubles back to itself forming a pouch shape.
Measure the height, confirm it is half of the total desired dimensions.
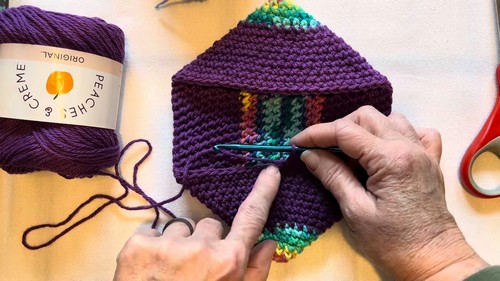
Closing Seam:
Fold the piece flat with the seam centrally aligned.
Cut a long yarn tail (3 times the width), thread a yarn needle.
Use a flat seam technique: pick up the outer loops on each side before pulling through.
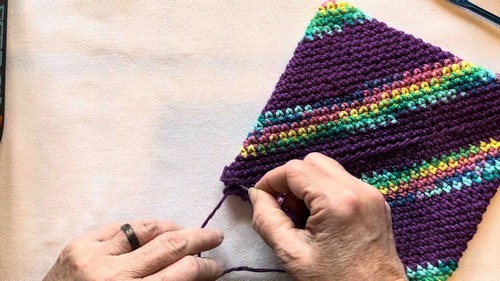
Weaving the End:
Secure the seam with kots.
Weave the yarn end neatly into the potholder using the needle.
Finishing:
Cut off any excess yarn.
Tug and adjust to ensure it’s square and taut.
Tips
This project usually takes about an hour.
Customize with solid or variegated colors as desired.
Make sure to use only cotton yarn to prevent melting from heat.