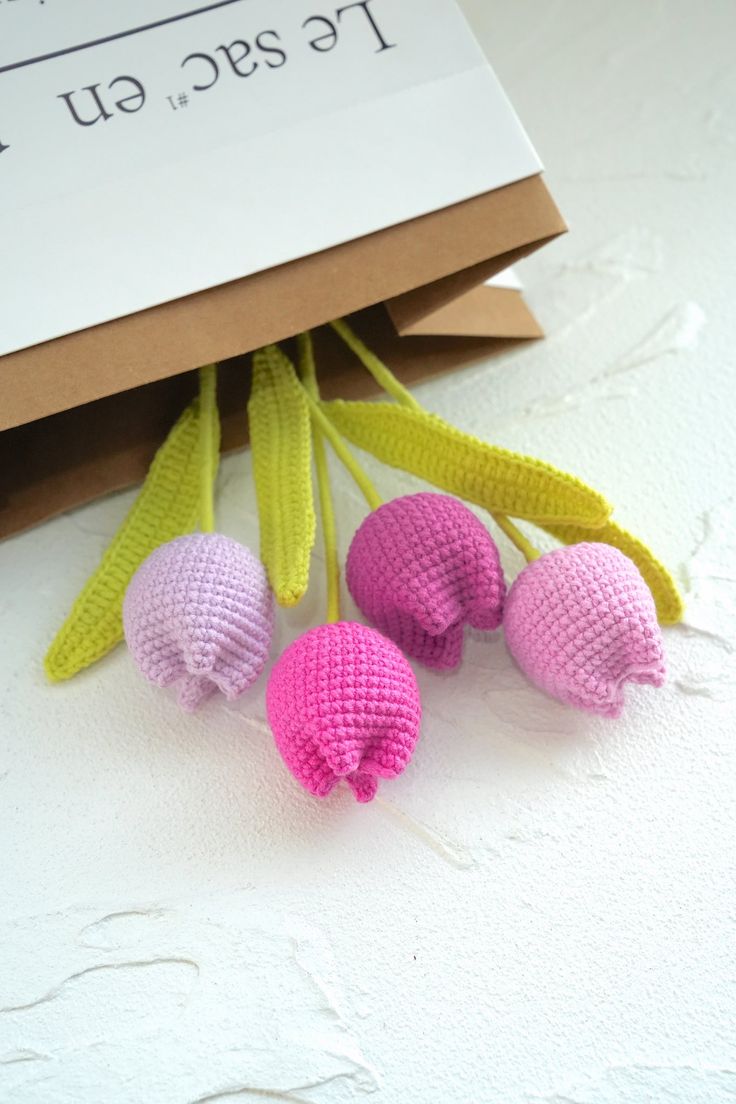
Crochet Adorable Tulip Flower
Crocheting an adorable tulip flower is a delightful way to add a charming touch to your crafting projects. With its vibrant colors and intricate design, this small creation can bring a smile to anyone's face. Whether you're a seasoned crocheter or a beginner looking for a fun challenge, this tulip flower pattern is sure to brighten up your day. So grab your yarn and hook, and let's get crafting!
Materials Needed
- Yarn – Loopara 4ply combed cotton (Green 13 and Purple 76)
- Hook – 2.5mm
- Flower Rod – 30cm long (No.2)
- Iron Wire – 0.5mm diameter
- Hot Melt Adhesive
- Needle Nose Pliers
- Fiber Fill
- Yarn Needle
- Scissors
Step By Step Tutorial
How to Crochet the Flower (Make 1)
- R1: Magic ring, 6 sc in ring, sl
- R2: Ch, 6 sc inc, sl
- R3: Ch, (sc, sc inc) 6 times, sl
- R4: Ch, (sc, sc inc, sc) 6 times, sl
- R5: Ch, (3 sc, sc inc) 6 times, sl
- R6: Ch, (2 sc, sc inc, 2 sc) 6 times, sl
- R7-R17: Ch, 36 sc, sl (leave tail for sewing)
How to Crochet the Leaf (Make 1)
- R1: Ch 31
- R2: Add wire, sl in 2nd ch from hook, 2 sc, 3 hdc, 18 dc, 3 hdc, 2 sc, 3 sc in next st, 2 sc, 3 hdc, 18 dc, 3 hdc, 2 sc, sl, leave tail
Crochet Tulip (II) Assembly
- Insert the stem wire through the center of the flower head.
- Bend the stem wire to shape and secure with glue.
- Insert the stuffing cotton.
- Sew in a cross pattern across the bottom — top, bottom, left, and right.
- Take the floral wire and wrap around the base of the flower.
- Add the leaf.
- Continue wrapping the wire and secure the end with glue.
Notes
Crochet Tips:
- Use stitch markers to track your rounds and increase points.
- Keep your tension even throughout.
- When stuffing, add small amounts gradually for the smoothest finish. If your flower starts to lean to one side, adjust your stuffing distribution before closing.
- The key to a natural-looking leaf lies in the wire and stitch tension.
Assembly Tips:
- Add stuffing gradually for a perfect round shape.
- Secure wire wrapping tightly, especially around leaf attachment point.
- Double-check all glue points are fully dried before arranging your flower.
No comments
Write a comment