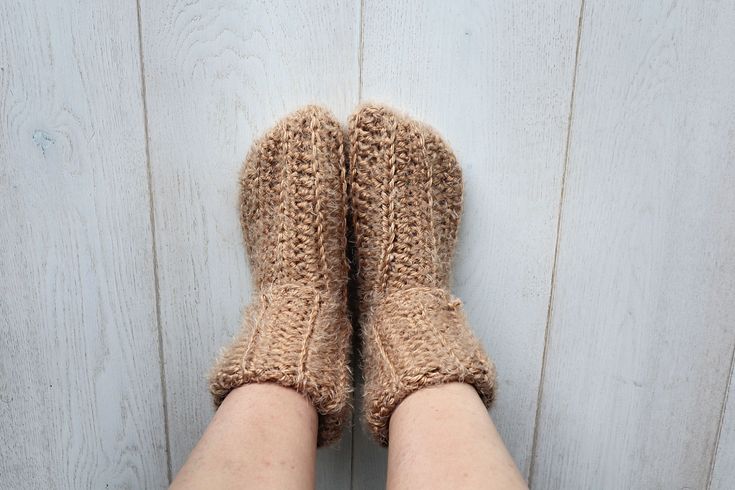
Crochet Slipper Socks
Crochet slipper socks are the coziest addition to any loungewear collection! Not only do they keep your feet warm and toasty, but they also add a touch of charm to your relaxation routine. With endless color and pattern possibilities, you can customize your slipper socks to reflect your unique style. Whether you're curling up with a good book or binge-watching your favorite show, these handmade wonders will make every moment feel extra cozy and delightful. So slip into your crochet slipper socks and let the comfort embrace you!
Materials
About 150 yards(130 m) of a bulky weight yarn like Red Heart Hygge
A 6.5mm crochet hook is all you need for making the piece and seaming.
Gauge & Sizing
The gauge on the yarn label of a suitable yarn will likely be about 11 scs x 13 rows in 4″ (10cm) of single crochet.
The free pattern below is sized to fit an average small adult shoe size. You can alter the length by changing the initial foundation chain count and alter the size of the sock by adding or subtracting rows worked before seaming.
Your rectangle before seaming should be about 16.5″ (42cm) long and 7″ (18cm) wide.
Abbreviations
sc=single crochet
hdc=half double crochet
dc=double crochet
ch=chain
st/s=stitch/stitches
sl st/s=slip stitch/slip stitches
rem= remaining
Pattern
Slipper Socks: Make 2
Chain 48 chains
Set up row: skip the first ch, make 1hdc in each rem ch (47sts).
Row 1 (toe end): ch1 (doesn’t count as a st), make 1sc in the back loop of each of the next 4 sts. Make 1hdc in the back loop of each rem st.
Row 2 (ankle end): ch2 (doesn’t count as a st), make 1dc in the back loop of the first st. Make 1hdc in the back loop of each rem st.
Repeat rows 1 and 2 until your piece measures 17 inches (44cm) or 15 rows. Make sure you’re at the end of a “row 1” row before seaming, so that you’ll seam down towards the toe end with your working yarn.
Seaming
With your working yarn, work slip stitches to seam the foundation chain edge to the back loops of the final row. When you reach the bottom edge (toe), sl st seam the bottom edge together. Turn your work right-side-in and weave in your ends!