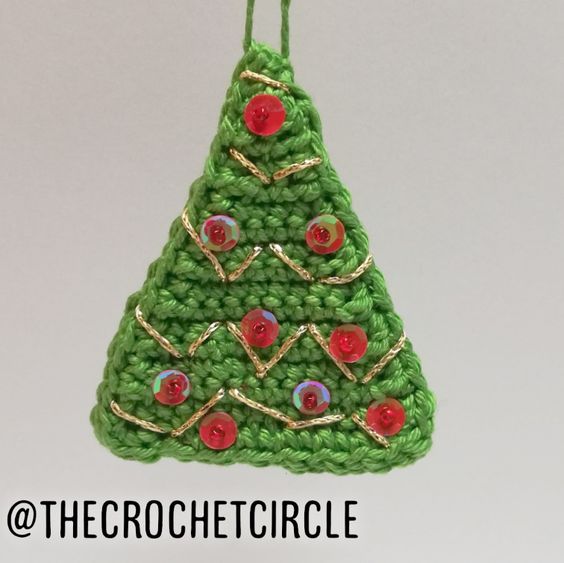
Crochet Flat Christmas Tree Ornament

Create a unique and eye-catching Christmas tree ornament with the art of crochet! This delightful project will add a touch of handmade charm to your holiday decorations. Instead of the traditional round shape, we will be making a flat Christmas tree ornament that is sure to stand out on your tree. This fun and easy project will allow you to showcase your crochet skills while adding a touch of holiday cheer to your home. Unlike traditional round ornaments, this flat version will make a unique statement on your tree.
Materials needed for the project:
- crochet hook (3mm)
- yarn (appropriate size for the crochet hook)
- scissors
- needle
- beads, sequins, glitter yarn, ...
The stitches used in this pattern are:
- slip knot
- ch – chain stitch
- sc – single crochet stitch
- dec – single crochet decrease stitch (2sc in 1 – back loops only)
Pattern:
- Row 0: ch 15
- Row 1: (ch1) 15sc
- Row 2: (ch1) dec, 11sc, dec
- Row 3: (ch1) 13sc
- Row 4: (ch1) dec, 9sc, dec
- Row 5: (ch1) 11sc
- Row 6: (ch1) dec, 7sc, dec
- Row 7: (ch1) 9sc
- Row 8: (ch1) dec, 5sc, dec
- Row 9: (ch1) 7sc
- Row 10: (ch1) dec, 3sc, dec
- Row 11: (ch1) 5sc
- Row 12: (ch1) dec, 1sc, dec
- Row 13: (ch1) 3sc
- Row 14: (ch1) dec, 1sc
- Row 15: (ch1) dec
The diagram for the tree base:
After you finish the base you have to make the edge and you do that with crocheting single crochet stitches all around except on the bottom left and right corner where you put 4 single crochet stitches in one and on top where you make a 2 single crochet stitches, a picot and another single crochet stitch. At the end you join the end with and invisible join.
As I said I made two and then I used my needle and sewed them together. That means that now they look the same on both sides.
You can embroider and bling up the tree before sewing the two parts together or after. I opted for the harder things and was sewing on the beds and sequins after the join.
Happy Crafting!