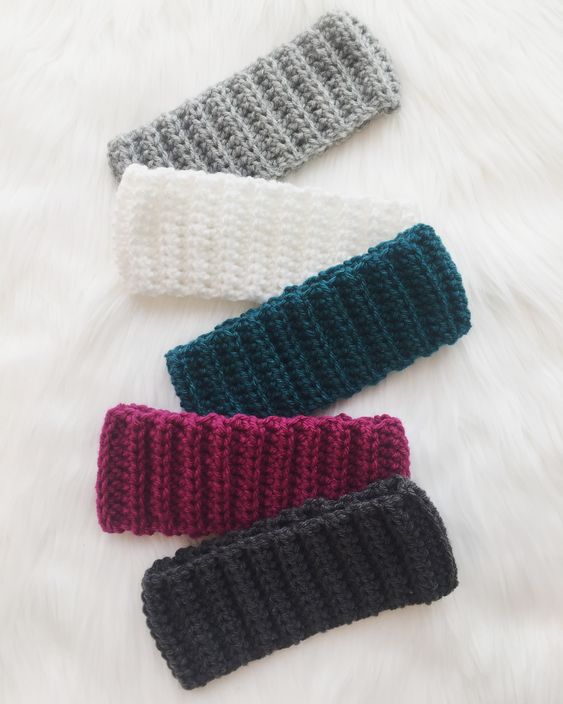
Crochet Cozy Ribbed Headband
Looking to add a touch of warmth and style to your winter ensemble? The Crochet Cozy Ribbed Headband is the perfect accessory to keep you snug and fashionable on chilly days! Handcrafted with love and care, this headband features a beautifully textured ribbed design that adds a cozy flair to any outfit. Whether you're heading out for a brisk walk or simply running errands, this headband will not only keep your ears toasty but also make you look super cute while doing so. Embrace the charm of handmade goodness and treat yourself to this must-have headband for the ultimate blend of comfort and style!
Materials:
CROCHET HOOK: 6.5mm – US K
YARN: Worsted-weight yarn.
Recommended: Vanna’s Choice by Lion Brand – about 42 yds
OTHER: Yarn needle, scissors
For pom-poms (optional): pom-pom maker (2.5”), yarn scraps
Recommended: Clover Pom-Pom Maker
Gauge:
2” x 2” (5cm x 5cm) swatch = 7 sts x 5 rows
Finished Measurements:
Circumference: Approximately 16.5” (42cm)
Length: Approximately 3” (7.5cm)
This headband has plenty of stretch and fits most adult head sizes from 21 to 23 inches. (53-58.5cm)
Key:
St/sts Stitch/stitches
Ch Chain
Hdc Half double crochet
WS Wrong side
RS Right side
Notes:
- This is an easy/beginner level crochet pattern
- Pattern written in US crochet terms
- The stitch count at the end of each row is shown in parenthesis ( )
- The ch 1 at the beginning of each row does not count as a stitch.
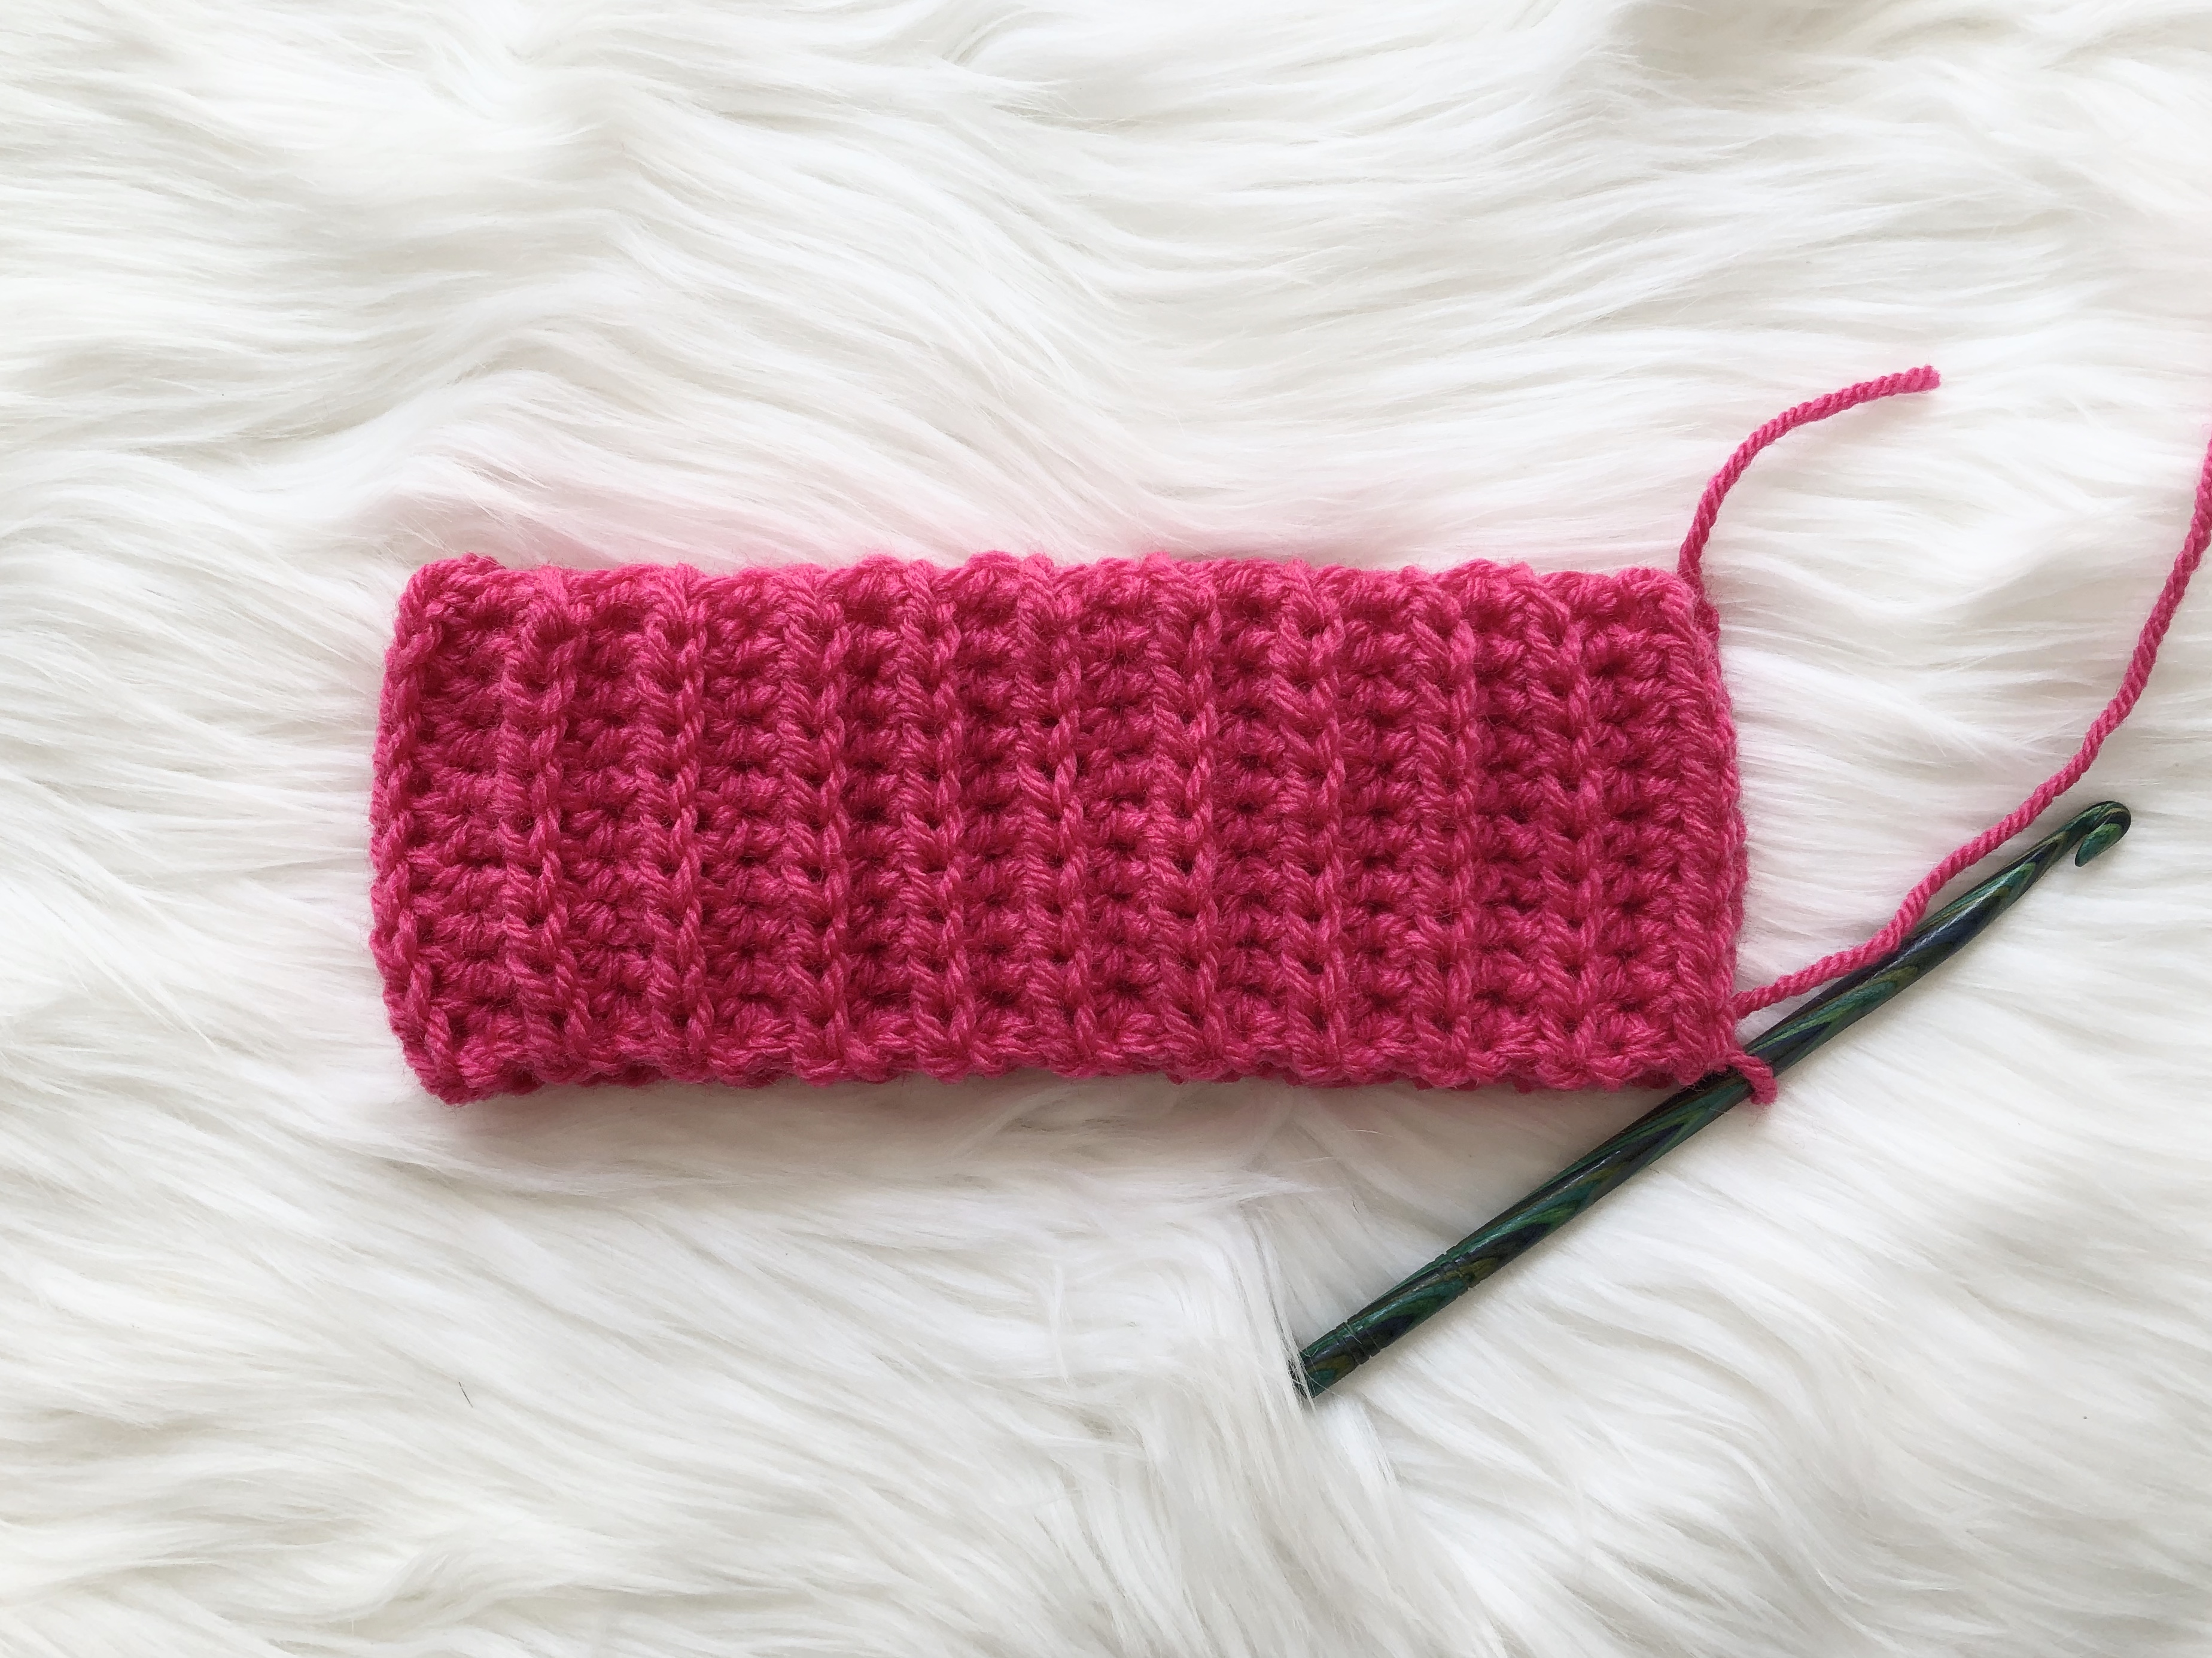
- This headband will start out as a long rectangle that will then be sewn up.
- This pattern is for an adult sized headband. One size fits most.
- If you’d like your headband to be smaller, crochet less than the 42 rows. Make sure you still end on an even numbered row.
- If you’d like to make your headband larger, continue adding rows. Make sure you still end on an even numbered row.
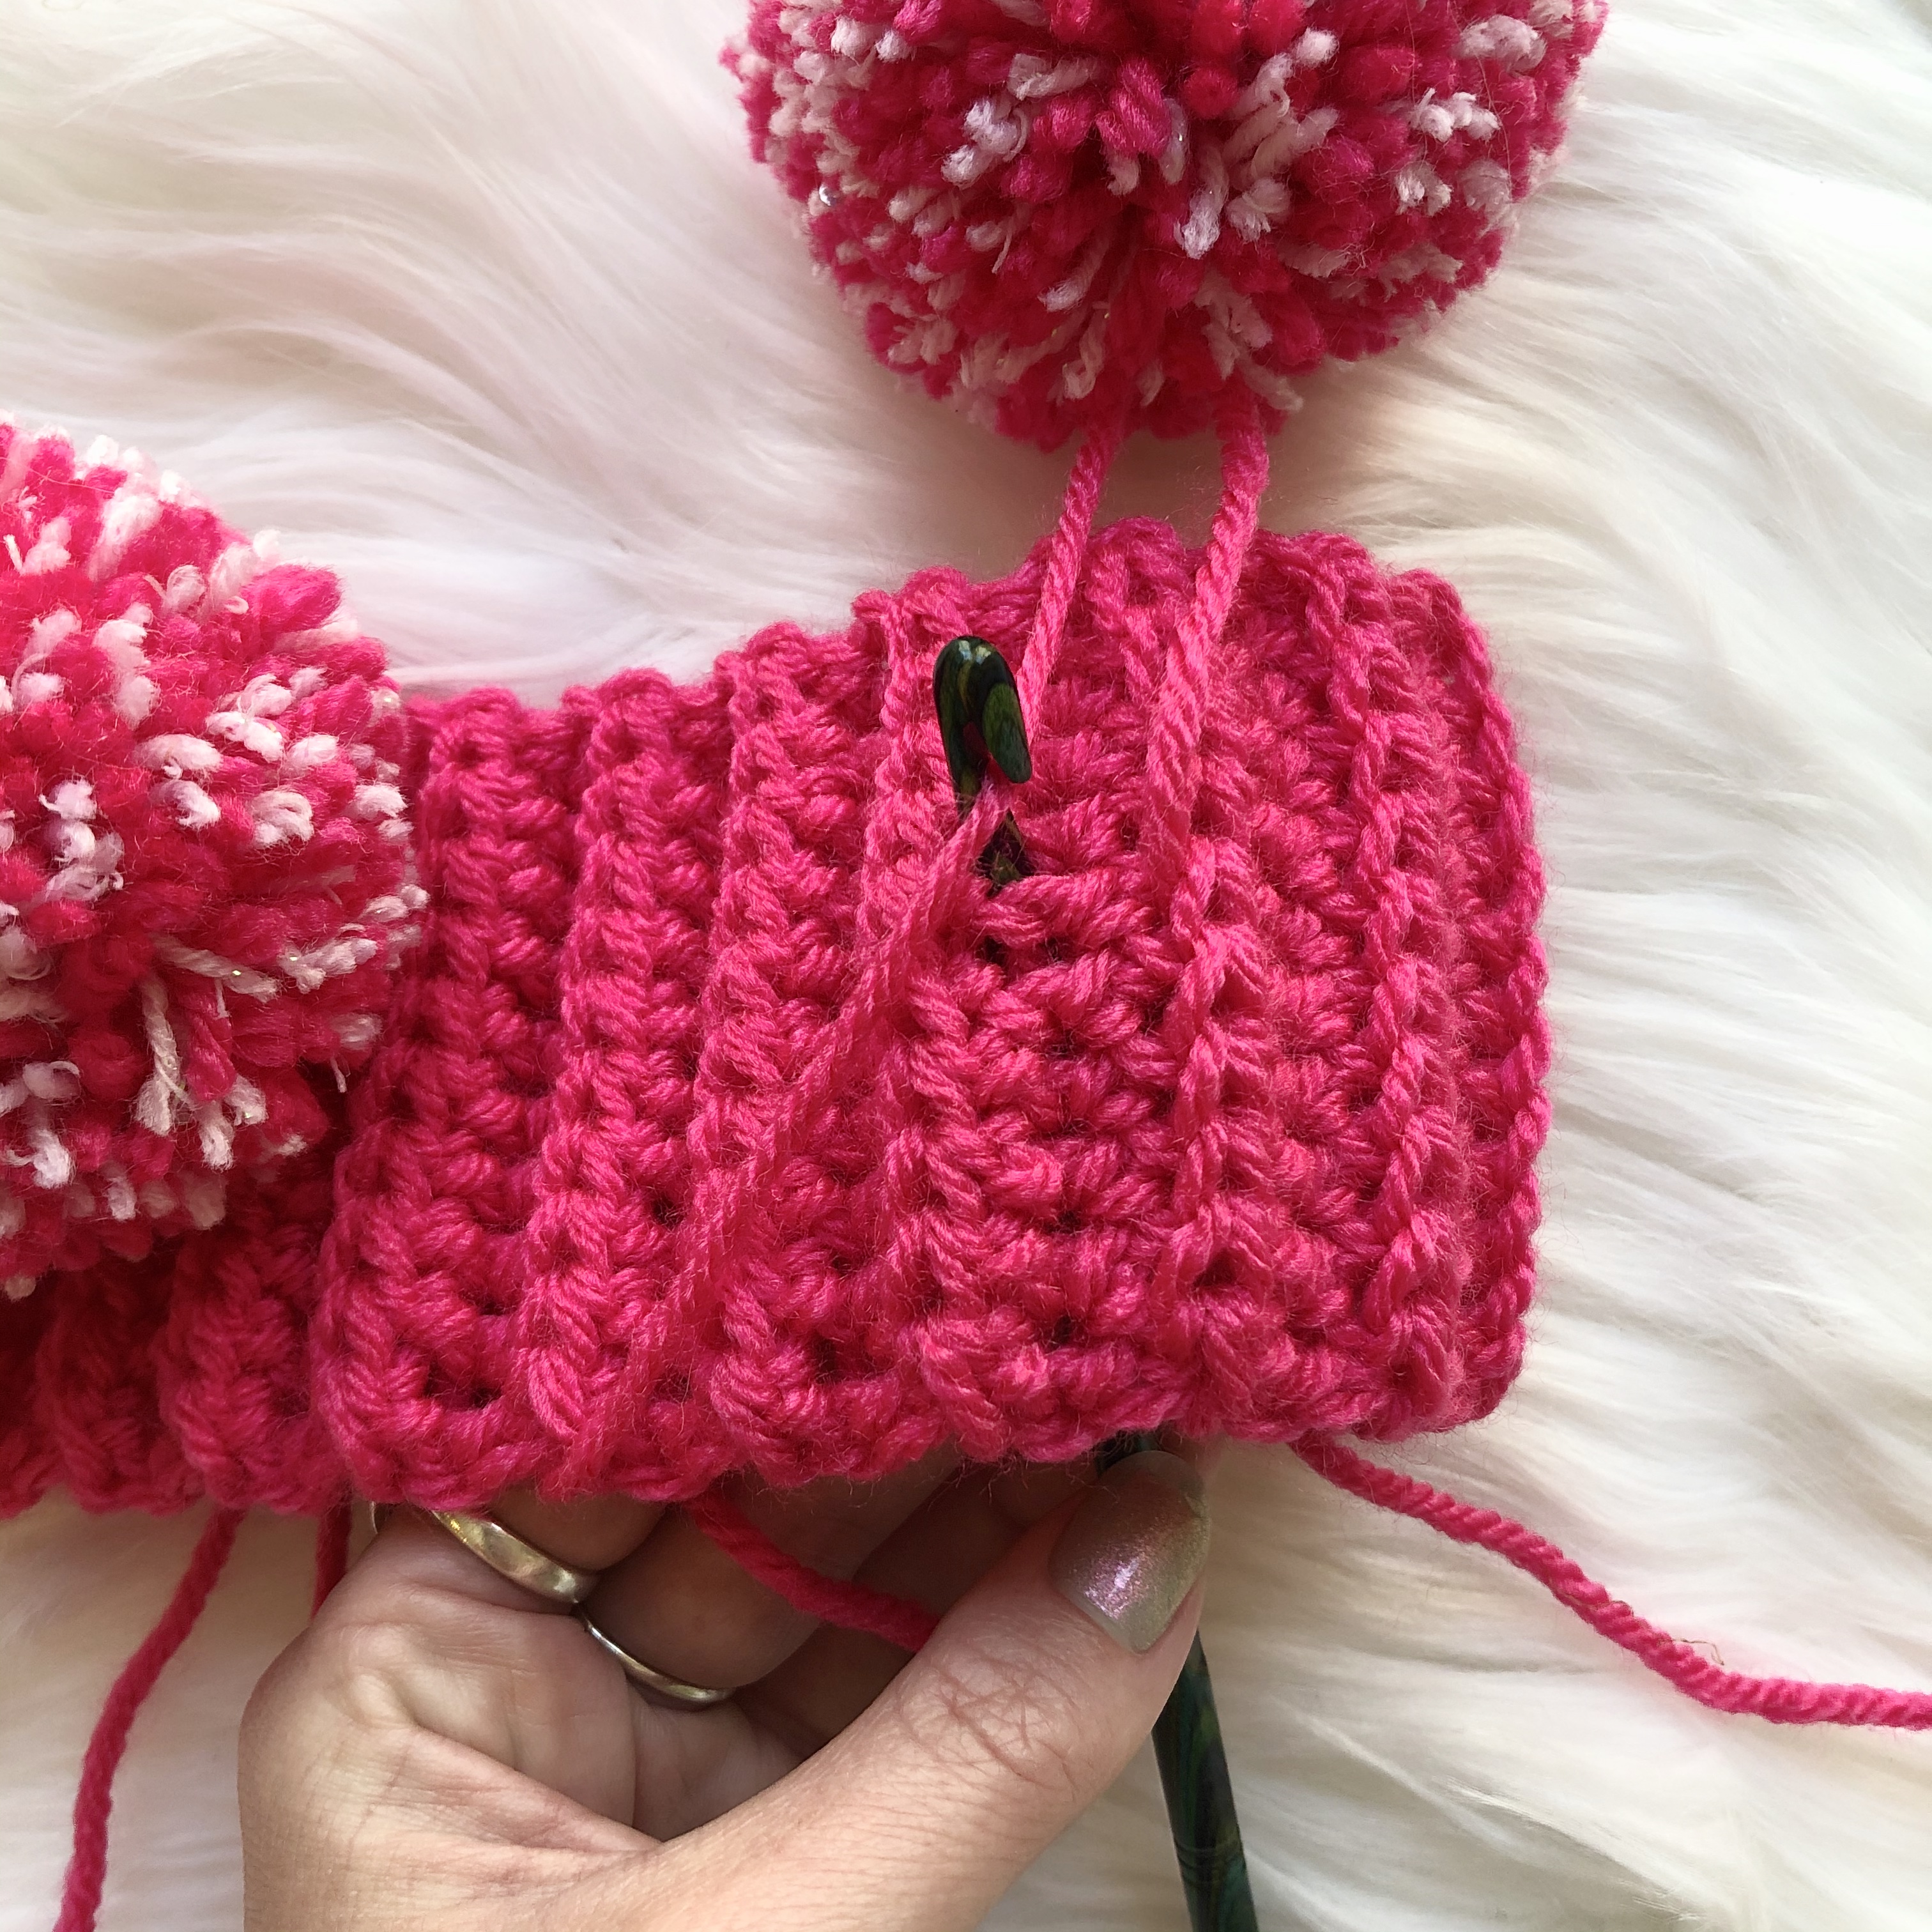
Crochet Headband Pattern:
Ch 11
Row 1: Hdc in 2nd ch from hook. Hdc in each ch across. (10)
Row 2: Ch 1, turn. Hdc in each st across. Crochet in the back loops only until you get to the last st. Hdc through both loops on the last st. (10)
Rows 3 – 42: Repeat row 2
Continue to finishing Instructions. Do not cut the yarn.
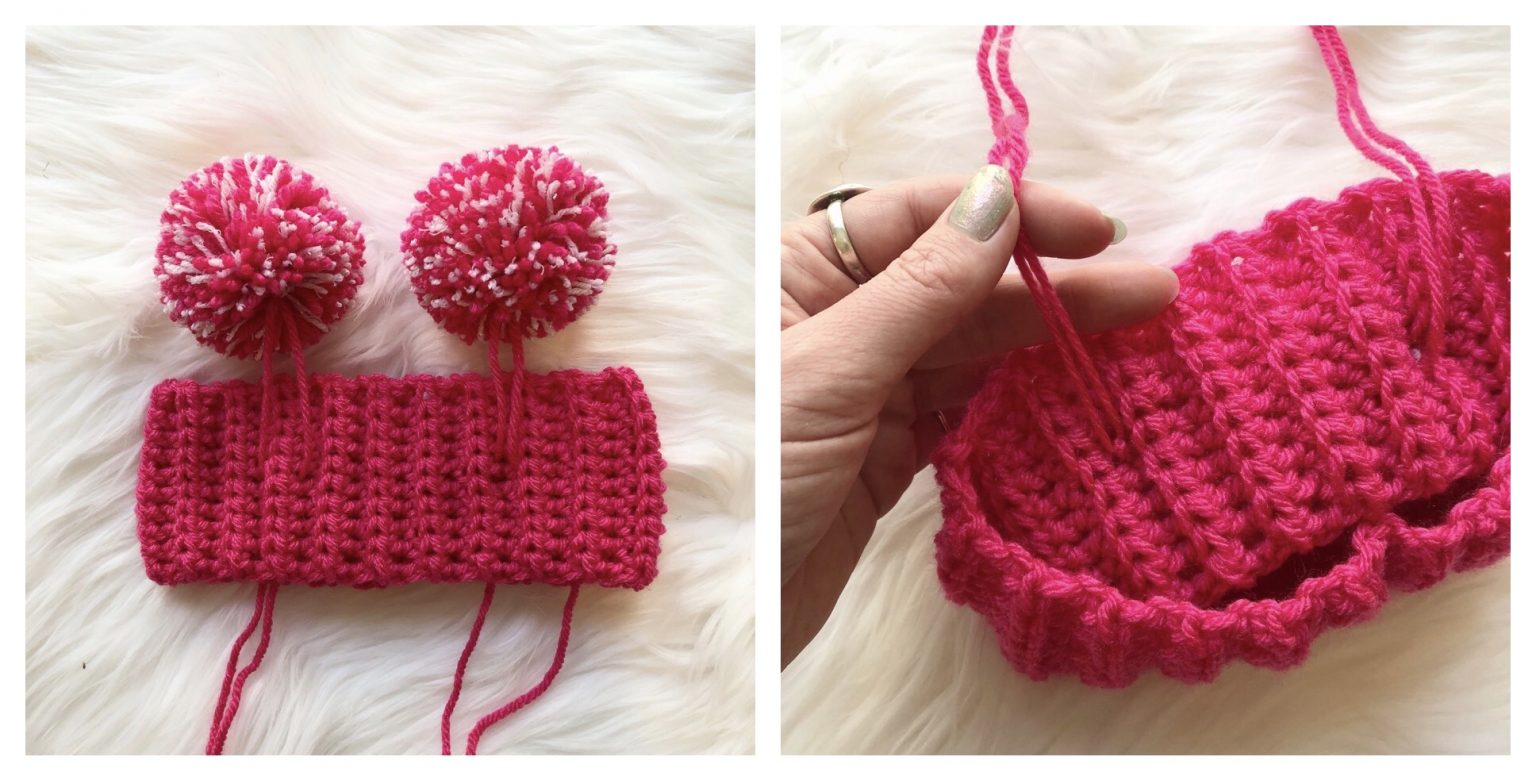
Finishing Instructions:
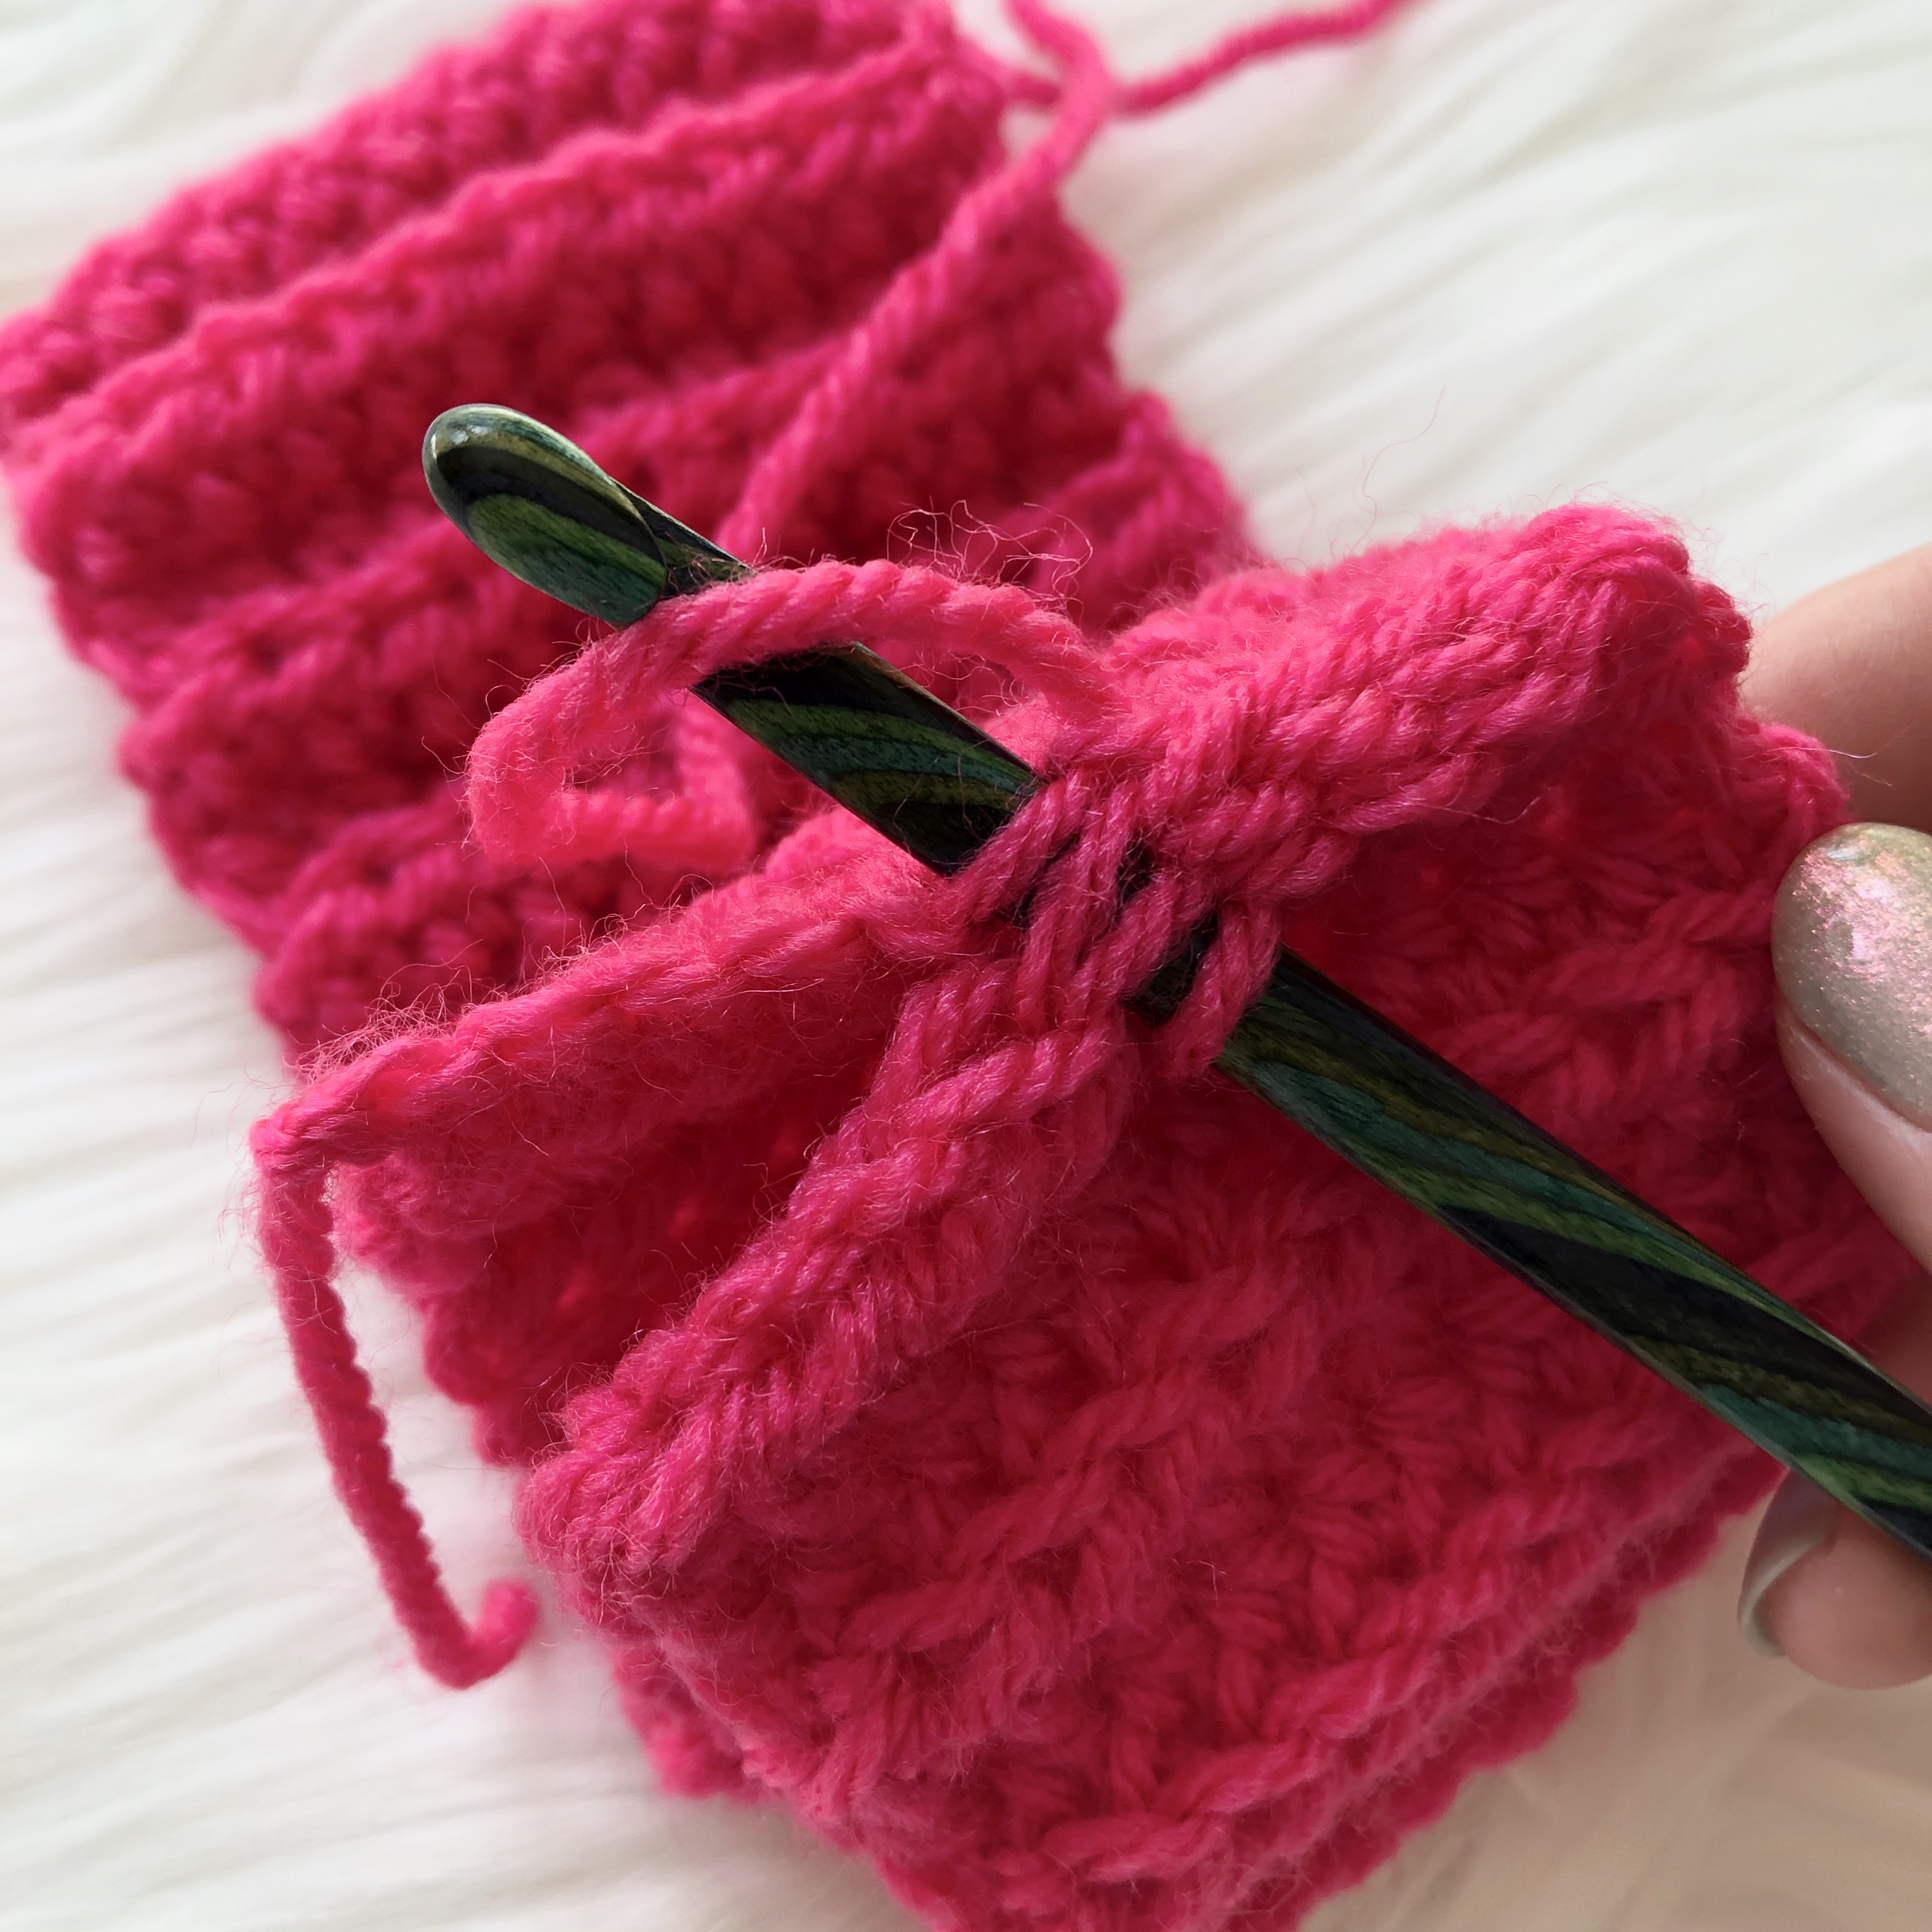
Fold your headband in half so that the first & last rows are lined up. When folded, the last row should be facing WS out & the first row facing RS out. Create a seam with a row of slip stitches.
Fasten off and weave in yarn ends. Then, turn your headband right side out & you’re all done!
Pom-Pom Instructions (Optional):
Using your pom-pom maker (I use the Clover Pom-Pom Maker, size 2.5″), make two fluffy pom-poms with the same color yarn as your headband, or a different yarn for an extra pop of color. Tie your pom-poms off leaving long tails to attach them to the headband.
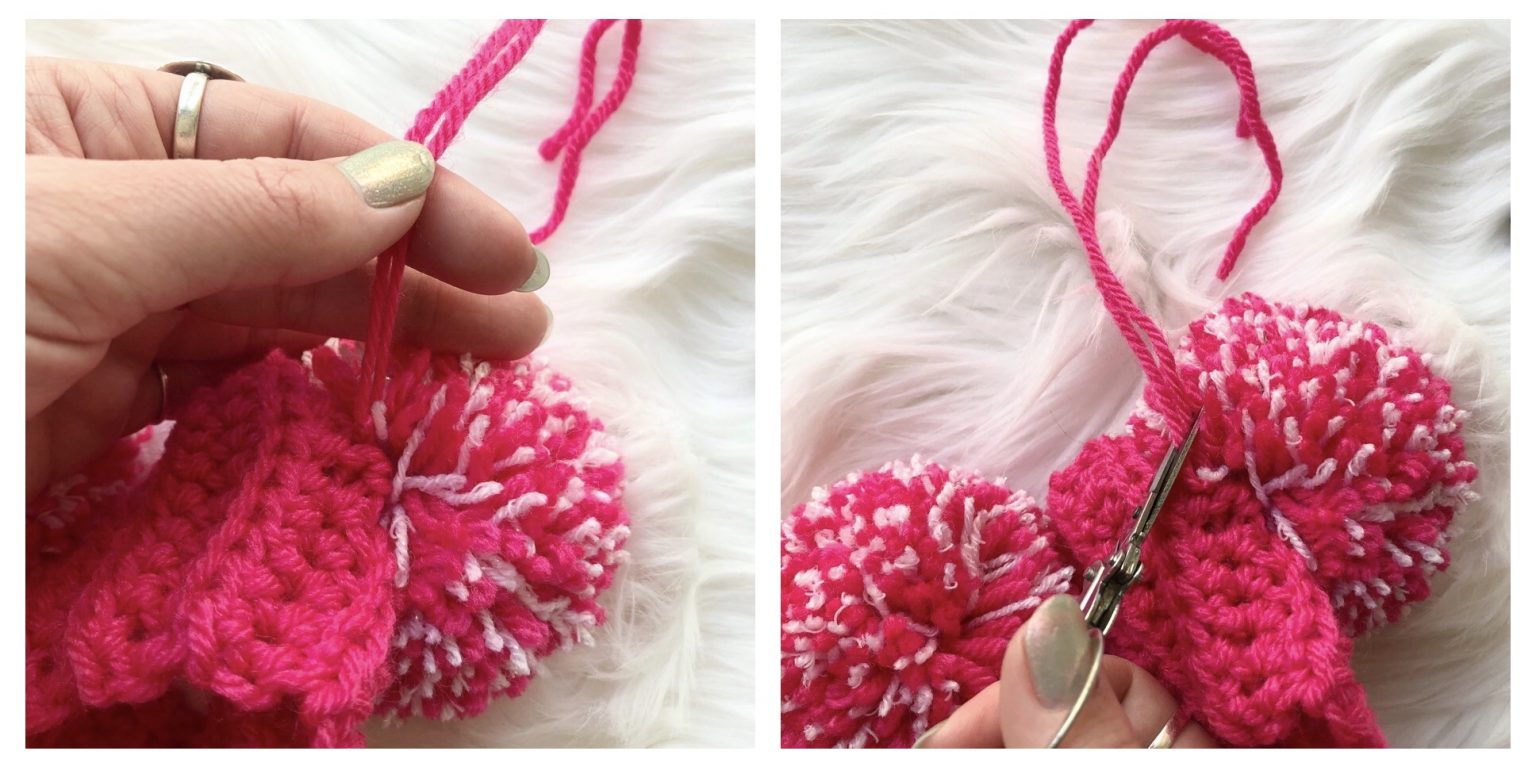
Place pom-poms about 4” (10cm) apart on the front of your headband. Using your crochet hook, pull pom-pom tails through the headband. Then, turn the headband inside out and tie pom-pom tails securely.
Next, weave yarn tails back through the top of the headband and incorporate them into the pom-pom. Finally, cut the tails so that they are the same length as the pom-pom strands.