Crochet Double Thick Potholder
Crochet Double Thick Potholders are a fantastic addition to any kitchen! Not only are they cute and colorful, but they're also super practical for protecting your hands from hot pots and pans. These potholders are made with two layers of crochet, making them extra thick and heat-resistant. You can customize them with your favorite colors and stitch patterns to match your kitchen decor perfectly. Whether you're a crochet pro or just starting out, making these potholders is a fun and rewarding project that will surely impress your friends and family next time they come over for a meal. So grab your yarn and hook, and let's get crafting some adorable and functional potholders!
Materials Needed & Measurements:
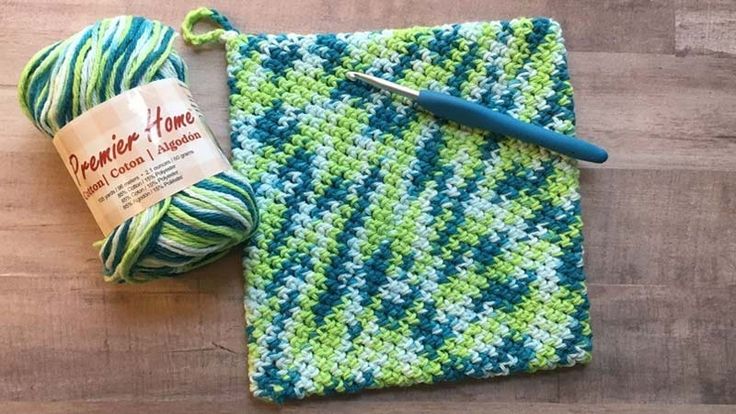
- 1 – 2 oz. ball of Lily Sugar’n Cream, or 100 yards worsted weight (category 4) cotton yarn
- Size H (5 mm) crochet hook
- Yarn Needle
- Scissors
- Measuring Tape
- Optional: Insulated Lining Fabric
- Finished Pattern Size: 7 in. by 7 in. square
- Adjustable Size: You can adjust the size by changing the starting chain length.
- Gauge: 15 sts and 10 rows = 4 in.
Stitch Abbreviations:
- CH: Chain
- SC: Single crochet
- SC BLO: Single crochet back loop only
- SL ST: Slip stitch
Stitching Instructions for Making the Easy Double Thick Crochet Potholder Pattern:
Starting the Foundation:
- Begin by creating a foundation chain (CH). Make a starting chain of 27 chains (or adjust this number if you’d like to make a larger or smaller potholder). This will serve as the width of your potholder.
- Join with a slip stitch (SL ST) in the first chain to form a loop, being careful not to twist the chain.
Row 1:
- Chain 1 (CH 1) to begin the row.
- Work single crochet (SC) into each chain stitch across the row. You should have a total of 27 SC stitches once you reach the end of the row.
- Turn the work to begin the next row.
Rows 2 – 10 (Repeat the process):
- Chain 1 (CH 1) to begin the next row.
- Work single crochet (SC) into each stitch across the row (total of 27 SC).
- After finishing the row, turn the work.
Row 11 (Start the Back Loop Only Rows):
- Chain 1 (CH 1) to begin the row.
- This row will be worked using single crochet back loop only (SC BLO). To do this, insert the hook only into the back loop of each stitch (the loop furthest from you). Work a single crochet (SC) into each stitch across the row.
- Turn your work after completing the row.
Rows 12 – 19 (Repeat SC BLO):
- For the next rows (12 – 19), continue to work in SC BLO across each row, always starting each row with a chain 1 (CH 1).
- You should still have 27 stitches per row, and each row will give your potholder a nice thick texture.
Joining the Front and Back Pieces(Final Row):
- After completing the last row in SC BLO, fold the potholder so the two SC BLO sides are facing each other.
- Use a slip stitch (SL ST) to join the two pieces together by working through both layers. Work slip stitches along the sides to close up the potholder. Be sure to evenly space your slip stitches to ensure a tidy seam.
Optional Insulated Lining:
- If you wish to add extra protection, you can insert an insulated lining fabric between the two layers. This step is optional, but it will make your potholder heat-resistant and more durable.
- Simply cut a piece of fabric slightly smaller than your potholder and insert it between the layers before stitching them together.
Finishing:
- After joining the sides, use a yarn needle to weave in any loose ends from the yarn.
- If needed, trim any excess yarn with your scissors.
- Your potholder should now be 7 inches by 7 inches square and ready to use!
Optional Loop for Hanging:
- To add a loop for hanging, create a small chain of 10-12 chains and attach it to a corner of the potholder with a slip stitch. Finish off and weave in any ends.
No comments
Write a comment